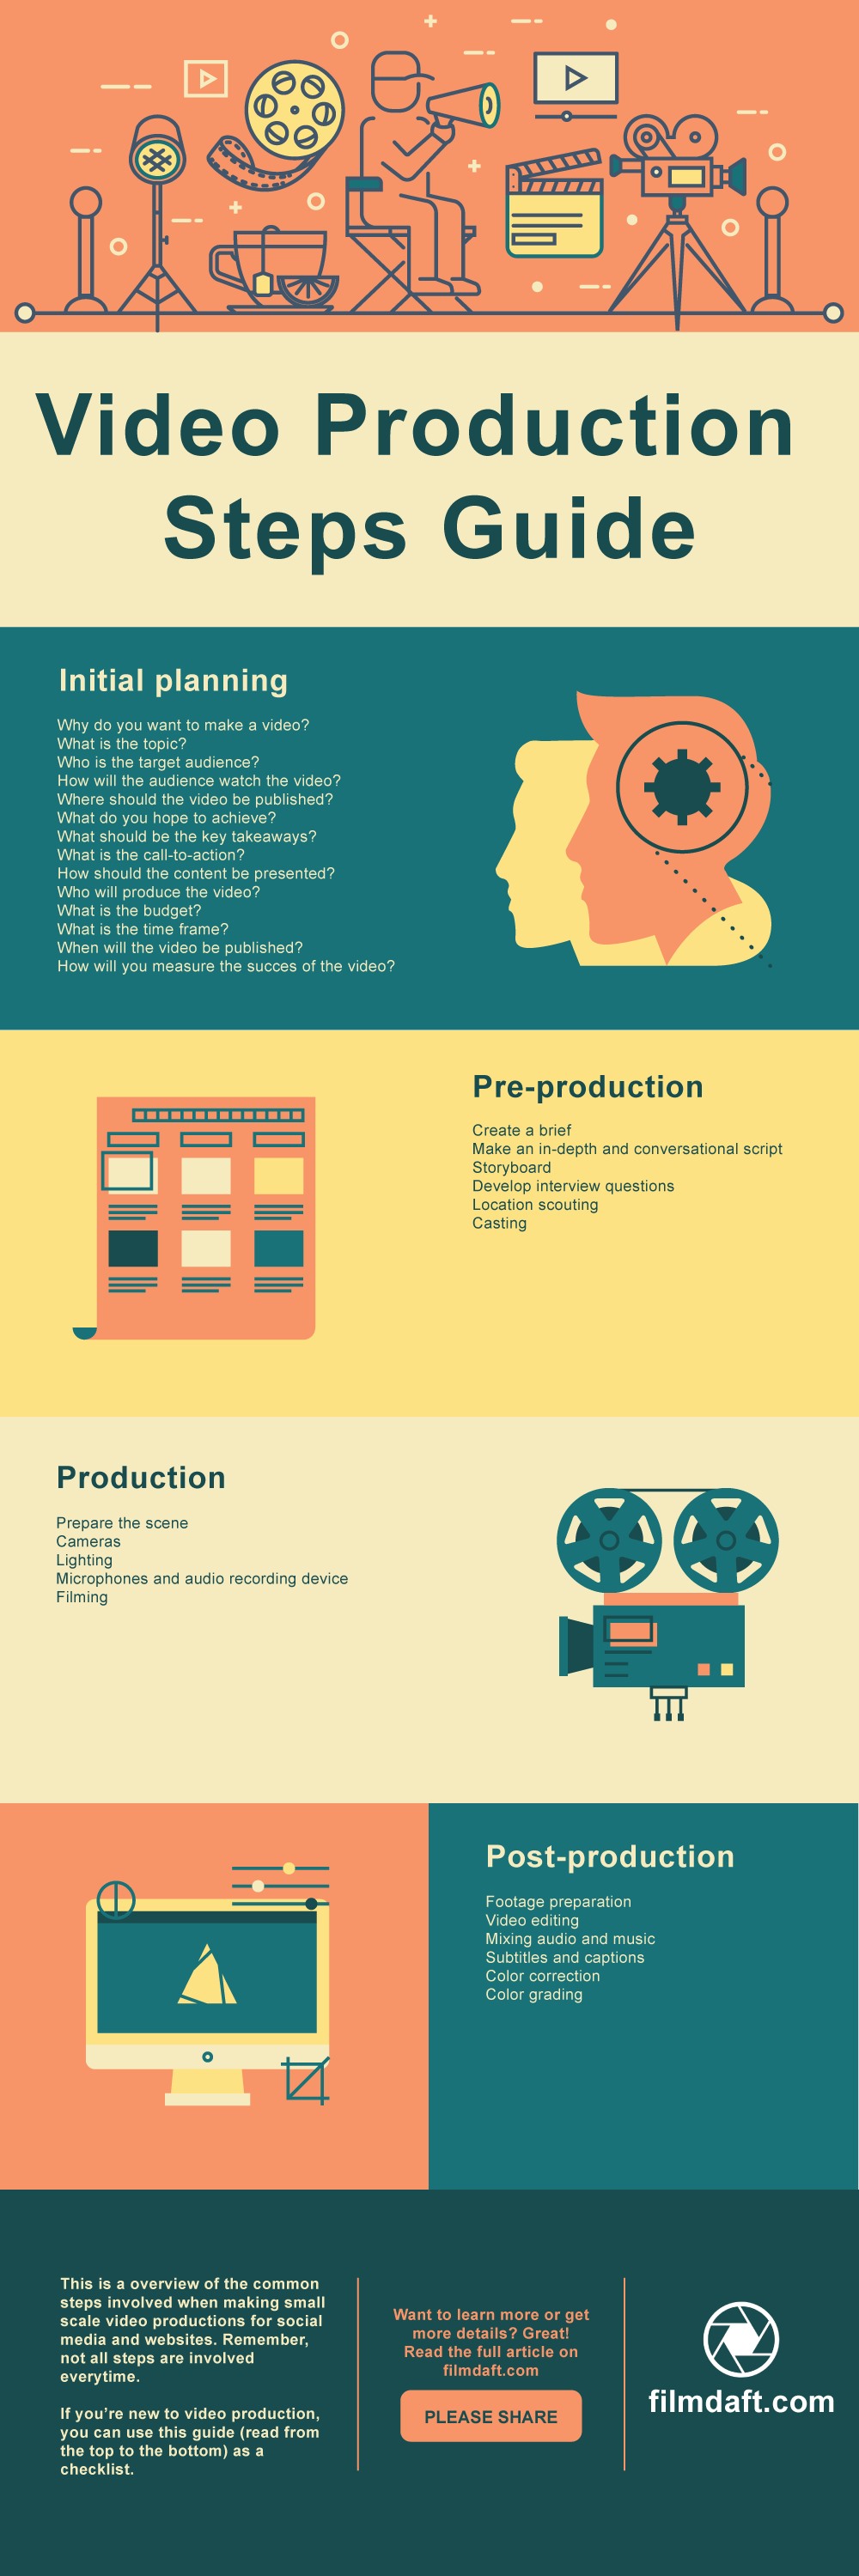
The video production process consists of three steps: pre-production (planning), production (filming), and post-production (editing). But before pre-production, there’s pre-planning, where you must ask yourself the most important questions (why, what, and how).
The three main steps of video production:
- Pre-production: includes creating a manuscript, storyboard, interview questions, location scouting, and casting.
- Production: includes setting up lighting, microphones, cameras, and backdrops, filming, shooting a b-roll, and conducting interviews.
- Post-production: includes footage preparation, video editing, subtitles/captions, lower thirds, graphics, animations, green-screen keying, color correction, color grading, music, and sound editing.
I’ve included a video production process flow chart at the end of the article; you can download it for free or pin it if you like.
Table of Contents
Pre-planning your video production
Before we talk about pre-production, I would like to make a short note on something I like to call pre-planning or pre-pre-production if you like.
Pre-planning for your video production is related to pre-production, and you could easily argue that it is, in fact, part of the pre-production process.
Whether you are a vlogger or YouTuber, someone working with marketing or communication, or hired to do video production for others, it is wise to start by asking yourself some important questions:
- Why do you want a video? (Would other types of content do better?)
- How will the video fit into your broader content strategy? (Is it a single video, part of a campaign, etc.?)
- What should the video be about? (What are the topic and the message?)
- Who will watch the video? (Who is the target audience?)
- What do you hope to achieve by making the video? (What’s the goal? What’s the call of action you’d like the viewers to follow? What should people remember or learn (the key takeaways)?).
- How would you like to present the content in the video? (What genre? Vlog, animation, interview, etc.?)
- Who will produce the video? (You, in-house production, freelancer, external production company?)
- What is the time frame for the video? (Time vs. ambitions vs. needs).
- What is the budget for the video? (Budget vs. ambitions vs. needs).
- When should the video be published?
- How will your audience watch the video? (Mobile devices? Desktop? Intranet?)
- Where should the video be published? (On which platform?)
- How will you measure the effect of the video?
In a perfect world, if you’re hired to do video production for a company, the company that contacted you should already have answered most of these questions. But the world isn’t perfect.
So, it is wise to ask these questions to get a good understanding of what the client wants. This will help the client focus on their needs in the process, and you will have the opportunity to guide them along the way.
What does pre-production mean?
Pre-production is the process of planning or preparing for your next video production. It involves a series of steps to prepare you for when the day comes and you start filming. Let’s take a quick look at the steps which can be involved.
Create a brief for your video.
Start by writing a brief. This is where you sum up the initial thoughts from the pre-planning process into a short description of your video. Initially, the brief is an iterative process, and you can work with others on it. But it should manifest into a final version before you start writing the manuscript.
The brief is a good way to keep your focus on the video’s overall content, message, and goal. You can always refer to the brief so you don’t get obsessed with some unimportant detail later in the process.
Create a manuscript
The next step is to create a manuscript – commonly called the script.
This is where you write down what you want to say in your video. It is also where you mark important camera angles and details that must be shown at specific points in the video.
In essence, the script is comparable to the screenplay of a blockbuster movie.
Make the script in-depth. It is important to make the script in-depth. That way, all involved will know what is going on and when. And it will make the editing much easier.
You can use captions and bold and italic text to create a coherent system. Just be sure the system you decide on is consistent.
Example:
If you’re shooting an instructional video on how to tune a snare drum, you could write something like this:
SPEAK: “Start by tightening the first nut at 12 o’clock. After that, you should tighten the second nut at 6 o’clock. Just keep moving clockwise around the snare head and tighten the nut opposite to the one you’ve just done.”
B-ROLL: Show footage taken directly from above the snare drum, showing hands tuning the snare drum head.
TEXT: Use text overlay to give each of the tuning nuts numbers from 1 through 10
Make the script conversational
There’s a big difference between the way we write and the way we speak.
It should sound like something you would say and not like something you would write. In other words, you should make the script conversational.
The best way to ensure you can deliver a performance of the script with good flow is to read it aloud to yourself. Make adjustments to the wording so it flows more naturally.
If you’re more than one person speaking in the video, you should have a table reading of the script and make adjustments to the wording if necessary. That way, you can get a good idea of the flow and rhythm of the video and how the final output will look.
It is easy to copy-paste the speech parts into a new document you can use on a teleprompter later. You don’t need to buy a real teleprompter. You can use a tablet or laptop and an app such as….
If it is a short script, you can even use a piece of paper and hang it in front of you with a piece of tape. Print the letters big enough so you can read them all without squinting.
Create a storyboard
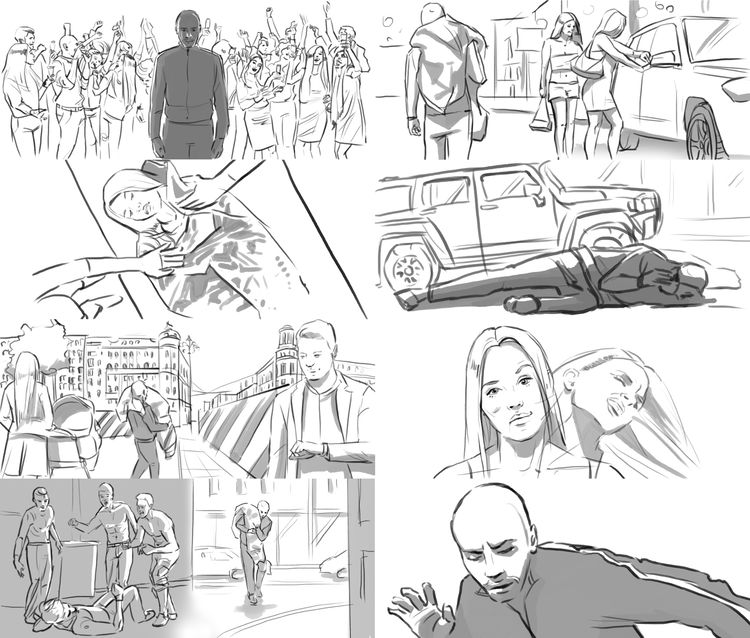
A storyboard is a series of sketched thumbnails (often annotated) that break down the script into key scenes of your video.
Each thumbnail should focus on the most important elements of the scene. What’s important may differ vastly from scene to scene.
One thumbnail might show a presenter speaking directly into a camera. The next might show a speeding car from a low-angle perspective with added comic book-style action speed lines to convey the car’s speed. Another might show an establishing wide-angle shot of a city skyline for the beginning of the new scene.
Storyboards, which resemble comic books, are often used in blockbuster films. The artists working on the storyboard are very talented at drawing.
You might think, “But I can’t draw!” Neither can I compare myself to those artists working in blockbuster cinemas. But I can draw some stick figures and a box with four circles if I want to draw a car. And what I can’t convey through my limited drawing skills, I can put in a note next to the drawing.
You don’t need to sketch out every little detail. You must establish the timeline through the video’s most critical vital scenes and elements.
Below the thumbnails, you can add notes about important elements such as speech, effects, lighting, etc.
Before you start drawing, consider the aspect ratio of your video. The thumbnail size should resemble this ratio. If your video ends up in a square format on Facebook, it’s a bad idea to make a storyboard in 16:9 widescreen format with many important details near the frame’s edges.
You can sketch out some frames quickly using paper and a ruler. You can also make your storyboard using Adobe Illustrator, Photoshop, Microsoft PowerPoint, Manga Studio, or Storyboard That.
You can also hire an artist to sketch the storyboard for you. Walk him or her through the script and explain what you want to achieve.
Developing interview questions + tips and tricks for a good interview
Interviews are very different, and the questions you must ask depend on the topic.
When you develop your questions, here are a few guidelines:
- Keep the questions short and on point.
- Ask only one question at a time.
- Avoid questions that might end in a simple “yes” or “no” response (unless this is your intention, and you’ll
include the question in the video).
I recommend you read this article: How to do great interviews on camera.
Location scouting
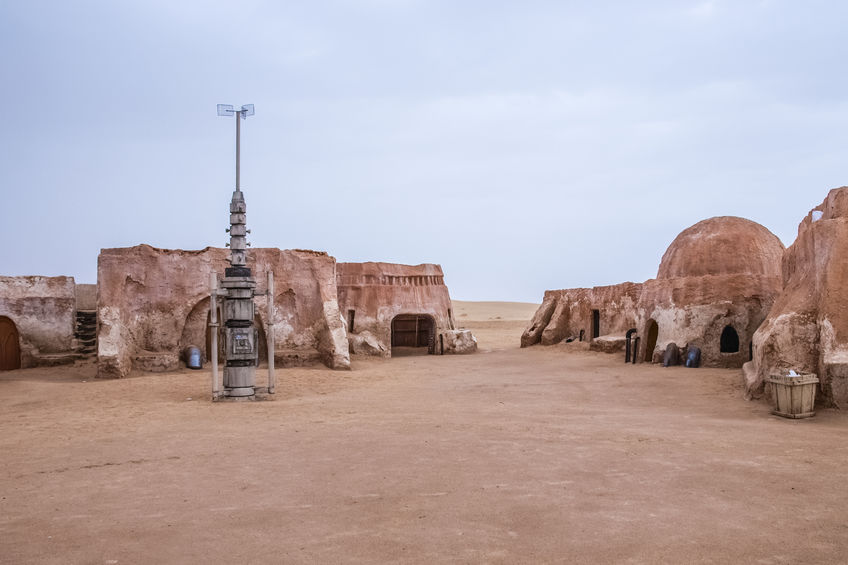
Location scouting is looking for suitable locations to shoot your video. It might also include negotiating legal access to specific by local authorities or property owners.
Usually, different teams do thorough research to find suitable location candidates who fit the overall aesthetics of the film. Then, a smaller team travels to the potential locations on a “go-see” or “recce” to decide which locations should appear in the final movie.
Location scouting is often a large task for big productions spanning several locations in several countries. There are many logistics involved, as well as financial considerations.
Here’s a great article on location scouting and everything you need to remember.
Casting for your video production
Casting is selecting the right actors and extras for your video.
On big-budget productions, casting involves a series of auditions performed by actors in front of a casting panel consisting of the film producer, the director, and the casting director.
The actors are asked to perform audition pieces such as monologues, action choreography, or reading from a script together with a “reader,” who reads all the other lines of the script.
The performances are videotaped for further assessment, comparisons, and final decisions. Often, headshots and a resume are also included.
Casting is sometimes outsourced to casting agencies, which do the initial assessments. Casting agencies often have a large catalog of actors and extras they can contact.
Casting for small-scale productions
If you’re vlogging or streaming, casting is usually not a problem.
But casting the right actors or extras is often necessary if you’re shooting, e.g., a commercial, a music video, or a short film.
Sometimes, a client wants to see the actors in a specific outfit, too, if it is relevant to the scene, e.g., underwear, an evening gown, a tuxedo, or sports gear.
If you’re the one doing the casting, make sure you include all the necessary material for the client to make the final decision on who will appear in their film.
Here’s a great article on where to find actors.
What’s involved in the video production phase?
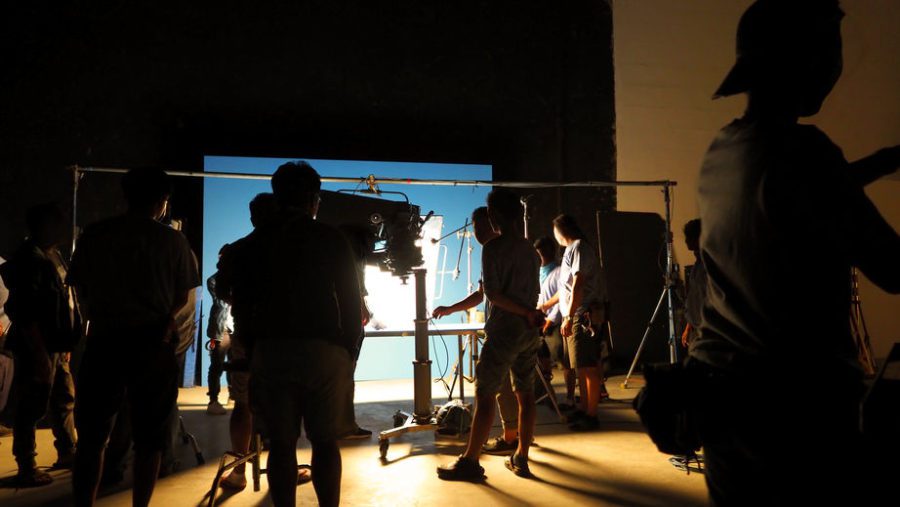
Production includes setting up lighting, microphones, cameras, backdrops, filming, shooting b-roll, and doing an interview. Let’s dive into the subjects in more detail below.
Prepare the scene
The first thing to do is to pick the right spot at the location and prepare the scene.
If you’ve decided to film yourself or another person in, e.g., an office space, look for windows that might cause problems with a strong light behind your subject.
Search for a nice spot to film your subject. Look at the surroundings. Look at the foreground, the middle ground, and the background. Are there any distractions? Do you need to move a plant or tidy up a desk?
Are there computer monitors or other documents that might have confidential information that shouldn’t be in the frame?
Is there a noisy air-conditioning system or loud office workers in the room next door? Can you make the room silent, or do you need to move?
Are there harsh fluorescent lamps that need to be switched off? Are there any led-screens that might cause flickering due to the frame rate of your camera, of which you need to be aware?
In other words, be aware of your surroundings and make any changes necessary to make the scene fit the purpose of your film.
If you need a backdrop, e.g., a green screen, a white or black backdrop, or something else, this is also the time to set it up.
Camera setup
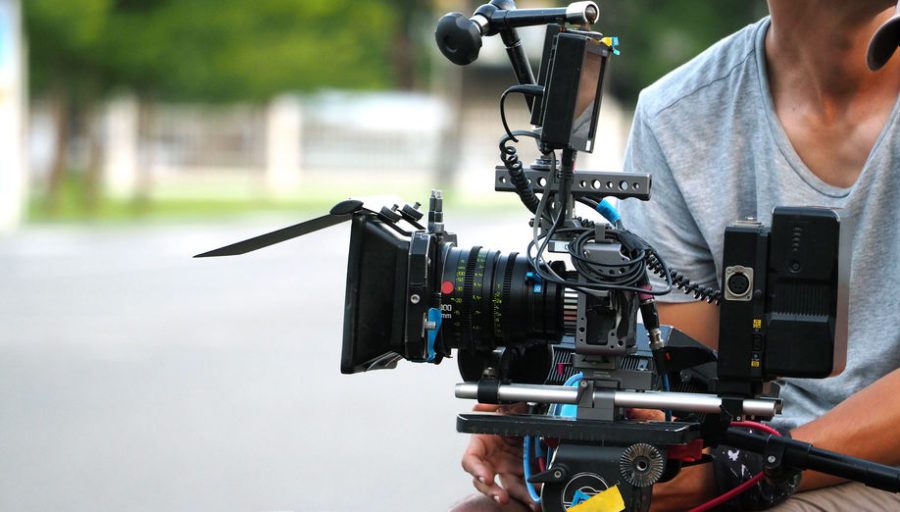
Setting up your camera or cameras is the next step.
First, ask yourself: What is the shot’s function? Is it an extremely wide establishing shot of a city? Or is it an extreme close-up shot of a character’s mouth to convey a certain emotion?
Questions like these determine the rest of the process.
Think about the framing, i.e., the presentation of the visual elements in your image/frame.
- What should be in the foreground?
- What should be on each side of the image?
- What should be in the background?
- Should the foreground and background be blurred or clear?
- What kind of shot do you want? For example, a wide shot, a medium shot, a close-up, or maybe an extreme close-up?
- Should the shot be a Point-of-View like that from the eyes of a character in the scene? Or is it an over-the-shoulder shot, e.g., a shot over the interviewer’s shoulder?
- What kind of angle do you want? If you want the character to appear big and menacing, try with a low-angle shot. Do you want the character to appear small and insignificant? Then try with a high-angle shot.
You can read more about camera shots and angles here.
If you have multiple cameras, you must decide which angles will benefit the final output and what will feel natural when you cut between them.
Remember the 180-degree rule if you shoot from multiple angles. You should only break this rule intentionally when it makes sense to do so. You can learn more about the 180-degree rule here.
Choose the right way to mount your camera, e.g., a tripod for a stable shot, a handheld shot for more action, a gimbal or Steadicam for smooth camera movements, a slider for subtle camera movements, etc.
Lighting setup
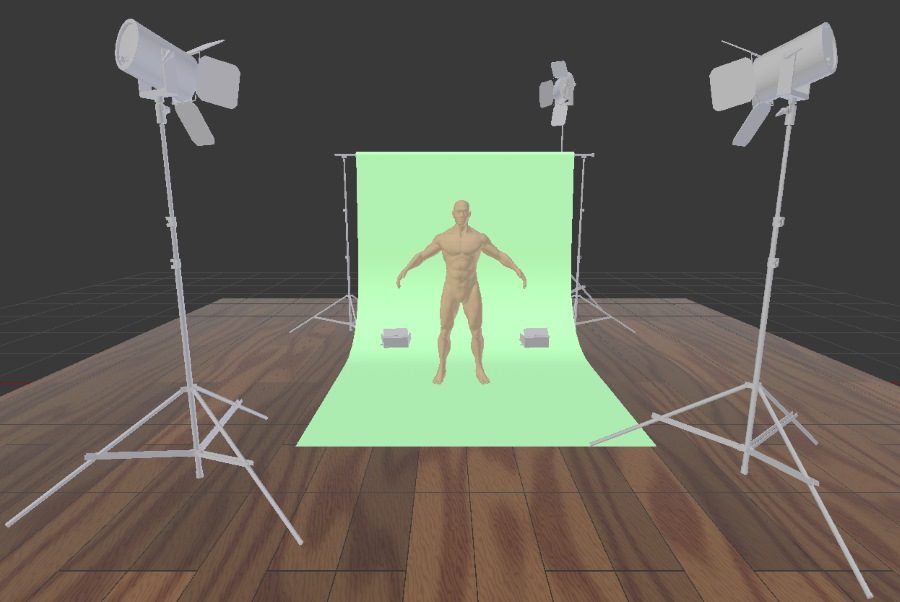
Setting up your lights is the next step. Good lighting is essential to get a good-looking image.
Lighting is an art form that can be used in infinite ways. Many different lights are available today, and luckily, you don’t have to carry around hot and heavy tungsten lights if you don’t need to.
You can use thin LED panels, light mobile fresnels, ring lights, and on-camera sun guns. Each type has its pros and cons.
Where you place your lights has a big effect on the final image’s outcome. The contrast between light and shadows has a tremendous impact on the scene and its subjects.
The color temperature of the light, e.g., whether it is daylight-balanced, tungsten, or something in between, helps define the overall mood of the scene.
Furthermore, you can use many accessories to bend and shape the light to your will, e.g., barn doors, gels, flags, diffusers, scrims, reflectors, flags, and gobos.
On big-budget productions, the director of photography (DOP) controls the lighting design.
The DOP works closely with the gaffer, chief lighting technician, and various others to create the necessary lighting for each scene.
The most common lighting setups for small-scale productions such as vlogging, streaming, or interviews are one-point, two-point, and three-point lighting.
If you want to learn more about lighting setups, I recommend you read…
Setup microphones and audio recording
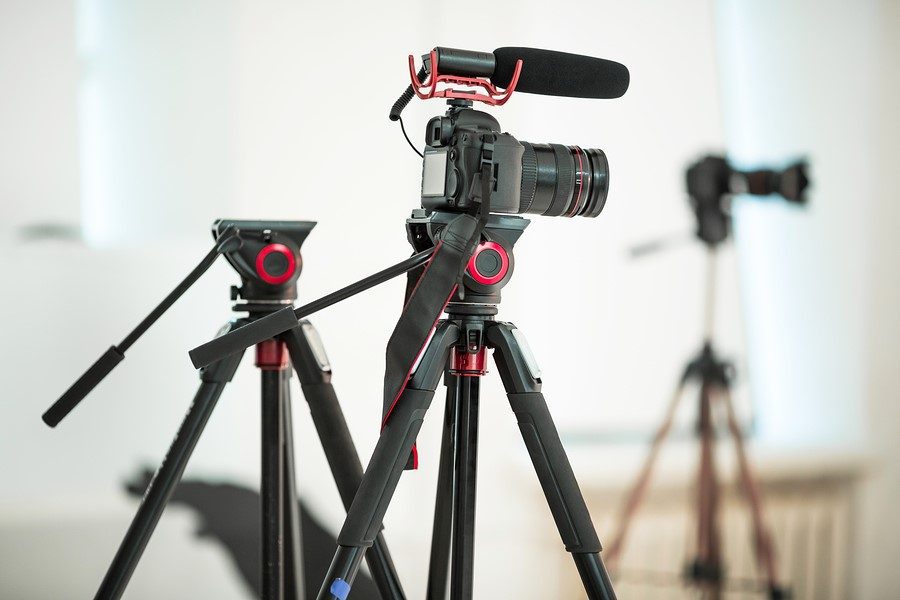
Good sound is just as important as good image quality. So, the next step is to set up your microphone.
The three most common microphones used are the directional microphone (sometimes called shotgun microphone), the Lavalier microphone (wired or wireless), and the studio microphone.
The latter is usually a dynamic microphone or a medium to large diaphragm condenser microphone.
You can read more tips on how to get great audio for video here.
Filming
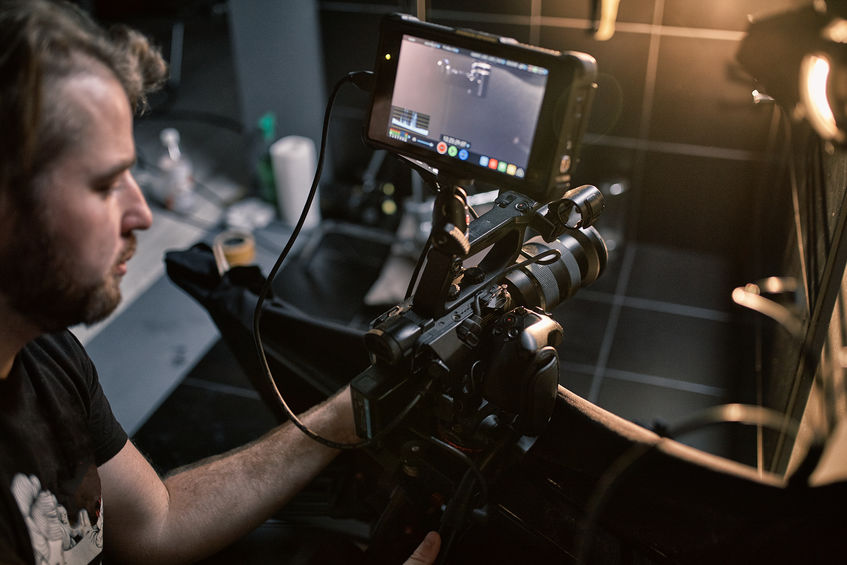
When the scene preparation is done, the lighting and audio are set up, and the subject is ready, it is time to dial in the correct camera settings. Make sure to pick a lens that fits the scene.
Ensure you’ve set the right white balance, focal length, shutter speed/angle, frame rate, aspect ratio, color scheme, bit depth, and bit rate. The same goes for the B-roll footage.
If you want to learn more about choosing the correct settings on your camera, you should read this article.
Use an ND filter or polarizing filter if necessary. If you want to learn more about lens filters, you can read this article. Remember to have extra batteries (which are fully charged) and extra memory cards in case you run dry.
Although it rarely happens if you buy good-quality memory cards, they fail occasionally. So it is always nice to have extras.
What does post-production mean?
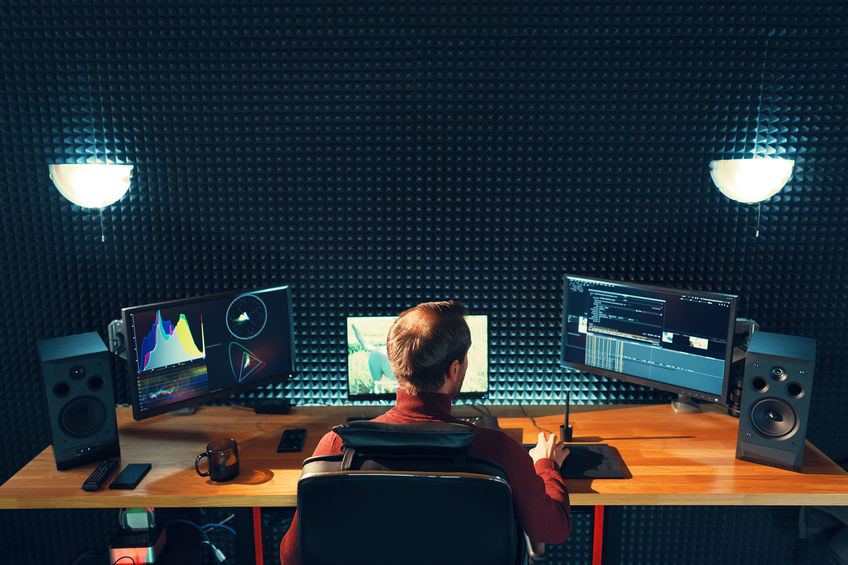
Post-production includes footage preparation, video editing, subtitles/captions, lower thirds, graphics, animations, green-screen keying, color correction, color grading, music, and sound editing.
Let’s see what’s involved in these steps in more detail below.
Footage preparation
Footage preparation is the process of preparing your footage for editing. It includes transferring your footage and audio from your memory cards to your hard drive and making back-ups.
You must also divide the footage into the right folders on the hard drive, import it to your video editing program, create proxy files if necessary, and label and logically organize the footage in your editor.
It may also include syncing audio from external recorders to your video footage and syncing footage from multiple cameras, e.g., via timecode. Here’s how you work with footage from multiple cameras in Adobe Premiere Pro.
It might seem like tedious work when you want to get started with editing, but it makes the next step so much easier. Footage preparation may also include keying any green screen footage you might have so only your subject appears.
Video editing
Video editing is a step where everything comes together. At this point, you assemble all your footage and audio into the final video. Video editing usually involves importing your footage, audio, graphics, animations, and music into a timeline in your editing program of choice.
It also includes setting up the project regarding the frame rate and aspect ratio.
Video editing steps
I usually start by importing the footage from my main camera into the timeline. From there, I build the overall narrative. When satisfied with this, I import my B-roll footage and pick the best pieces that fit the narrative.
From here, I start tweaking the footage and removing unnecessary pauses and gibberish. I also start looking at sentences that might not be necessary to understand a certain point and look for any “darlings” that might need to be killed off.
In short, the video editing step is an iterative process that might need to be repeated several times to make the message as clear as possible. When I’m satisfied with the narrative, I add music, sound effects, graphic components, lower thirds, and animations needed.
This step can easily mean several detours into other programs, such as Adobe After Effects, for advanced image manipulation. At this stage, I also look to see if any transitions, fade-ins, and fade-outs need some tweaking.
Mixing the audio tracks
I then start to look at the audio tracks. I might set up a sidechain compressor to duck the music a few decibels whenever someone speaks. I also use an equalizer and a vocal compressor on the vocal tracks.
Coming from a background in music, I approach the audio mixing step like I would approach the mixing of a music track.
I try to carve out space for each element with equalizers, compressors, and panning. And I make sure that any dialogue or narrator is always audible.
If music is to play a prominent part, I might start with importing the music part. From there, I add the footage, and I cut my footage to fit the natural beats, breaks, lifts, pauses, etc., of the music.
Here’s a quick tip: even if your video doesn’t contain any music, in the end, you can still “cut to the beat” of a suitable piece of music.
Music has an inherently natural rhythm, which you can use to get a natural flow in your video. Here are some tricks on how to mix to the beats of music.
Subtitles and captions
Most of my work is meant for social media. And with social media comes the need for subtitles because many videos online are being watched without sound on mobile devices.
If you don’t have a script to follow, subtitling involves transcribing every word in the video and then creating subtitles in your editor. If the target groups differ from your native tongue, you might also need to translate the subtitles into a foreign language (or hire someone to do so).
The difference between subtitles and captions
Subtitles and captions are often used as if they refer to the same thing. However, technically, there are subtle differences.
Subtitles present the dialogue and narration in a film in either the same language as spoken in the film or as a translation of this.
Captions present the dialogue, narration, and other audible effects, e.g., describing what music is playing in the background, if the actors hear a loud noise in a scene or the distant sound of a thunderstorm. In other words, captions describe any sound integral to understanding the film.
Here’s a guide on how to add subtitles and closed captions inside Premiere Pro.
Open vs. closed captions and subtitles
Captions (and subtitles) can be either open or closed. Open captions are always visible and cannot be switched off. They are “burned in.”
Closed captions can be turned on and off. If you’re making videos for social media, this is like using YouTube to create a .srt file containing the transcribed text for later use, e.g., Facebook, where viewers can toggle the subtitles on and off.
Color correction and color grading
The final step is usually color correction and color grading of the footage.
Though the two terms are often used synonymously, and many of the same steps can be found in both processes, I like to think about them as two different things. Color grading is sometimes referred to as digital color correction.
What is a color correction in video production?
Color correction involves fixing any blatant issues with the footage to reach a neutral baseline for all the included shots. It can accurately reproduce the color of the original scene and compensate for any variations in the material across time, locations, and cameras.
In other words, I view color correction as a somewhat scientific process for fixing any issues or mistakes.
When the color correction is done, all the footage should look professional and good enough for a client without any artistic interpretation added to the images. For example, this could mean fixing an overexposed or underexposed shot, fixing the white balance, fixing the contrast, or fixing a subject’s skin tones.
Color correction is like the mastering process of a pop song: you try to make the image look good on as many devices as possible.
What is color grading in video production?
Color grading I view more as an artistic process. It is where you take the footage and give it a certain look.
See a list of free color grading tutorials.
The look might be saturated or desaturated. It might pivot toward certain color profiles like the orange-and-teal look in many Hollywood blockbusters.
Color grading may also include motion tracking, color separation, vignetting, and adding film grain to give the digital material a more analog look.
If I’m in a hurry, I might use a LUT (Look-Up Table), a quick way to apply a certain look to your film.
A LUT is like using an Instagram filter or an Adobe Lightroom preset to quickly give your photos a specific look, atmosphere, or feel. You can find some free luts here.
Read more about color grading and color correction here.
Final thoughts on the steps of video production
So there you have it. In most of my productions for clients, these are usually the steps involved, intended for social media, websites, or commercials.
As I mentioned, not all the steps are necessary in every production. How much work and time I put into each step depends on the type of shot I will produce.
As I wrote this piece, it became clear to me how small (but essential) a part the actual shooting plays in the overall process. I’ve always been aware of this, but it became really clear as I wrote it.
How much time and work goes into a video production before and after the shooting can be hard to explain to clients. Clients might think that the two hours of shooting was the majority of the work.
Add to this all the time you’ve put into learning the craft and invested in gear and maintenance, which must also be factored in when you send a quote. But that is a subject for another day.
Below is a video production process flow chart. You can pin, share, or download if you prefer.
