Published: August 11, 2019 | Last Updated: September 13, 2024
Looks, logs, and LUTs all impact the color of the recorded
image in some way, which is why they can be confusing. However, this is where the similarities end.
- RAW video footage is unprocessed or minimally processed data captured directly from a camera’s image sensor. It retains all the original detail, color information, and dynamic range, providing maximum flexibility for post-production adjustments such as color grading and exposure correction.
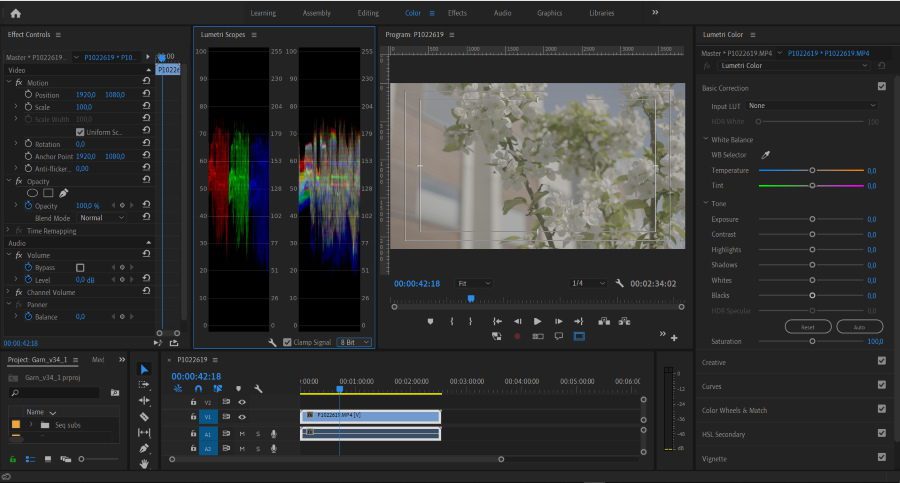
- A LOG profile is a desaturated image that looks gray and flat because it records the highest possible dynamic range with the most color information, which can be manipulated later.
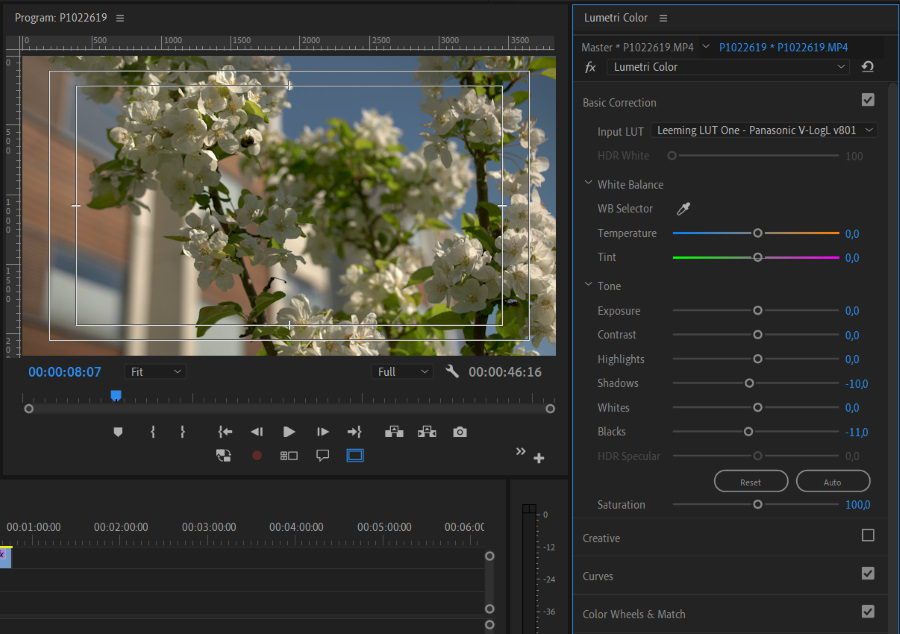
- A LUT is like a decoder that turns log footage into a correctly colored image. It can be baked in, applied to an external monitor while recording, or added in post.
- A camera look profile is an in-camera setting that determines what color information, saturation, and contrast values to record.
To fully understand these differences, we first must understand the white balance.
What is RAW footage?
Think of a RAW file like a negative in film photography: while it contains all the information necessary to ‘develop’ the final image, it is not straight out of the camera.
RAW is a file format that can be compared to ProRes, H.264, and other codec containers. However, RAW captures much more information, which you can use to color-grade your footage in post.
Because RAW captures more information, meaning more wiggle room for color grading, it also requires far more storage space than Log relative to the change it allows.
Some compressed RAW formats, such as 3:1 BRAW from Blackmagic, manage to reduce the file sizes a bit but sacrifice some of the color grading wiggle room in the process.
Shooting RAW allows for the flexibility of a total change of white balance in post-production, whereas Log does not.
What is LOG?

LOG is a picture profile with a high dynamic range, allowing for greater color depth. For this reason, it will tend to look gray and neutral while recording.
Log footage superficially resembles RAW footage. The biggest differences between the two are storage space and white balance. Thus, Log is nearly as effective while taking up considerably less storage space.
Different companies use different algorithms (the ‘log’ is short for ‘logarithmic’) to create their Log files and thus name them with different starting letters: Sony calls theirs S-Log, while Canon uses a C-Log.
Why You Should Use LOG for Video
The basic idea of Log, like RAW, is to record the image with the colors as flat as possible to capture the most manageable dynamic range. Effectively, by recording a gray-looking image, these formats allow for greater leverage when manipulating the colors in the grading process, producing richer results and more possibilities.
However, one extremely important factor to keep in mind while shooting Log is white balance. As long as you always shoot at the correct white balance, Log is a perfectly viable image option that is a bit handier than RAW since it requires less space.
LUTs

LUT stands for Look-Up Table, a setting that can be applied to footage to produce a certain visual uniformity.
LUTs are essentially like presets, often aimed at emulating older film looks and stocks, and typically made to be applied to specific LOG footage. For example, some LUTs correspond to camera-specific logs, such as those designed to pair with footage from ARRI Alexa cameras, RED cameras, Blackmagic Design cameras, and Panasonic cameras, among many others.
These LUTs effectively ‘de-code’ the gray-looking straight-out-of-camera source footage into true-to-life high dynamic range images, generally to meet the specifications of the standardized Rec. 709 format.
Rec. 709 and Rec.2020
Rec. 709 and Rec. 2020 are two different video and broadcast systems standards, primarily defining color space, bit depth, and resolution.
Rec. 709 refers to a visual standard of color space, which means the color information in your footage will look identical on any Rec. 709 compliant monitor (most HD monitors and HDTVs. 4K and UHD monitors and displays adhere to the Rec.2020 standard).
Rec. 709 typically supports 8-bit and 10-bit color depths, translating to 256 or 1024 levels per channel for red, green, and blue. Rec. 2020 supports 10-bit and 12-bit color depths, offering 1024 or 4096 levels per channel. This allows for finer gradations and reduced banding in color transitions.
For this reason, it is a good idea to use an LUT to set your footage to the standardized appearance of Rec. 709 before applying creative LUTs.
Creative LUTs
Creative LUTs are like color presets that can be applied to your footage to produce an appearance that might be predominantly warm or cool colors, higher saturation, etc.
They produce a certain aesthetic appearance without the limitations of corresponding to a specific camera’s output. Fx, you can get creative LUTs that emulate the colors of a specific movie, a specific celluloid film stock look, other cameras, or turn footage shot day into night.
Find free creative LUTs here.
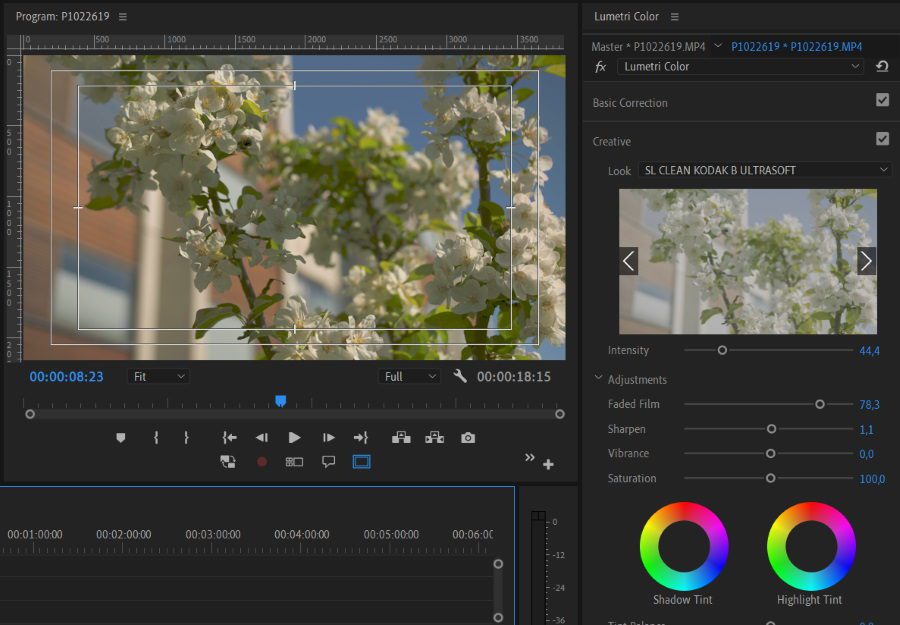
Some interesting creative LUTs are offered in Premiere in categories like ‘Speedlooks’ and ‘Lumetri presets.’ These can be added in post-production to quickly change the visual information like filters to emulate different film aesthetics.

Some of these emulations correspond to specific stocks of Fuji and Kodak film. In contrast, others emulate a style (for instance, a couple of example names of looks offered in Premiere include ‘GOLD TOBACCO’ and ‘NOIR 1965’).
While they will almost always need to be fine-tuned once applied, these presets, and speed looks can be precious resources.
LUT file formats
LUTs come in different file formats, such as CUBE, 3DL, ICC, and VLT. Which one you will need depends on what software you are using. CUBE is the most widely compatible format.
There exist 1D and 3D LUTs. 1-dimensional LUTs separately give output values for the red, green, and blue channels. Three-dimensional LUTs combine and overlap all three channels to produce more subtle color information.
Picture Profiles (Looks)
Similar to LUTs in that they produce a certain look, Picture Profiles generally are a ‘baked-in’ styling applied directly to the footage as it is recorded.
For those who don’t have the option to record in Log, Picture Profiles can emulate the final results of Log footage after color grading. Whereas LUTs are applied in post, Looks are chosen before shooting – in-camera – and are applied based on the desired creative results.
While the results can still be impressive, they do not have as much dynamic range as Log footage and are more susceptible to blown-out highlights in high-contrast situations. They also offer relatively little flexibility in grading.
However, one situation where Picture Profiles can shine is a multi-cam setup for a project with very little time in the schedule for the color grade. If the multiple cameras are the same model, setting all cameras to the same picture profile can ensure the uniformity of color in the edit.
Read more about editing multi-camera footage in Premiere Pro.
If you have an external monitor or recorder that allows you to view LUTs while recording, I’d recommend going this route instead. This allows you to see an image close to the final result, but the LUT isn’t baked in, so you still get all the flexibility in post-production for color correction and grading.
Summing Up
So, let’s sum up: Camera color profiles determine how colors are captured and displayed.
Looks are preset styles that modify images directly in the camera for aesthetic purposes.
LOG profiles capture a wide dynamic range by compressing highlights and shadows, which is ideal for post-production color grading.
LUTs (Look-Up Tables) are predefined adjustments applied to footage, simplifying color correction and grading processes.
RAW profiles capture unprocessed data from the camera sensor, retaining maximum image detail and flexibility for extensive post-production editing. Each profile caters to different needs, from quick in-camera adjustments to detailed post-production workflows.
All profiles have merits. I recommend using a natural profile for a run-and-gun documentary shoot or quick interview with a fast turnaround and zero color grading. For more creative work or where there’s a budget for color grading in post-production, I’d recommend shooting in LOG or RAW.
Read Next: 21 Premiere Pro Keyboard Shortcuts You Need To Know

