Closed captions and subtitles are similar in presentation but different in use. Both are used for showing the text of spoken words or sounds on screen.
This is not to be confused with graphics like MOGRT templates or other kinds of text that will appear on screen.
Adding subtitles or closed captions is an important step in any video production – especially if you’re creating content for online use today, whether it be vlogs on YouTube or ads for social media.
That’s because a lot of content is consumed online in public places or transport with no sound. To get your message through, it’s often a good idea to add either subtitle or closed captions to your video content.
This article will explain the differences between closed captions and subtitles as well as how to create, edit, import, and export closed captions and subtitles from Premiere Pro.
If you’re new to Premiere Pro, I suggest you first look at Best Free Beginner Tutorials For Learning Premiere Pro Fast.
So let’s dive in.
Closed captions vs. subtitles
As mentioned above, closed captions and subtitles are used to show spoken words or to display important sounds.
The main difference between closed captions and subtitles is that subtitles are used in instances when another language is spoken on screen, whereas closed captions are used throughout an entire video or film.
For example, most films produced in the United States are spoken in English. However, some films may have certain selected scenes filmed in a foreign country.
The filmmakers can present those scenes in English or in that country’s native language.
Subtitles would be used to translate the foreign language into English subtitles, so the audience understands what is being said. The subtitles would be presented on screen as those words are spoken.
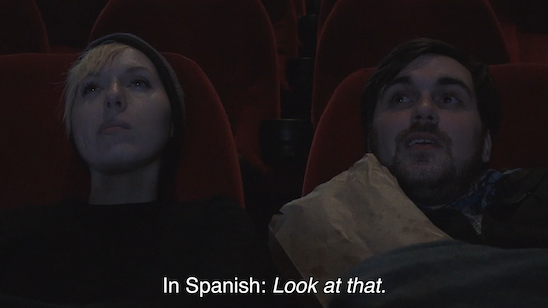
Closed captions are like subtitles but are presented during the entire film or video. The purpose of Closed captions is to give accessibility for people who are deaf or hard of hearing.
The words are presented for the entire duration of the film or video. However, closed captions are not natively burned into a video like subtitles. “Burned in” means the titles are on the final exported video.
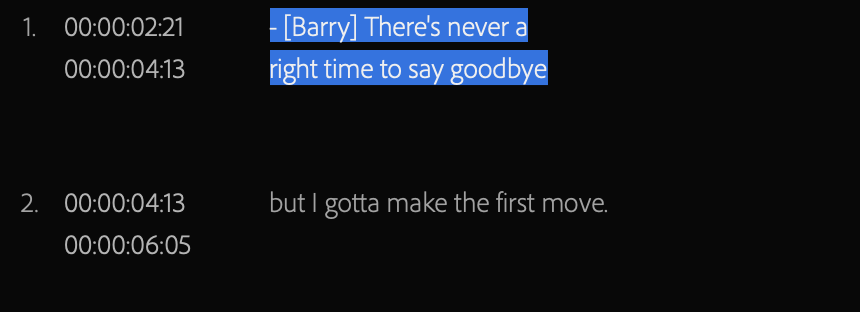
Closed captions require a separate file that can be imported wherever the video is presented.
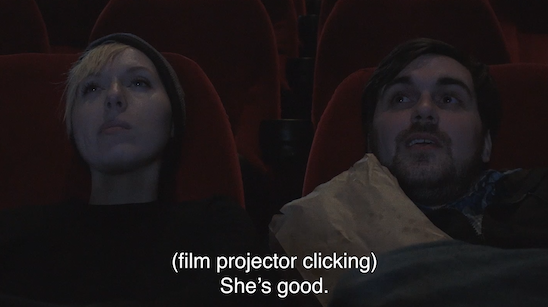
The most common closed caption file is the SubRip Subtitle .srt file, but there are a few others as well. We will be using the .srt file format in this article because it is the most common.
Open Captions are the same as closed captions, however, the captions are burned into the video. We won’t be focusing on Open Captions in this article, but it’s important to know of its existence.
Let’s look at how to create a subtitle and closed caption file in Premiere.
You might also like Cinematic bars done the right way + free template download
How to create a subtitle or closed caption file
Subtitles are simple because you can create a general text file. This is the easiest method to display a subtitle on screen, so I recommend doing it.
However, you can use this next method for creating both.
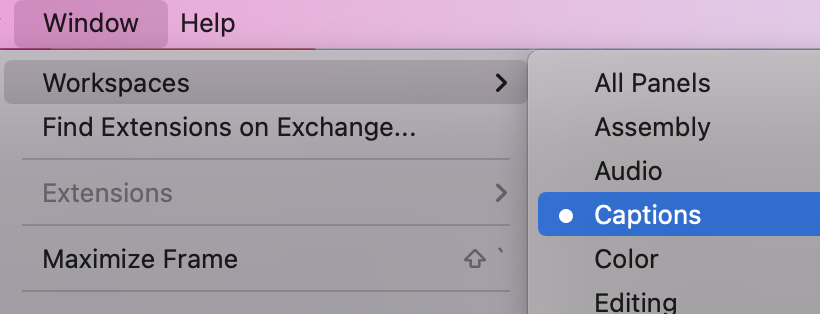
Creating closed captions is also simple inside of Premiere. First, we will want to work inside Premiere’s designated Captions workspace. Go to Window > Workspaces > Captions.
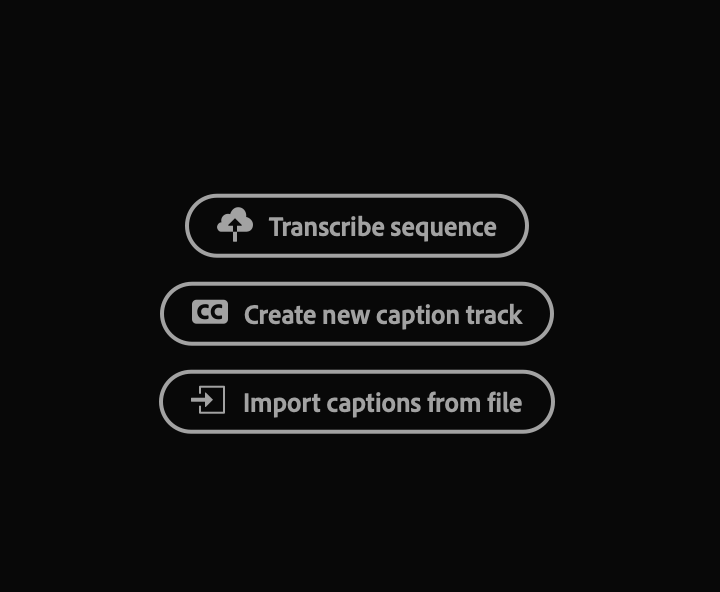
You’ll notice we have three options for captions on the left side of the screen: Transcribe sequence, Create new caption track or Import captions from file. We will focus on the first two in this section.
Transcribe sequence
Recent Premiere updates have included the ability to transcribe a sequence automatically into captions with machine learning.
This method isn’t perfect, but it will improve with future updates. A popup window will appear once you select this option.
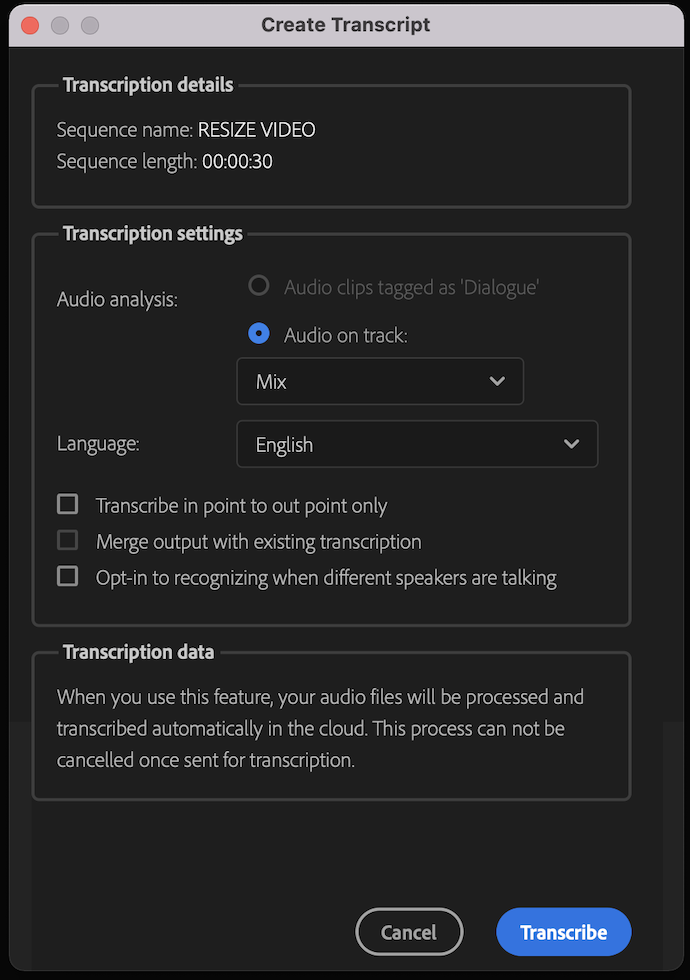
Your selected sequence should appear in the top section along with the sequence length.
The following section will allow you to customize how you would like the captions done. You can select clips labeled Dialogue, or clips on a specific audio track.
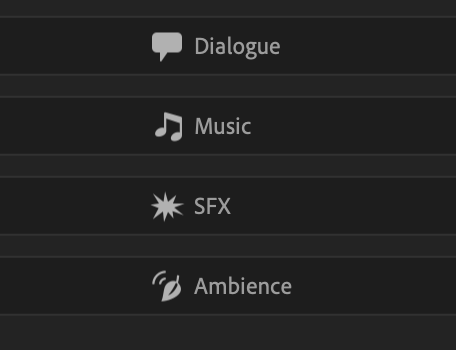
Note clips labeled Dialogue will need to be labeled as such in the Audio workspace. This article won’t focus on this aspect, but here is a brief explanation. Go to Window > Workspaces > Audio.
The Essential Audio panel will appear on the right side of your screen. You can tag selected clips as either Dialogue, Music, SFX, or Ambience, as shown in the Essential Sound panel. You can label the clips as Dialogue and then use those specific clips for your captions.
You might also like our tutorial on How To Fade In/Out Audio In Premiere Pro. All You Need To Know About Audio Fades.
Back to the captions, the following section you can adjust is the language.
The number of languages is limited to English (US and UK), Simplified or Traditional Chinese, Spanish, German, French, Japanese, Portuguese, Korean, Italian, Russian, and Hindi.
More languages will most likely come with future updates.
You then can choose if the transcription should only happen between the in and out points, merging the output with an existing transcription and if Premiere should recognize when multiple speakers are talking.
Select transcribe once you are happy with the selections, and Premiere will begin transcribing the sequence. Once completed, a transcript will appear in the Captions window and separated captions on the sequence.

The captions are easy to edit. Simply click on the box in the Transcript window, and correct any invalid captions.

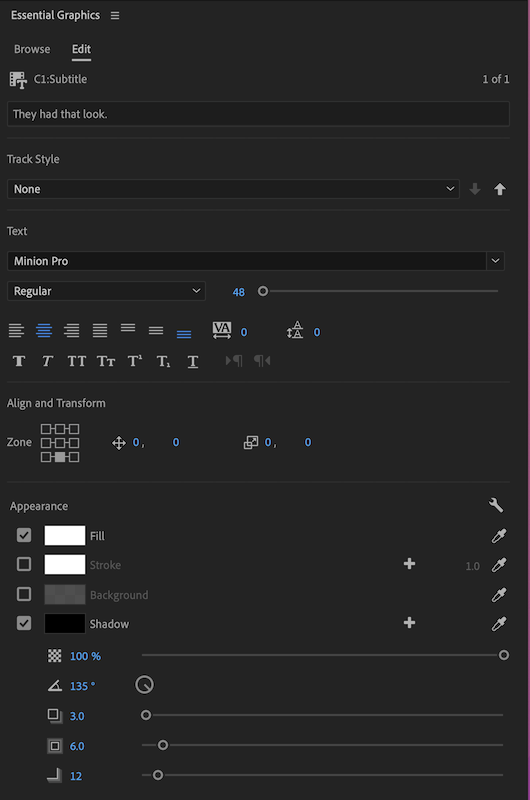
You can also change the text styles in the essential graphics panel, such as the font, size, color, etc.
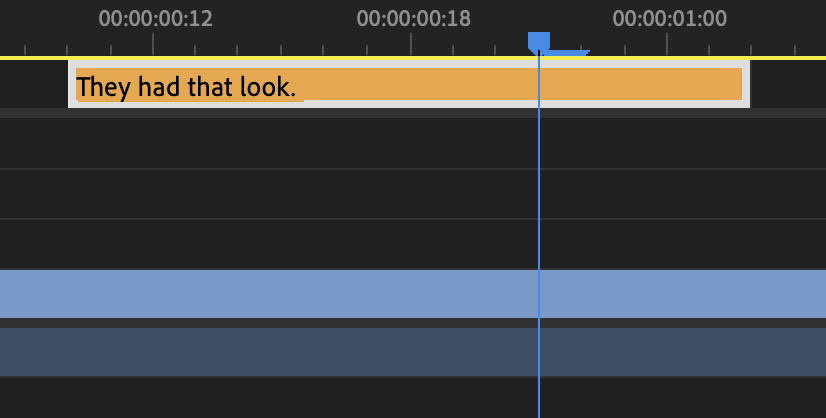
You can also change the timing of the caption directly on the sequence. Simply click and drag the head or tail end of the clip until you are satisfied with the placement.
Again, you can use this method for creating subtitles as well. Simply use the option of transcribing between a specific in and out point on your sequence.
Create new caption track
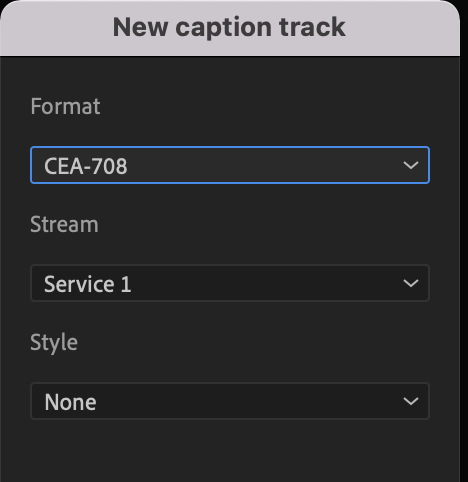
Creating a new caption track is a bit more complicated. This option will bring up a popup window with a few different options.
The first and main option is the Format. All of the options could be an article by themselves, so we will stick with the standard for closed captions.
The current standard is CEA-708, and we will use Stream Service 1. We will make no changes to the Style as there are none.
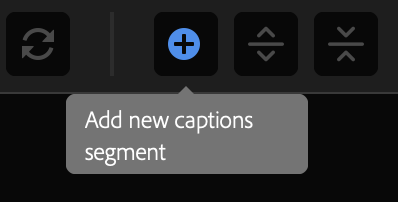
To create a new caption, hit the Add new captions segment button in the photo below.
This will add a new caption similar to what we’ve seen with the auto-captioning used previously.
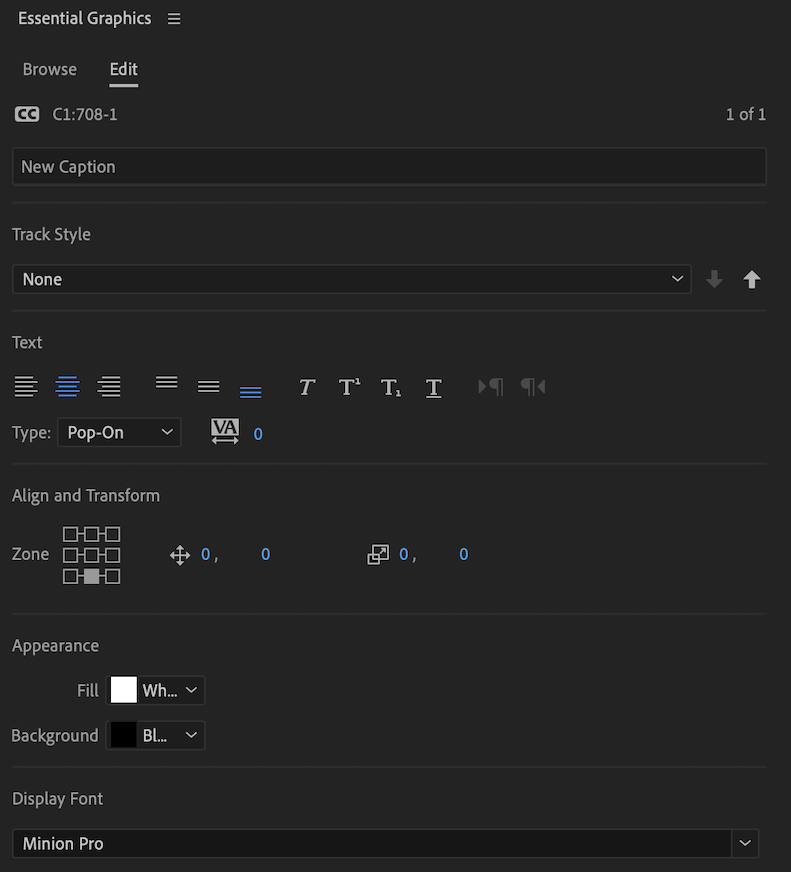
The Essential Graphics panel will be displayed on the right side of the screen. You can see we can adjust the caption’s placement, type, color, font, etc.
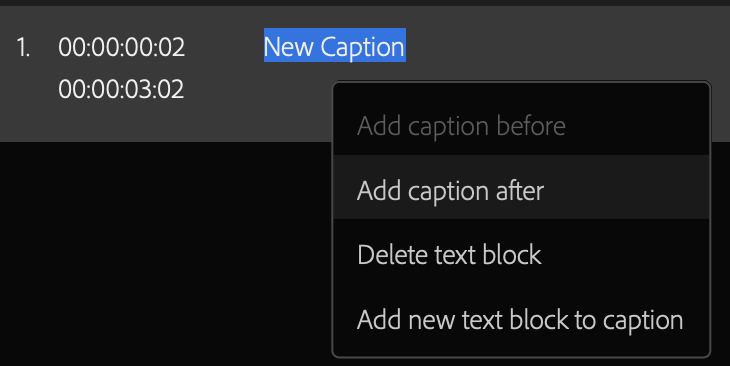
To create another caption, right-click on the current caption and select Create caption after. Repeat for all captions.
You can also manually adjust the captions’ timing, as described earlier, directly on the sequence.
Importing a caption file
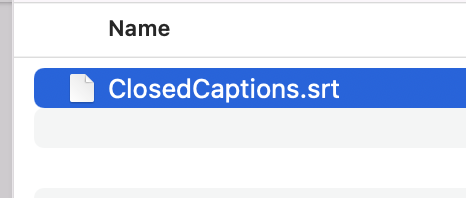
As mentioned earlier, .srt files are the standard close caption files. These files can be created outside Premiere in other captioning software or with an online service such as Rev.com.
Select Import captions from file. Locate your .srt file in the import window.
The New caption track window will appear. You will have the option to select the Format, Stream, and Style just as if you were creating a new caption track yourself. You also have the option of selecting the Start Point of the caption.
Once imported, you can adjust the text, timing, and formatting of the captions just as with the other methods.
How to export closed captions and subtitles
The two primary methods for exporting closed captions or subtitles are burning them directly into the video or creating a separate sidecar file.
Subtitles more commonly have the text directly burned into the video. You won’t have to do anything differently if you use a regular text file, but there are a few extra steps if you use the closed caption method.
Burned in titles
Go to the Premiere’s export screen by either hitting the keyboard shortcut Mac CMD+M or Windows CTRL+M.
Check out our guide to Premiere Pro shortcuts [PC/Mac].
Select your desired video settings. Select the Captions tab near the center of your screen.
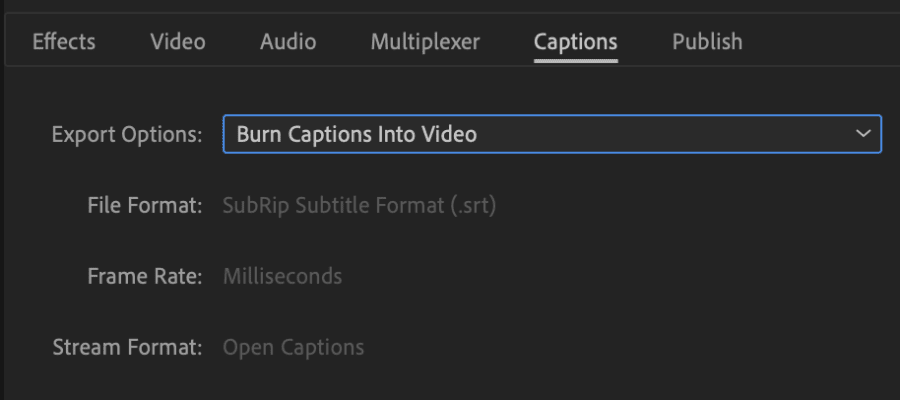
The first option is Export Options which includes a dropdown menu. You can pick None for no captioning, Create sidecar file for creating a .srt sidecar file or Burn Captions Into Video. We will choose Burn Captions Into Video.
Export like normal. The subtitles should appear in the video. This same method can be applied if you create an Open Caption file.
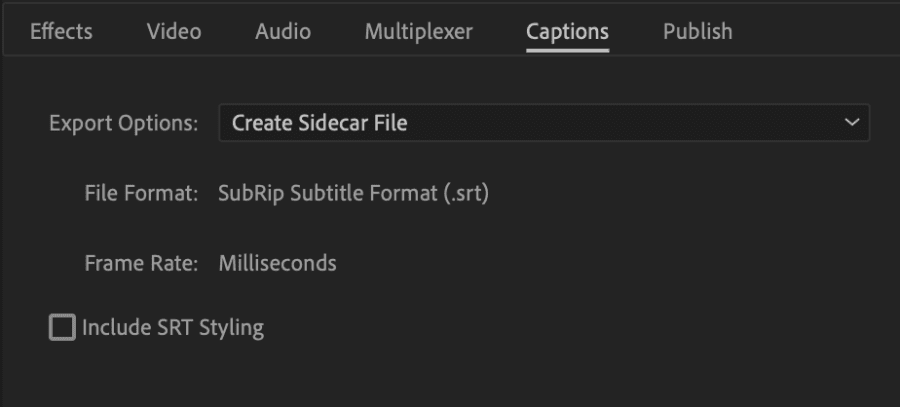
Sidecar .srt file
You will use the same process as above to create the .srt file. Replace Burn Captions Into Video with Create Sidecar file. Export the video like normal. You should see both the video file and .srt file in the export folder once complete.
You might also be interested in YouTube or Vimeo for business. Which one should you choose?
Conclusion
Closed captions and subtitles can be very complex subjects. We only covered the basics as there are many more aspects to both.
This article should guide you through the basics of understanding how to create both types of files.
The basics are enough for creating YouTube videos or posting films on platforms such as Amazon Prime Video.
The complexities don’t come into play until you post content to broadcast television or movie theaters.
Take your time, learn the basics, and you will be well on your way to adding another important skill to your editing tool bag.

