The Essential Graphics Panel in Premiere Pro is a great tool for customizing text, shapes, and other graphics. This is also where all of your MOGRT files, or Motion Graphic Templates, will live inside of Premiere.
See how to create your own MORGT templates using Adobe After Effects in this article.
This article will guide all of the functionality inside the Essential Graphics Panel.
Check out this article if you need an easy way to create end credits.
How to find the Essential Graphics Panel
There are a couple of methods for finding the Essential Graphics Panel. Although the screenshots here are taken on a Mac, it looks the same on a PC.
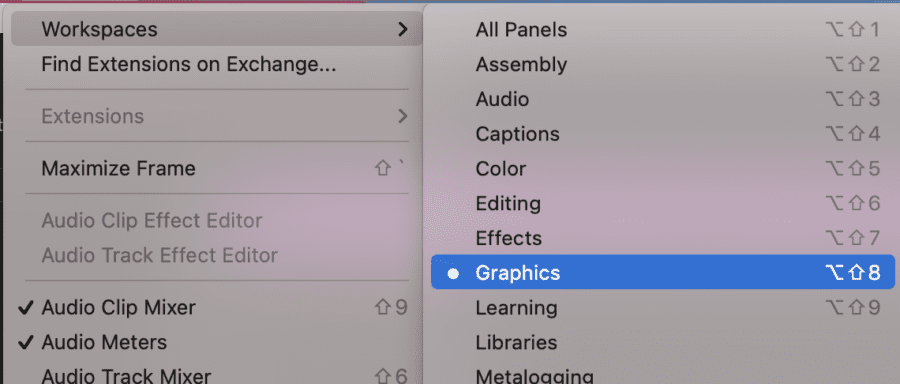
The first method is to go to WINDOW > WORKSPACE > GRAPHICS. Premiere has a custom workspace for the Essential Graphics Panel.
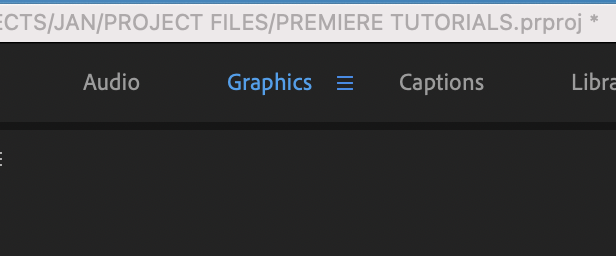
The second method is to find the “Graphics” tab at the top-center space of the Premiere window. Clicking on this will bring up the same workspace as the previous method.
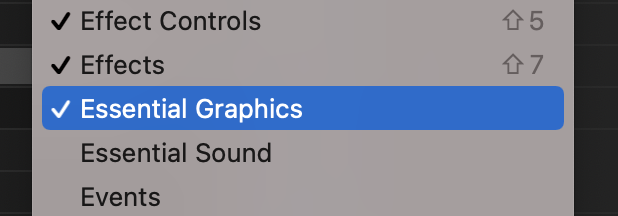
The last method is to add the Essential Graphics Panel to your favorite workspace. You can do this by clicking on WINDOW > ESSENTIAL GRAPHICS.
This will add the tab to your main screen. You can then move the window by clicking and dragging the tab anywhere you desire.
For example, I house the Essential Graphics Panel in the Source window.
I will be using Premiere’s Graphics workspace for this article.
Essential Graphics Panel Layout – Browse Tab
The layout of the Essential Graphics Panel is fairly straightforward.
There are two tabs at the top labeled “Browse” and “Edit.”
The Browse tab is open by default. This is where you will find any MOGRT files installed on Premiere.
The MOGRT files will appear as icons with their titles beneath. These files can be dragged and dropped directly onto the timeline.
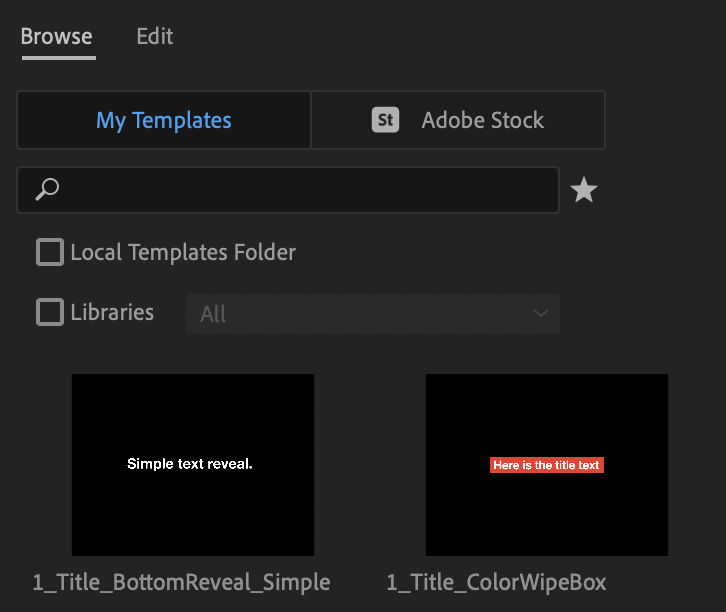
You can also search directly for MOGRT files inside the search bar.
This is useful since all of the installed MOGRT files on Premiere will all show up in one big list.
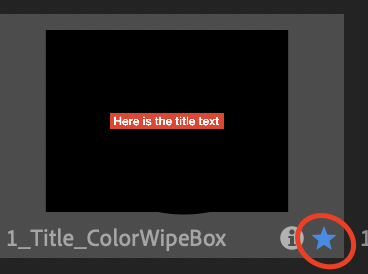
You also can star your favorite templates, which can make the search much easier.
Below the search bar are two checkboxes labeled “Local Templates Folder” and “Libraries.”
Premiere has a folder where all the pre-installed MOGRT files are located.
You can also create your own folders inside Premiere, known as Libraries. This is a great way to organize your MOGRT files into different folders.

There is an icon on the bottom left corner of the Essential Graphics Panel (circled in red on the photo below) where you can import MOGRT files.
You can learn more about how to import and install MOGRT files in this article.
Essential Graphics Panel Layout – Edit Tab
The Edit tab on the Essential Graphics Panel is where you will do all graphics customizations.
The panel will, at first, appear blank because no graphics are selected. However, there is an icon we can click to create a new graphic. It is circled in red in the photo below.
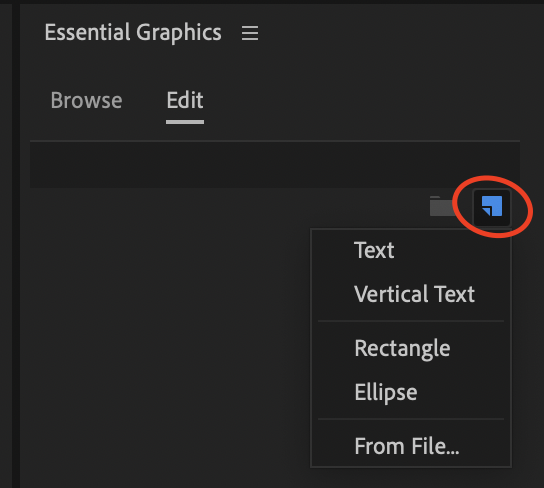
You have five options for graphics from this menu:
- Text – creates a standard horizontal text line
- Vertical text – creates a vertical text line
- Rectangle – creates a shape with four pointed corners
- Ellipse – creates a circular shape
- From file – you can import a graphic into Premiere
As an example, I will create a normal line of text by clicking the “text” option. This will create a new text graphic on the timeline.
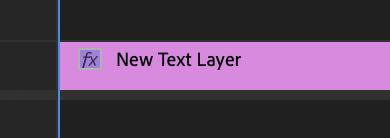
There are now editable options for the text layer in the Edit tab. These are broken up into different tabs depending on their functionality.
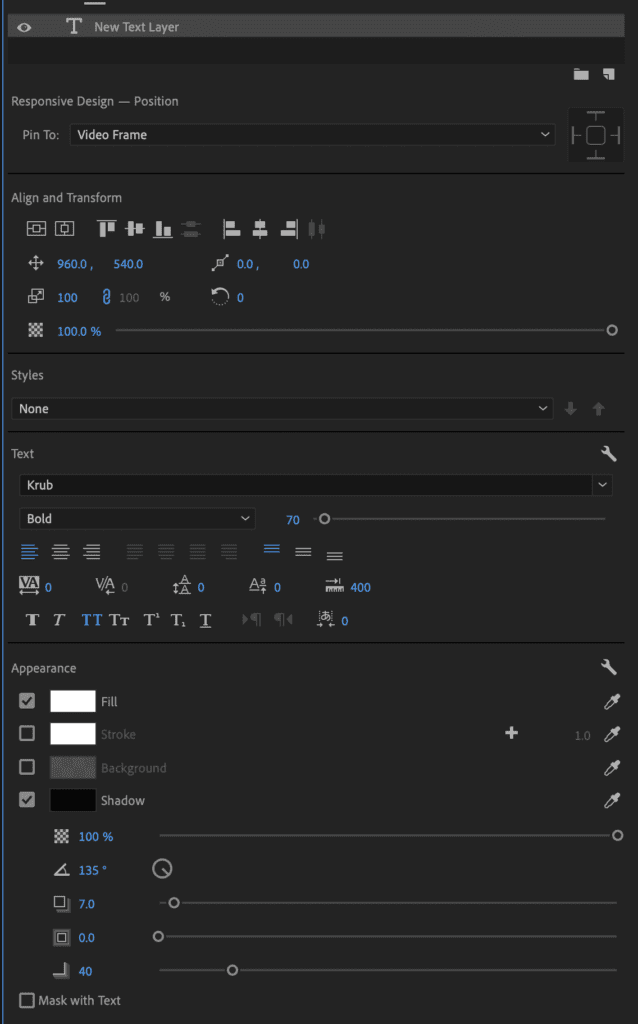
Here’s a brief description of each tab you can edit for text.
- Responsive Design feature allows you to attach the text to a shape layer and have the shape change scaling based on the length of the text line.
- Align and Transform has several buttons for aligning the text or shape layers to different positions on the screen. You can manually change the position, scaling, rotation, and opacity.
- Styles will bring up different styles of the text or shape layer. These are usually pre-made and saved within Premiere.
- Text will allow you to change the different text properties, such as font, font style, size, etc.
- Appearance will change the font color, stroke outline color, background color, and shadow. You can also have the text mask around a shape layer using the “Mask with Text” checkbox.
Almost all of the same options will appear for a shape layer.
The only two that do not appear when a shape layer is created are the Styles and Text tabs. This is because there is no text in the shape.
You can have multiple text layers and shapes within one graphic.
For instance, I created a text and shape layer on the same graphic for this demonstration.
This is a handy feature when you’re creating graphics with multiple layers. It helps keep the graphics clean without multiple layers appearing on your timeline.
You can also put the text or shape layers inside a folder. This allows you to add effects to a specific group of layers.
Applying an effect to the graphics panel will add the effect to every layer below the effect.
Adding effects to the layers inside the folder will only apply the effects to those layers.
Conclusion
The Essential Graphics Panel is a great tool for creating and editing graphics inside Premiere.
It’s a great idea to create text graphics so you can play around with the information from this article.

