How To Crop A Video On Android And iPhone

DISCLOSURE: AS AN AMAZON ASSOCIATE I EARN FROM QUALIFYING PURCHASES. READ THE FULL DISCLOSURE FOR MORE INFO. ALL AFFILIATE LINKS ARE MARKED #ad

As a filmmaker or content creator, your phone can be a powerful tool to record video, edit, or do entire projects. If you are conscious about your lighting, framing, and composition, making an entire film or video on a smartphone with great results is entirely possible.

There are many ways to edit and crop video on smartphones and some beneficial free and paid-for apps you can download.

In this article, we will first look at the simplest way to adjust your shot before briefly suggesting some great applications, and finally, I will give some tips to consider when cropping video.

How To Crop Video On An iPhone Using Camera Roll

If all you want to do is crop a video and export it, it is straightforward to do that with an iPhone. Using the camera roll without any application, you can have a cropped video in only five steps. They are as follows;

1. Open Your Video

Open your phone’s camera roll and select the video you intend to crop.

2. Click ‘Edit’

On an iPhone, you will see the word ‘Edit’ near the lower right corner of the screen. Press that button.

How to crop video iPhone Edit

3. Find The Crop Button

After selecting Edit, there will be a variety of options.

Find the button that is two intersecting right angles. This is universally considered to be the symbol for cropping. Press it.

How to crop video iPhone crop icon

4. Adjust Your Video

Your video should now have a border with bolded corners. You can drag these corners to adjust the video.
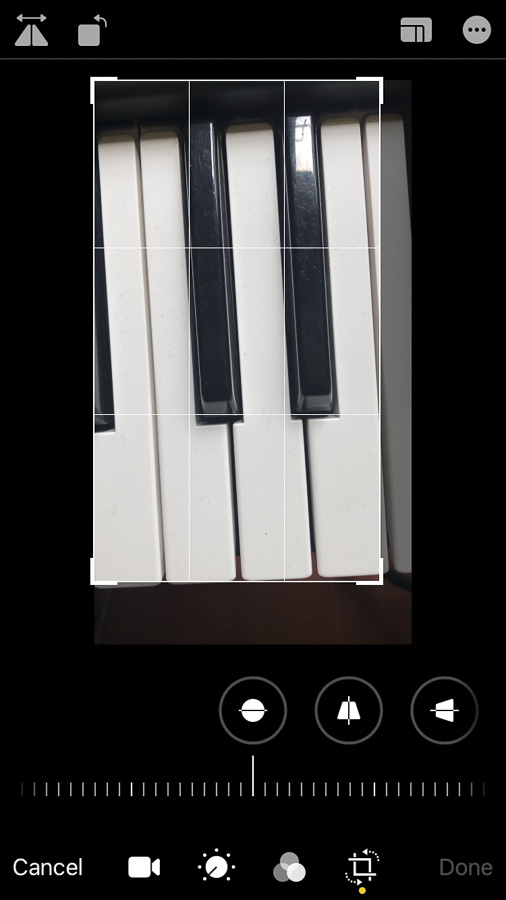
How to crop video iPhone drag white border 2

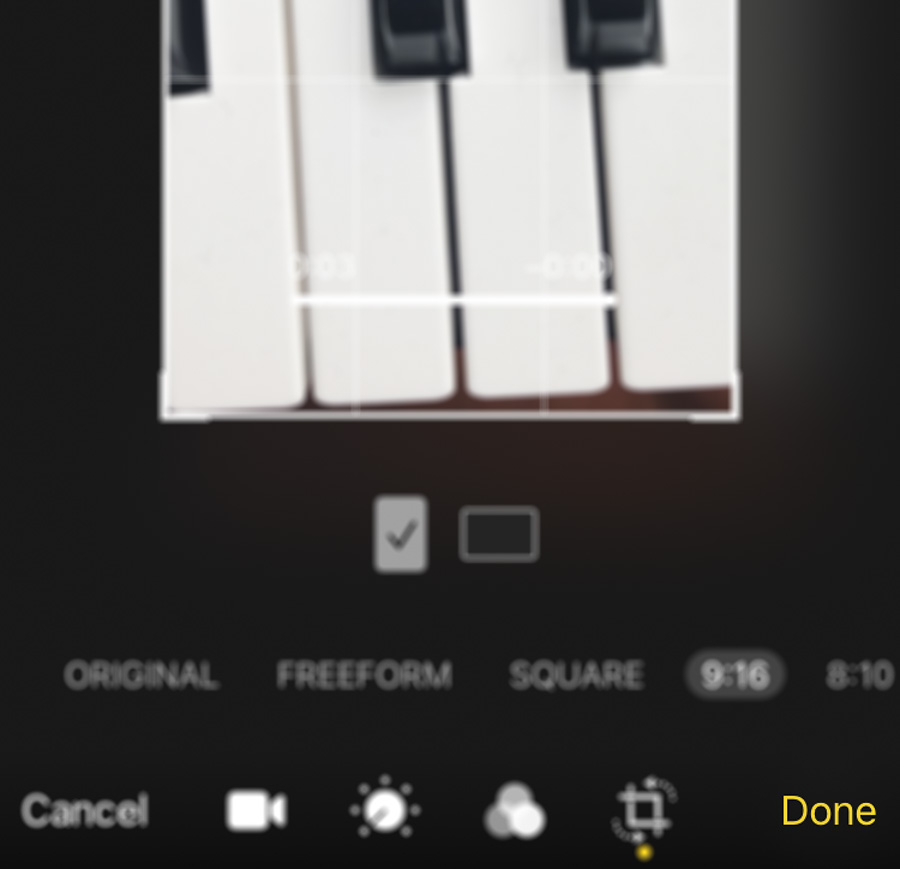
If you’re on an iPhone, in the top right corner, there will also be a box in the top right corner. If you select this, you can lock the dimensions of your crop to whatever your project size is.

5. Click Done

How to crop video iPhone click done

Once you are satisfied with your crop, press ‘Done.’ Your changes will now be saved, and you will have a cropped video to work with!

How To Crop Video On Android

If you’re on an Android, you will need a video editing application to crop video. There are plenty of free options, though, and the process is extremely similar across most editing programs.

To illustrate, I’ll explain the process using the Google Photos app and the free application, CapCut.

How to crop video using Google Photos

Yes, you can use Google Photos to crop video. Here’s how:

1. Open Google Photos

Google Photos should already be installed on your Android device. If not – or if you’ve accidentally uninstalled it – you can download it from Google Play.

3. Choose the video

Choose the video you want to edit

3. Press ‘Edit’

Screenshot 20210715 100843 Photos

At the bottom center of the screen, press ‘Edit’.

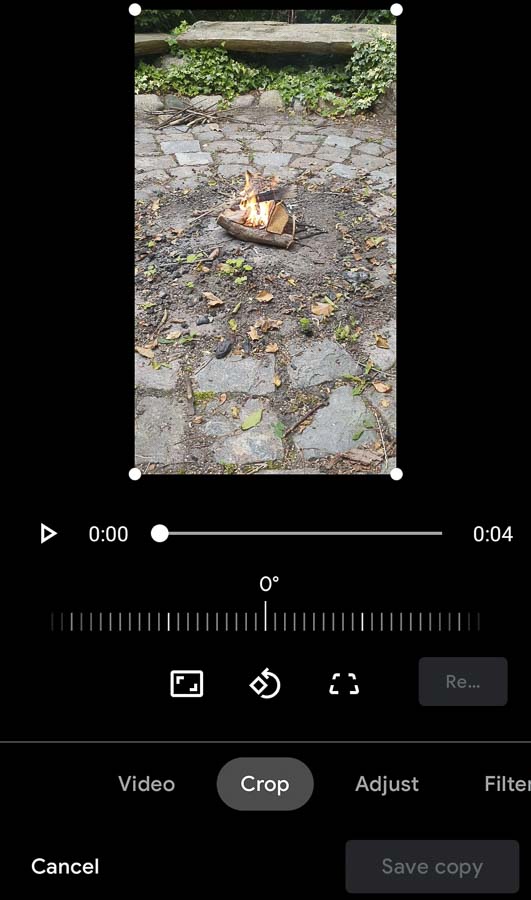
4. Choose Crop
Screenshot 20210715 100903 Photos

Next, choose ‘Crop’. As you can see four white dots appear around your video.

5. Crop your video

Crop your video freely by dragging either of the four dots with your fingers.

Screenshot 20210715 100955 Photos

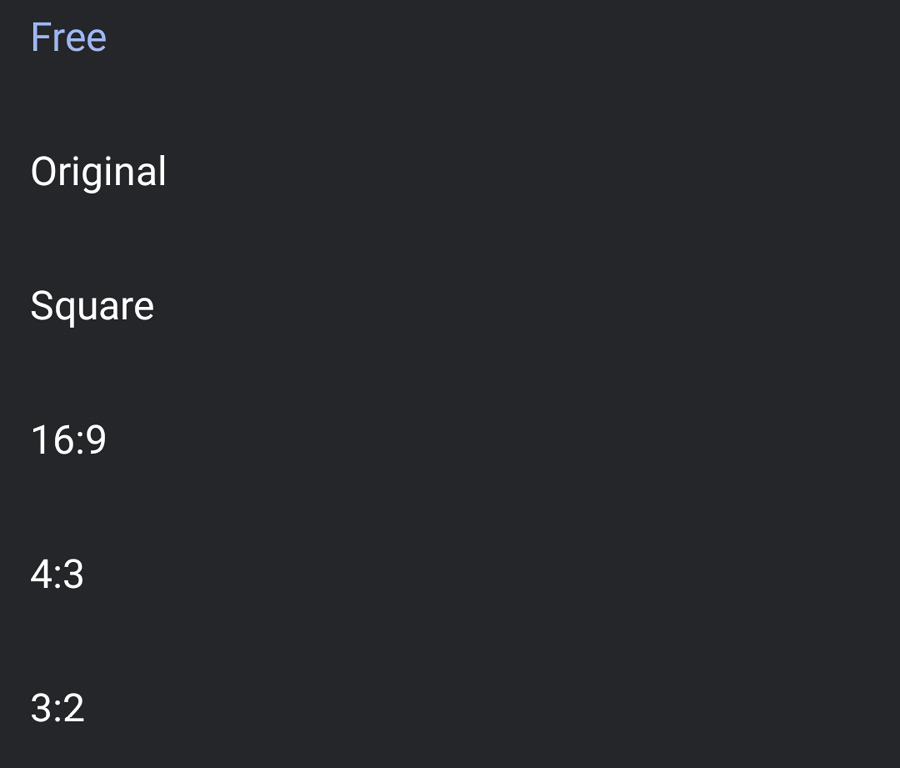
You can also choose a specified aspect ratio by clicking on the small rectangular icon below the video (next to the ‘rotate’ and ‘dimension’ icons):

Screenshot 20210715 100903 Photos 1

Here you can lock your video to whatever aspect ratio you prefer:
Screenshot 20210715 100943 Photos

6. Click ‘Save copy’

When you’re satisfied simply click ‘Save copy’. Google Photos will now make a copy of your cropped video and still keep your original video as well. Nice if you regret the changes.

Screenshot 20210715 100955 Photos 2

That’s it. If you prefer not to use Google Photos, here’s how to crop a video using CapCut instead…

How to crop video using CapCut

CapCut is a free app that is available on Android and iOS, though other applications I recommend are included later in this article.

However, CapCut is a complete editing app, and you can do much more than crop videos. With CapCut, you can then arrange, cut, and adjust your videos on a timeline, previewing your project before exporting.

In addition to basic editing features, CapCut also has stabilization, transitions, effects, the ability to record voiceovers, and the option to add overlays and music. It is completely free, and you can take a project from raw footage to an exported video all in one place.

1. Open CapCut

First, you will need to download CapCut. Don’t worry, though. It’s free! Once it’s downloaded, open the application.

2. Select ‘New Project’

Screenshot 20210715 094143 CapCut

When you open CapCut, you will see a button saying, ‘New Project.’ Press this.

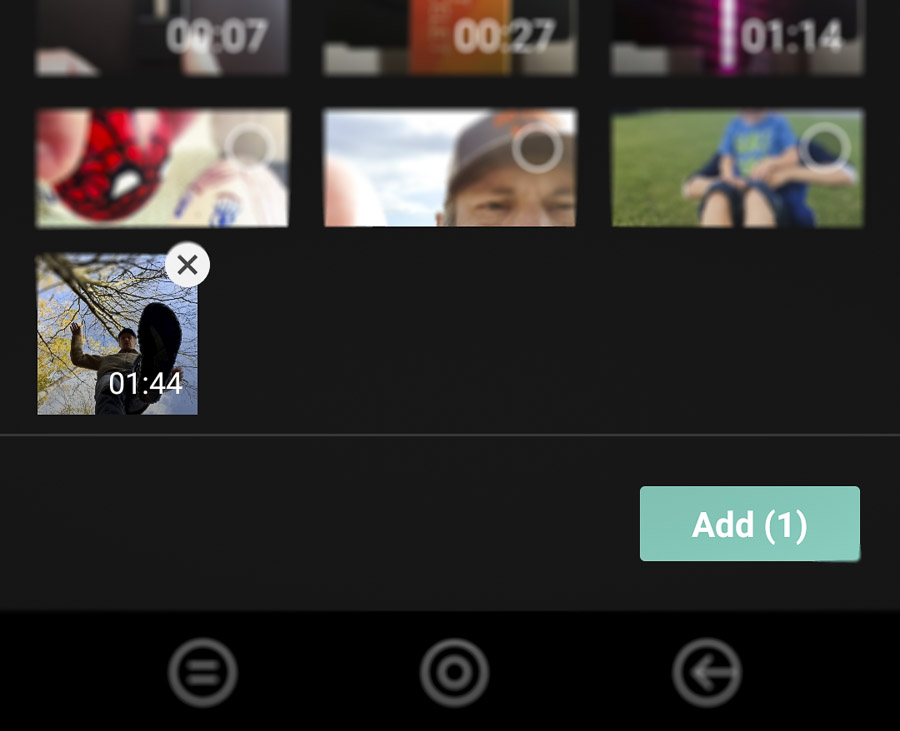
3. Import The Videos You Want To Edit

After pressing ‘New Project,’ you will be prompted to import videos. Select the videos you’d like to edit and press ‘Add.’
Screenshot 20210715 094440 CapCut

4. Select The Video In The Timeline And Press ‘Edit’

From there, choose a clip on the timeline by pressing it. It should now have a white border. Scroll the bottom bar of options to the right until you see, ‘Edit.’

Screenshot 20210715 094719 CapCut

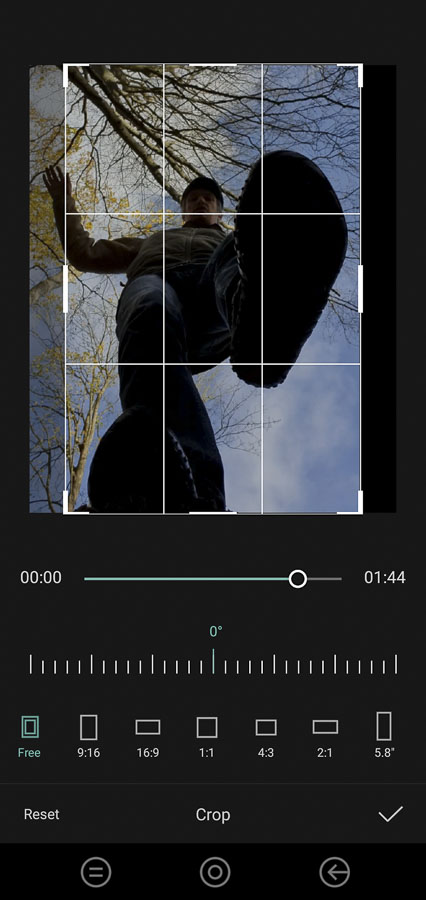
5. Select ‘Crop’

Screenshot 20210715 094737 CapCut

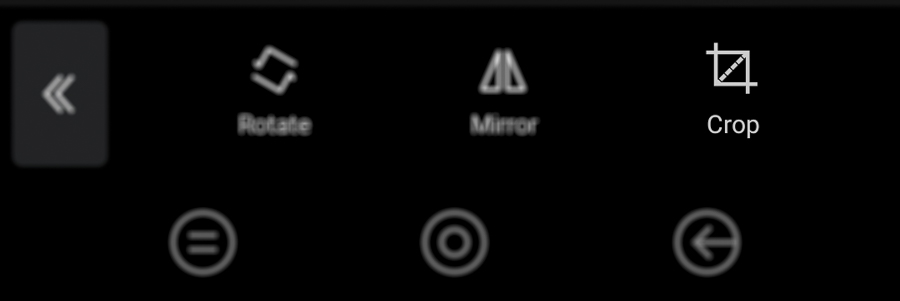
After pressing ‘Edit,’ you will see options to mirror, rotate, or crop your video.

Press ‘Crop’ and adjust the video to the size you desire. If you want to lock the dimensions to fx square (1:1) or widescreen (16:9), there are options to do so:
Screenshot 20210715 094816 CapCut

When you’re satisfied click the ‘tick’ or ‘check mark’ near the bottom-right corner.

6. Delete The CapCut Promotional Clip Automatically Inserted In The End

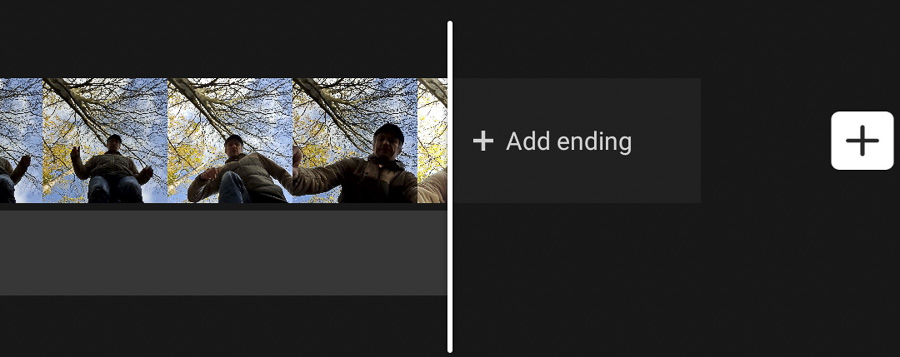
On the free version of CapCut, the app will automatically insert a promotional clip at the end of your video. Don’t worry, though. It’s easy to remove. Simply tap on the clip in the video timeline and click delete:
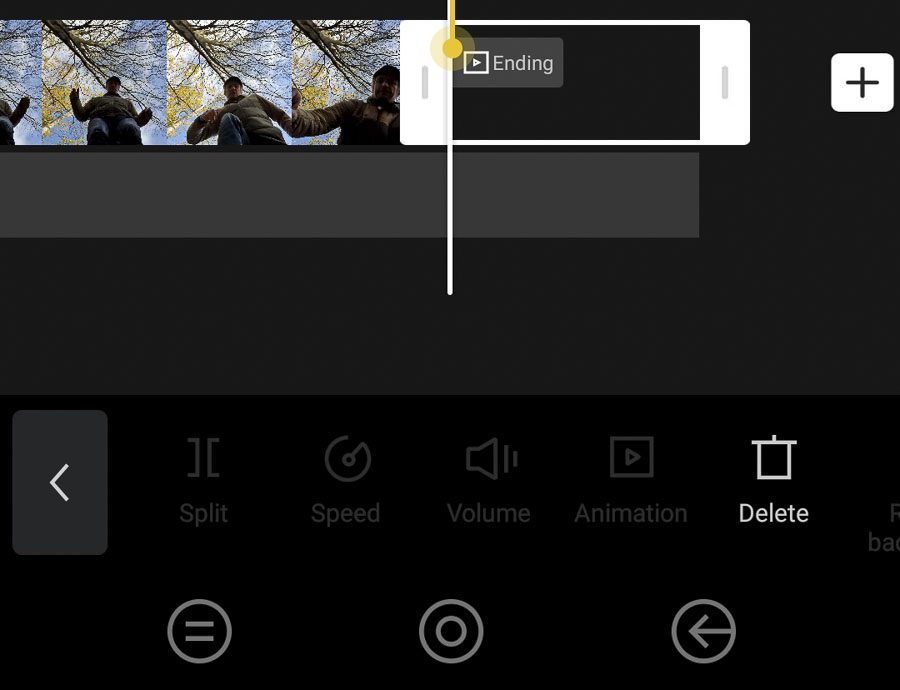
Screenshot 20210715 104046 CapCut

It should now look like so:

Screenshot 20210715 104055 CapCut

Voila! The promotional clip is deleted. And now you’re ready to export your video.

7. Export

To export your video in CapCut, first, click on the small arrow in the top right corner of your screen:

Screenshot 20210715 094837 CapCut 2

Now choose your preferred export settings and click “Export”.
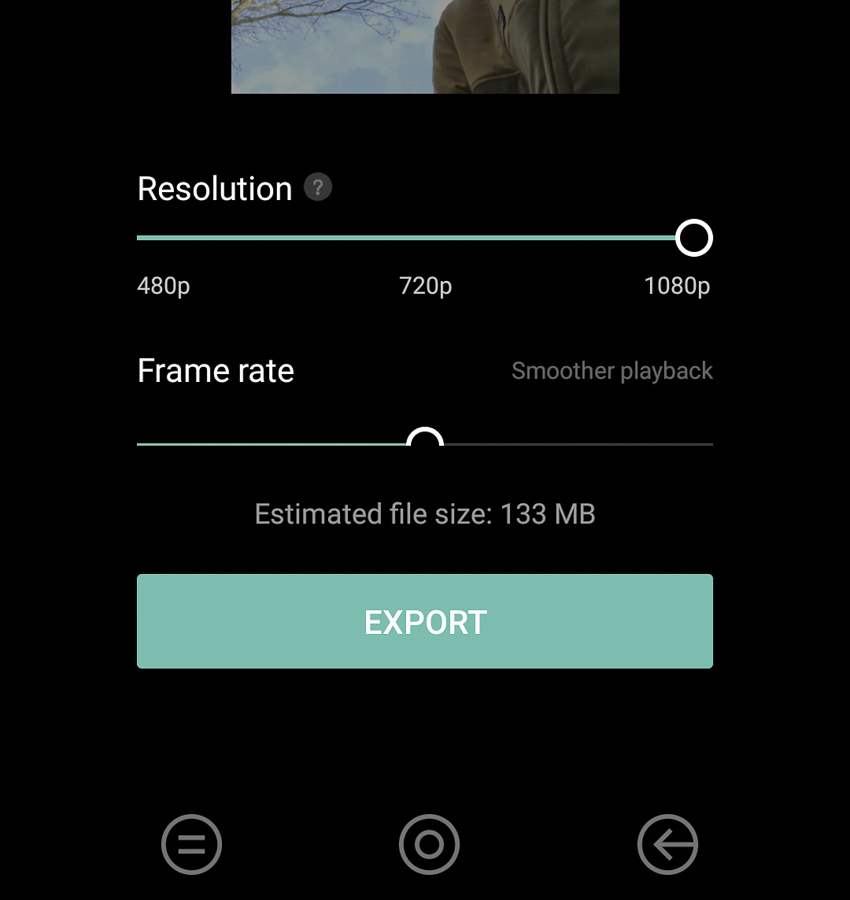
Screenshot 20210715 094846 CapCut

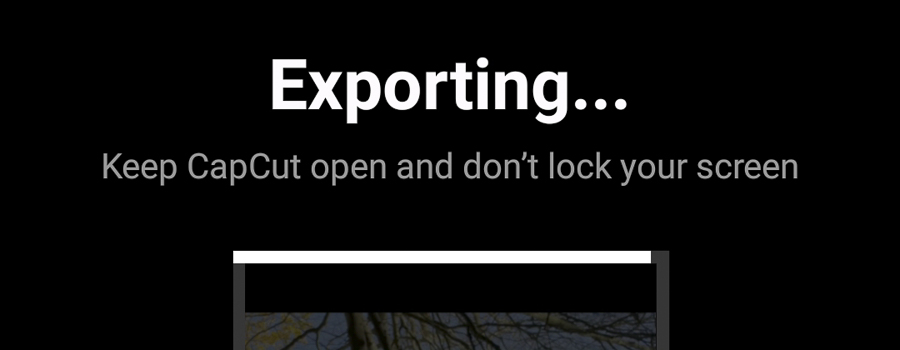
Keep your phone open as the video exports, and once it is done, you will have a new cropped video in your timeline!
Screenshot 20210715 104114 CapCut

Other apps To Consider For Editing Video On A Smartphone

If you’re looking to crop a single video on an iPhone, doing it in the camera roll is simple and quick.

However, if you’re cropping a video to match other ones you’ve taken, hide jump cuts, or using an android, it may be much easier to crop your videos using a dedicated video editing app.

There are plenty of apps out there for editing videos. However, three consistently stand out as the easiest and most intuitive options. These are Adobe Premiere Rush and FilmicPro.

Adobe Premiere Rush

The next app on our list is Adobe Rush. If you have an Adobe Creative Cloud subscription, you can use your account to access this app. It is used for mobile video editing, and if you’ve ever edited in Premiere Pro, Rush will look very familiar.

Much like CapCut, Adobe Rush has a large variety of editing options that will allow you to edit, save and export a project all from your phone. Adobe Rush also has an expanded timeline that allows you to drag your videos freely, stack them, and add multiple layers of audio.

If you’re used to Adobe programs, this app will most likely be the easiest way for you to edit, crop, and adjust video on your phone. It allows for a bit more flexibility than CapCut, so if you’re looking for more control, Rush might be the way to go.

FilmicPro

The third and final suggestion for cropping video is FilmicPro. This is not an editing app but rather used to unlock full manual control of your phone’s camera. It costs $15. However, if you are a dedicated smartphone filmmaker, it is worth it.

With FilmicPro, you can set white balance, manual focus, adjust frame rate, and select your desired resolution when recording and crop your video to that.

There are also various other features, including exposure controls and life analytic feedback like zebra stripes, focus peaking, and clipping, that will assist with making sure the video you’re recording is the best it can be.

FilmicPro has been used by directors such as Steven Soderbergh in Unsane & Flying High Bird and was used in Sean Baker’s Tangerine. It is an absolute must if you intend to shoot professional-grade footage with a phone.

Conclusion

There are plenty of ways to crop video on a smartphone and plenty of reasons you’d want to crop video as well. Still, it is important to remember that while cropping is an option, you shouldn’t rely on it.

Especially if you’re cropping video recorded on the phone, there will be a noticeable drop in quality if you crop in too much. So, as you edit your videos, be wary about trying to fix too much in post.

The most obvious solution is to take extra time when filming to consider your framing and composition.

Still, with the number of editing applications available, it is great to have the option in your tool belt. It is entirely possible to film, edit, export, and share a project entirely using one phone.

What’s more, using the apps mentioned above, a project can look very professional if the appropriate measures are taken.

Do you make content using only a phone? Are there editing applications we missed? Let us know in the comments below, and have fun exploring all your smartphone can do!


Author

  • Cade Taylor

    Cade Taylor is a filmmaker and writer based out of Los Angeles. Originally from Seattle, he continues to work as the Outreach Coordinator for the Bigfoot Script Challenge, where he helps connect up-and-coming writers with industry professionals. When he’s not working on his own projects, helping out with Bigfoot, or covering desks, Cade loves to share what he knows with other filmmakers and promote great content.

Leave a Comment

This site uses Akismet to reduce spam. Learn how your comment data is processed.