Cinematographers use a combination of lights, colors, and shadows to “paint the scene” and draw attention to the most essential aspects.
Choosing the right light type when filming dramatically impacts its quality, mood, and overall aesthetic.
When you want to shape your scene, you have numerous lighting types, such as natural, hard, soft, mixed, etc., at your disposal.
This article will give you more information on light types and lighting accessories and how/when to use them to achieve your purpose.
Table of Contents
Natural Light
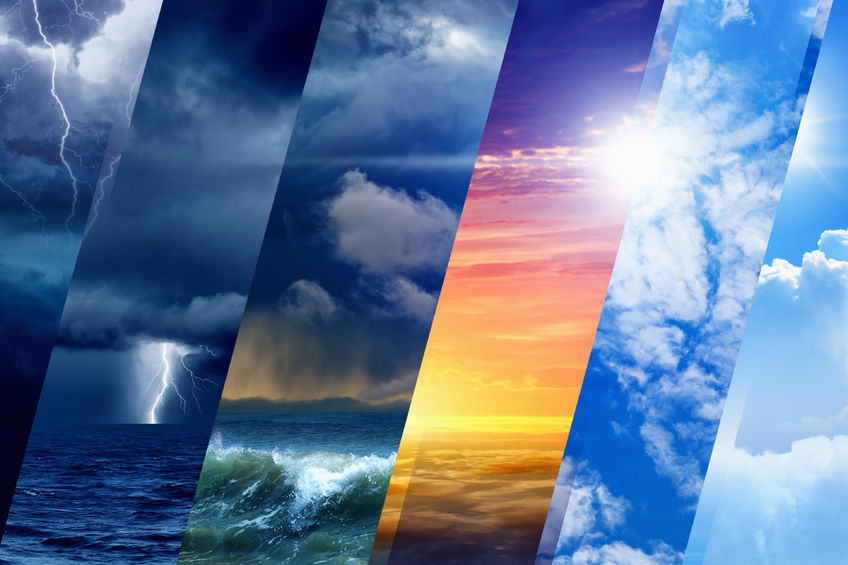
Just as the name implies, natural lightning refers to the light which comes naturally from the sun.
Filming in natural light is pretty common and provides excellent results.
Many Western movies used natural lightning to shoot outdoor scenes. This keeps costs down (since there isn’t a need for artificial lighting), and the resulting video looks beautiful and clear.
This type of lighting is also widely used today.
Check out these movies to see some great examples:
- “Barry Lyndon” (1975), by Stanley Kubrick, uses natural light.
- “The Revenant” (2015) featuring Leonardo DiCaprio was also filmed using plenty of natural sunlight.
Additional lighting sources often help natural light to keep the overall lighting setup consistent.
For example, a slightly cloudy day might alter the visual effect of a scene that should have been filmed outdoors in broad daylight.
That’s why filmmakers use extra lamps to create a consistent color tint across all the filmed scenes.
The Magic Hours: Blue Hour & Golden Hour
The natural light can be slightly different at various moments of the day.
That’s why you’ll frequently encounter terms such as Blue Hour and Golden Hour.
Blue Hour
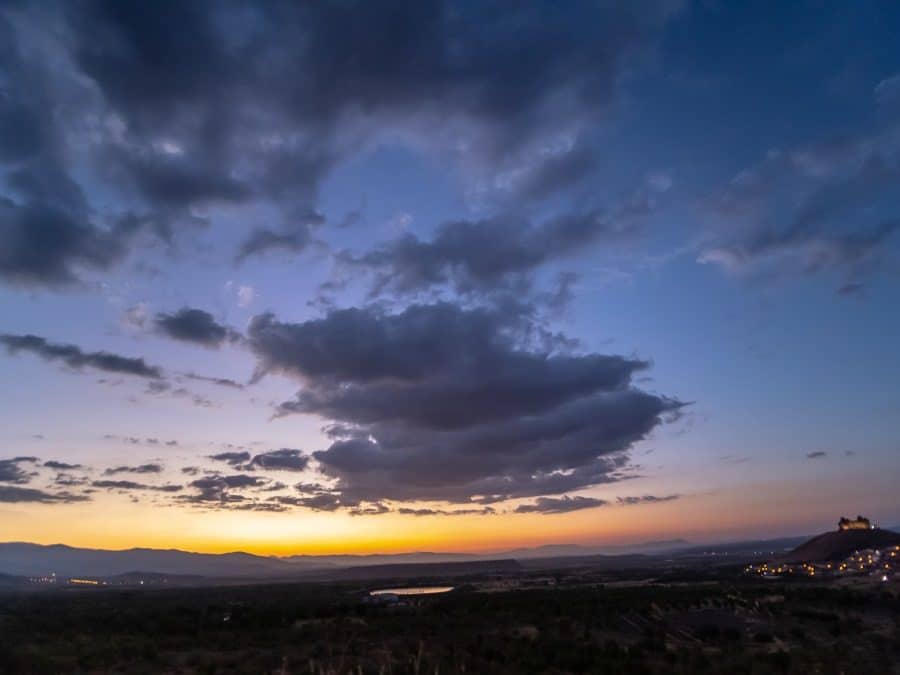
Blue hour is when the sky ranges from blue to dark blue.
How to catch Blue Hour:
- Morning: Happens 30 minutes before sunrise.
- Evening: Happens just after the sun has set below the horizon.
- Lasts approximately 30-40 minutes.
Blue Hour is highly popular among photographers and videographers because, at this moment of the day, the light is soft enough to expose dark areas without needing additional light sources.
Blue Hour offers a broad color spectrum, which makes this time of day perfect for shooting city landscapes or beautiful beaches.
You can also capture beautiful pictures of the Moon in great detail (if you’ve got a good zoom lens).
Golden Hour
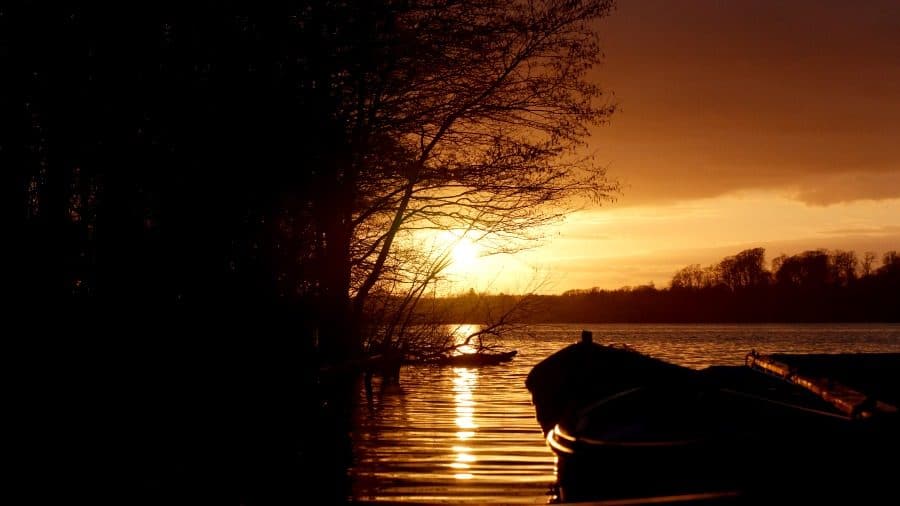
The Golden hour is when the sky offers a wide range of warm colors such as yellow, orange, and red.
How to catch Golden Hour:
- Morning: starts immediately after sunrise.
- Evening: visible during the last hour of daytime before the sun sets below the horizon.
- Lasts for an hour.
Golden hour is great when you want to go for a “silhouette” shot with a completely black subject in front of a bright background.
This works perfectly for objects, humans, and animals.
Front lighting is another way to shoot pictures during the Golden Hour. In this scenario, your subject faces the sun directly, and you can capture beautiful skin details in your picture.
I love this moment of the day because it provides a beautiful, diffused, soft light ideal for capturing pictures and videos of landscapes, people, or animals.
Tip: you can make it a lot easier to shoot during the Golden or Blue hours by using an app that lets you know when it’s the perfect moment of the day based on your current location!
How to deal with the harsh midday sun when filming in natural light

The harsh midday sun can cause significant problems when shooting video.
This is because the excessive brightness creates a big contrast between light and shadow, so you don’t get many details in the picture.
Often, details in the shadows will get lost, and if you try to increase the exposure, you’ll blow your highlights.
At the same time, the colors of the images might not be sufficiently accurate.
However, there are things you can do to ensure you get high-quality photos or videos in broad daylight:
- Put your subject in the shade: try to find a place with many shadows and position your subject there.
- Make the back of the subject face the sun: have your subject turn their back to the sun. This is good because they don’t have to squint their eyes, and you can capture many details on their faces.
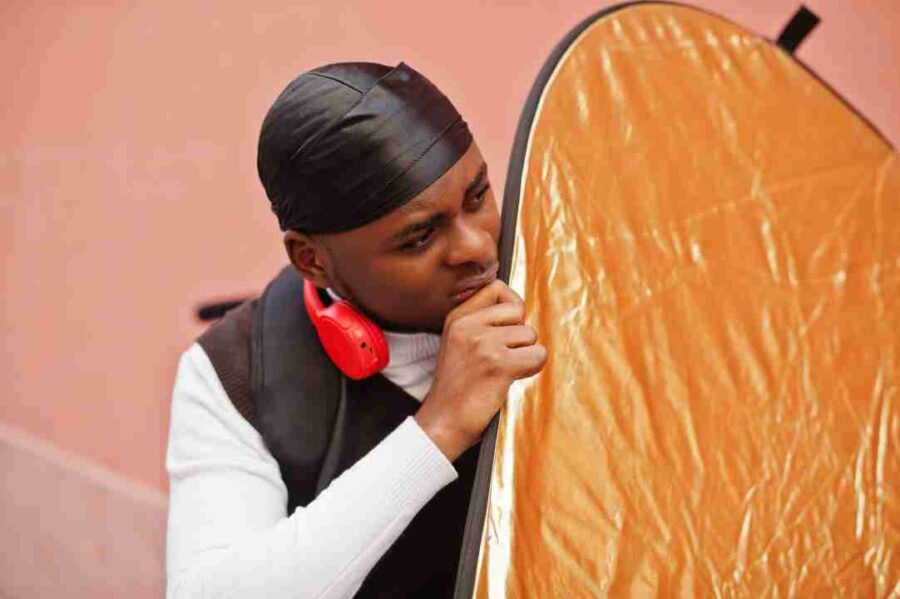
- Use a scrim: a scrim is made from a white or semi-translucent piece of fabric. It softens a hard light source (like the harsh midday sun) and transforms it into a soft white light over your subject.
- Use a reflector: when your subject is standing in the shade or is facing away from the sun, you sometimes need to bounce light back to the subject’s face. You can use a reflector to do this.
You can get golden reflectors (warm color), silver (colder color), or simply a white reflector (neutral color). You can purchase foldable reflectors, but often, a simple piece of styrofoam can do the trick.
Hard Light
Another type of light used in video production is hard light (or hard lighting).
This is the opposite of soft light, which will be covered later in the article.
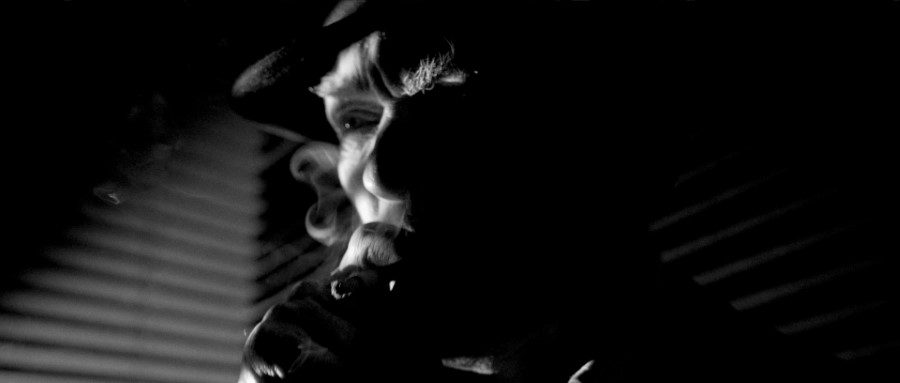
Hard lighting produces sharp, well-defined shadows and highlights, creating a stark contrast between the light and dark areas of the image.
This effect is achieved by using a light source that is relatively small compared to the subject or by directing the light in a way that it falls directly on the subject without being diffused or softened.
Hard lighting can accentuate texture and edges and is often used to create dramatic effects, convey a sense of harshness or reality, or highlight the intensity of a particular scene or character.
It can be seen in various film genres, especially in noir films, thrillers, and horror movies, which contribute to an atmosphere of tension and mystery.
Film noirs such as “Sin City” (2005), “L.A. Confidential” (1997), “Sunset Boulevard” (1960), and “Double Indemnity” (1944) are good examples of films using hard lighting.
If you want to read a more in-depth article on hard-contrast lighting, I recommend you read How To Use Low-Key Lighting For Dramatic Effect.
Soft Light
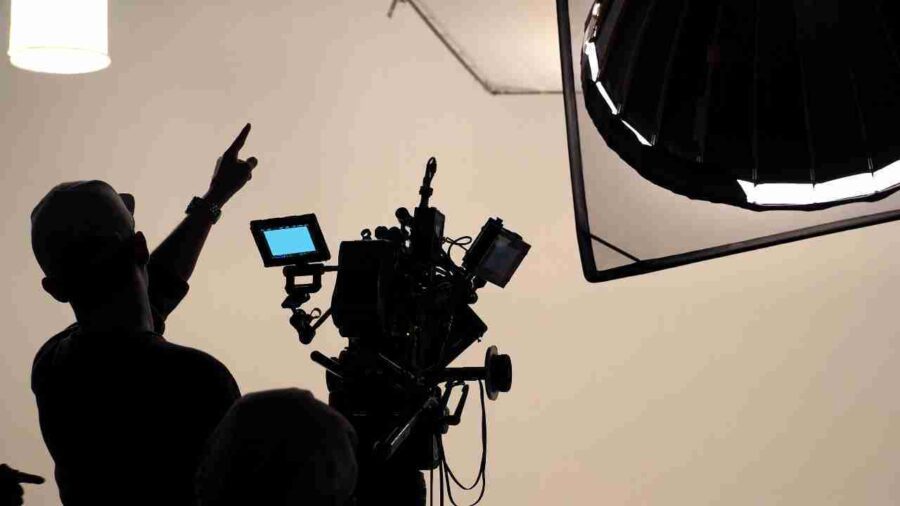
Soft lighting creates a gentle, diffused light that wraps around subjects, minimizing harsh shadows and reducing the contrast between the lightest and darkest parts of the scene.
Soft lighting is often used to create a warm, inviting atmosphere or to give subjects a more flattering appearance, as it smooths out skin imperfections and creates a subtle, natural look.
It’s particularly favored in genres like romance, drama, and certain types of fantasy, where the mood and visual aesthetics benefit from a less stark, more gentle lighting approach.
How to create soft lighting
To create soft lighting, you must spread the light source over a larger area or use diffusers that scatter the light, making it spread more evenly.
Soft lighting can also be created using softboxes.
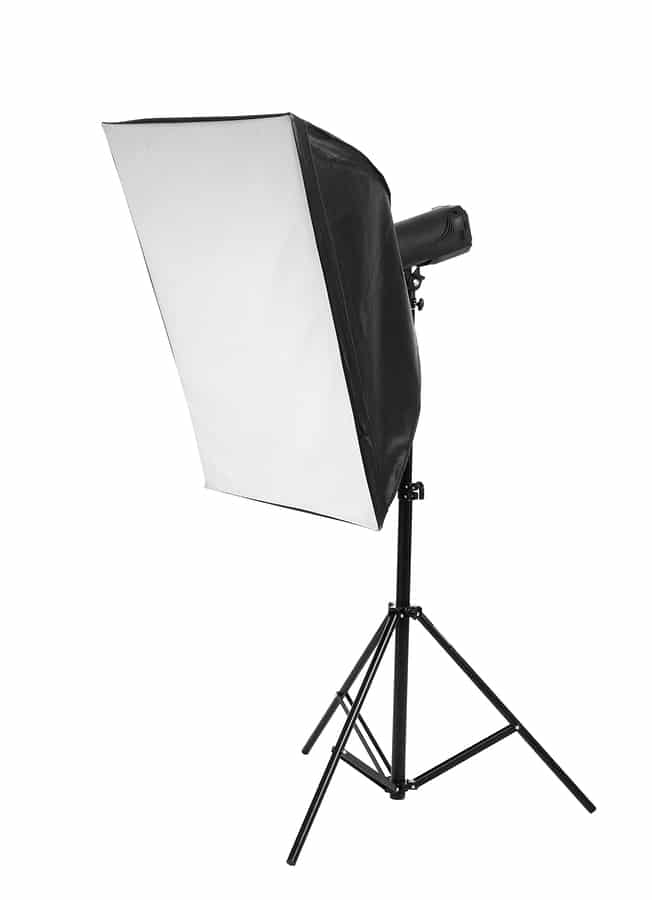
These are simple “box-like” accessories made from semi-translucent fabric.
They have different sizes and are used to cover a light source. The larger the box, the softer the light.
Soft lights can also be created using umbrellas.

The umbrella disperses the light and bathes the subject in a warm, glowing, soft light that casts gentle shadows in the background.
Lastly, you can also create soft lights using China balls.
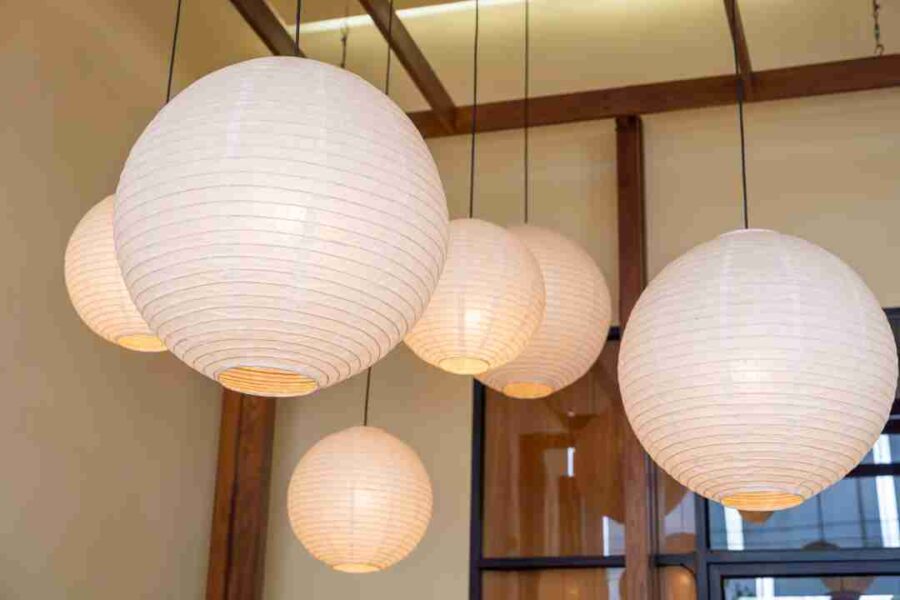
The China ball is excellent as a soft light source, and you can easily change the color temperatures by changing the color of the light bulb inside.
Again, the larger the size of the China ball, the softer the light produced.
Colored Lighting
Colored lighting refers to the color temperature of the light.
Color has a huge visual impact when shooting videos and photos because it can directly influence the viewer’s mood.
For example, did you know that the Harry Potter series became increasingly darker in color in each movie?
In other words, the last movie had an overall much darker color scheme than the first. This was done to emphasize Harry’s increasing emotional struggle and sadness as he prepares to fight Voldemort.
Read more on how color can be used as symbolism in film.
Color temperature on video lights

Color temperature can begin at 1000 K, which is the light given by the flame of a candle. This is a reddish type of light.
Fluorescent light has a color temperature of around 4500 K and is usually bright yellow. The light coming from the sun has a color temperature of 6500 K, and you’ll see it as bright white, etc.
Read more on color temperature in film.
Colored lightning also implies modifying the color of the light to create specific moods or visual effects.
Read more on creating specific moods in movies.
How to create colored lighting
Most lights today allow you to dial in the exact color temperature – from tungsten to bright daylight.
But what if you want to create an FX scene bathed in red, green, or purple?
Today, this can be done quickly using RGB tube lights or LED panels.
RGB LED panels allow you to change not only the color temperature of the light but also the actual color very precisely by dialing in the exact color temperature you want.
If you don’t have any RBG lights, you can still do it by using special types of gels (aka filters).
These accessories feature various colors, from red, green, and yellow to purple, blue, and black, and you can attach them to the front end of your light.

The gels come as colored sheets of plastic and cover the light sources.
The light cast by the source might be white, but the applied color gel (a red one) gives it a reddish tint.
As you can probably imagine, you can have a lot of fun playing with different colored gels to achieve various visual effects!
Be careful using them on a very hot light source since it might melt the gel. This problem isn’t as big with LED spots, but it is still something to consider.
Mixed lighting
Mixed lighting uses multiple light sources with differing color temperatures and qualities within the same scene. This approach can create a more dynamic, visually interesting, or naturalistic environment, depending on how it’s applied.
You can use mixed lighting to achieve aesthetic effects or reinforce narrative elements.
For instance, a scene might combine the warm glow of a candle or a lamp (tungsten light) with the cooler, bluish light of the moon or streetlights (daylight or LED) filtering through a window, creating contrast and depth or suggesting a particular time of day or emotional tone.
Mixed lighting can also highlight contrasts between characters, environments, or thematic elements within the story.
The key to using mixed lighting effectively is balancing the different sources to achieve the desired visual outcome without causing unwanted color casts or shadows unless these serve a specific purpose in the narrative or visual composition of the film.
Common Challenges and Solutions to shooting in mixed lighting
Mixed lighting can create challenges in achieving a consistent look and feel in film.
Below are some common challenges associated with mixed lighting and potential solutions to overcome them:
1. Color Mismatch
Challenge: Different light sources (e.g., sunlight and fluorescent lights) have different color temperatures, leading to mixed color casts in the scene that can look unnatural.
Solution: Use color correction gels on your lights to match their color temperatures. For example, if you’re mixing daylight with tungsten light, you can gel the tungsten light with blue gels to match the daylight. In post-production, color grading tools can also balance the colors.
2. Lack of Depth
Challenge: Flat lighting caused by improperly balanced mixed lighting can result in a lack of depth in the scene.
Solution: Use three-point lighting techniques to ensure your subject is well-lit from all relevant directions, creating depth. Adjust the intensity and direction of your lights to emphasize texture and contours.
3. Inconsistent Lighting Across Takes
Challenge: When shooting over a long period, the quality of natural light may change, leading to inconsistencies in lighting between takes.
Solution: When possible, control the natural light using flags or diffusers. For indoor scenes, consider using artificial lights exclusively to maintain consistency. Monitor the light’s color temperature and intensity throughout the day and adjust your setup as needed.
4. Difficulty in Matching Shots
Challenge: Scenes shot at different times or locations may be complex to match due to variations in lighting conditions.
Solution: Use a gray card or a color chart while shooting to help ensure consistency in color balancing during post-production. This makes it easier to match colors and exposure between shots.
5. Dealing with window light and artificial lights
Challenge: In a typical indoor scene, light from a window can make highlights have a cool tint on one part of your subject and a warm tint on the other.
Solution: First, try to move the subject to a different spot in the room, far away from the window. Also, try blocking/gelling windows. Use black curtains to block the sunlight or gel the window to create consistency regarding white balance. Or reverse the process by changing the color temperature on your lights or lightbulbs to match the outside light.
Conclusion
As you can see, there are many things to consider regarding light types, light sources, and how to manipulate them correctly to achieve the correct results.
It’s all about experimenting and imagination.
Once you learn the ropes, creating stunning videos and photos will be much easier by playing with lights/shadows and lighting setups.
Up Next: Lighting accessories and modifiers.

