No matter how good your video footage is, it’s only half the picture. You also need good audio. Capturing good audio is a cheap and effective way to improve your work dramatically.
So, let’s look at the different types of microphones, the situations you will use them in, and some suggestions for gear to get you started.
Key Takeaways
- Use external microphones over built-in ones for better sound quality.
- Select a microphone that suits your scene, such as a shotgun for directional audio or Lavalier for discreet dialogue.
- Get an external preamp/recorder for the best-quality audio. Route this sound in-camera – or sync it in post-production with audio from your camera’s internal mic.
Table of Contents
Why you Should Upgrade your Sound: Your Camera’s Built-In Microphone sucks!
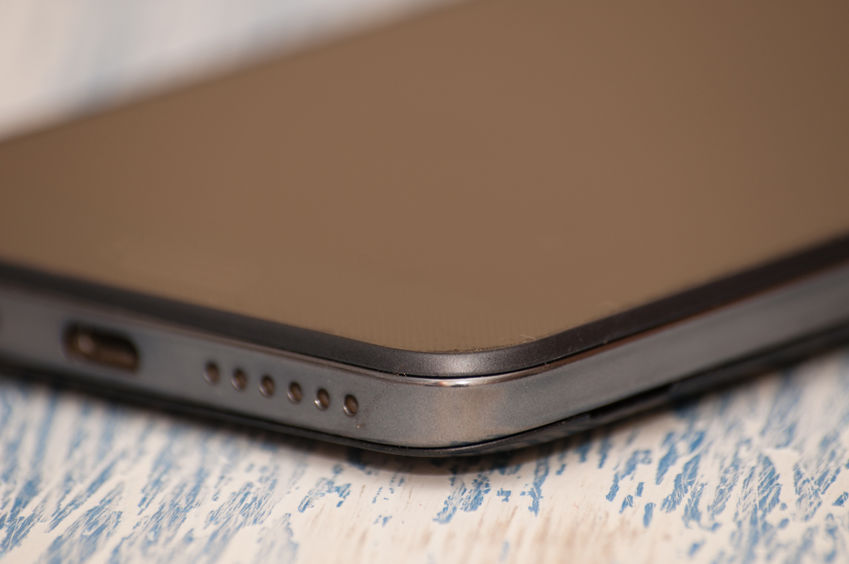
Many people have a lower tolerance for bad audio than bad video, and your camera’s built-in microphone may leave something to be desired. You don’t want poor audio to hamper what could otherwise be a great project.
The built-in microphones only work close to your subjects and in very quiet settings for most DSLR cameras.
Even in these environments, the sound quality is lower than that of audio from a dedicated professional recording device. You might even pick up the noise from your lens while focusing or zooming.
Fortunately, there are many ways to improve your sound quality, from camera-mounted microphones that plug directly into your DSLR camera to dedicated audio recorders for getting professional audio.
That’s not to say you need to spend hundreds of dollars on a top-of-the-line microphone immediately. Many budget-friendly products are available, from smartphone-compatible to studio-quality microphones.
Let’s look at some good choices for upgrading your audio game!
Shotgun Microphones
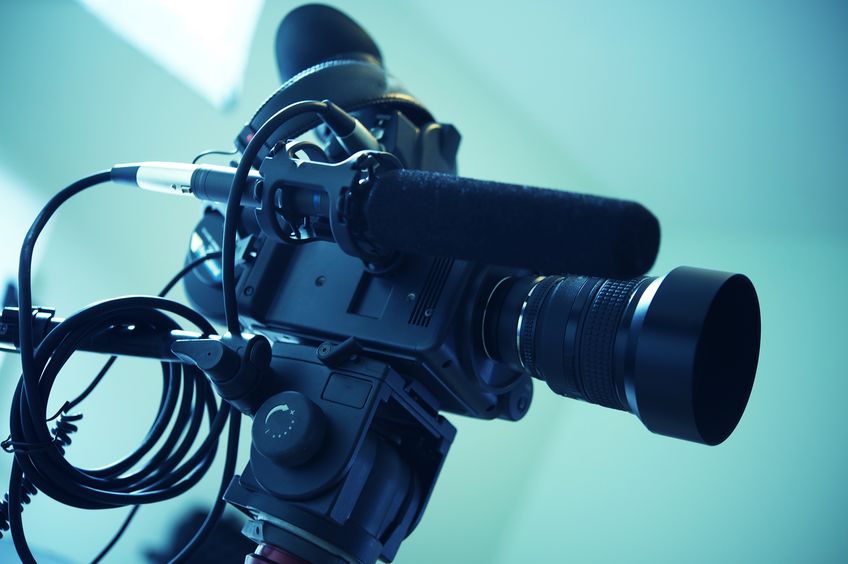
A camera-mounted shotgun microphone is a straightforward way to boost your camera’s sound quality. Many have a 3.5mm jack to connect to most DSLRs and mirrorless cameras.
Shotgun microphones come with unidirectional microphones, which record sources directly in front of the microphone. This minimizes the noise from the sides or behind you as you record.
Since many of these can be mounted directly on your camera, they are perfectly suited for capturing audio as the action plays out. Alternatively, these mics can be mounted on a boom pole to help maneuver the microphone closer to the action.
There are various types of shotgun microphones, which can be divided into on-camera microphones and traditional shotgun microphones.
On-camera Microphones
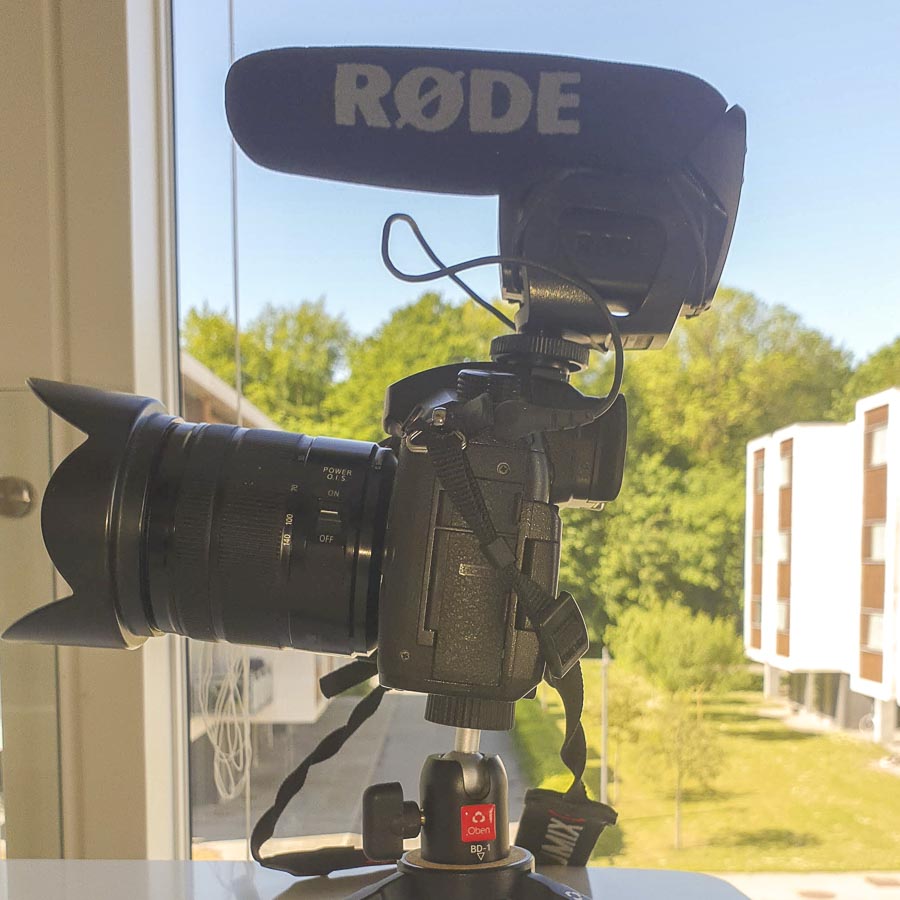
On-camera microphones are a type of shotgun microphone that you mount on top of your camera. They are typically less directional than a traditional shotgun microphone, meaning they’ll pick up more of the room acoustics.
On-camera microphones are typically equipped with 3.5mm mini-jacks that can be plugged into the camera’s mic input. This gives you synced audio and video, as both are recorded in-camera.
Also, if you plan to hold your camera in your hand while vlogging, an on-camera microphone is a great choice.
These are often not the highest quality microphones, and you may want to get the microphone closer to your subject for less noise and room acoustics if you want the best possible audio.
You can read more about on-camera microphones and find popular choices in our guide to some of the best budget on-camera shotgun microphones.
Traditional Shotgun Microphones
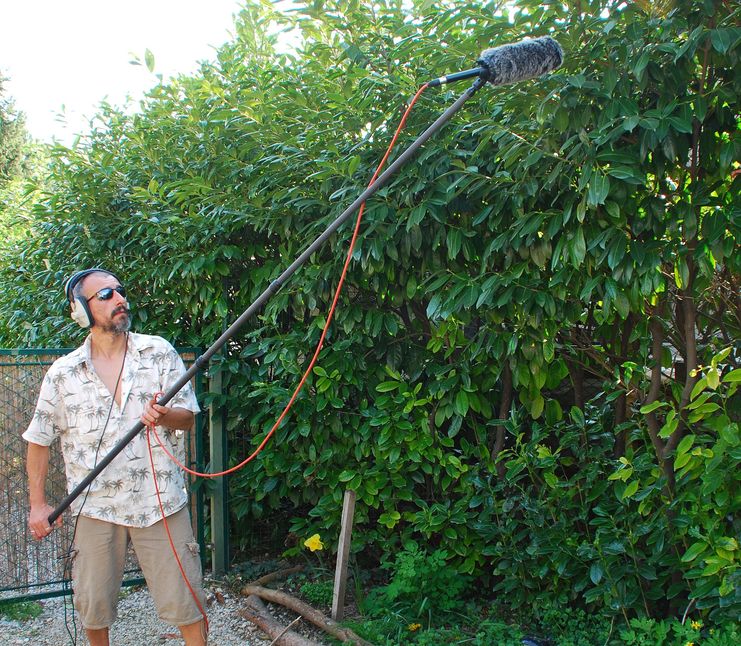
Traditional shotgun microphones are typically more directional and pick up less of the room than an on-camera microphone.
Traditional shotgun microphones have XLR cables and are less prone to (self-)noise. XLR also means a more secure microphone and recording device connection.
Shotgun microphones are great when paired with an external audio recorder or preamp, which I’ll cover in a minute.
Read more about traditional shotgun microphones in Shotgun Microphones And Boom Poles For Filmmaking.
Lavalier Microphones
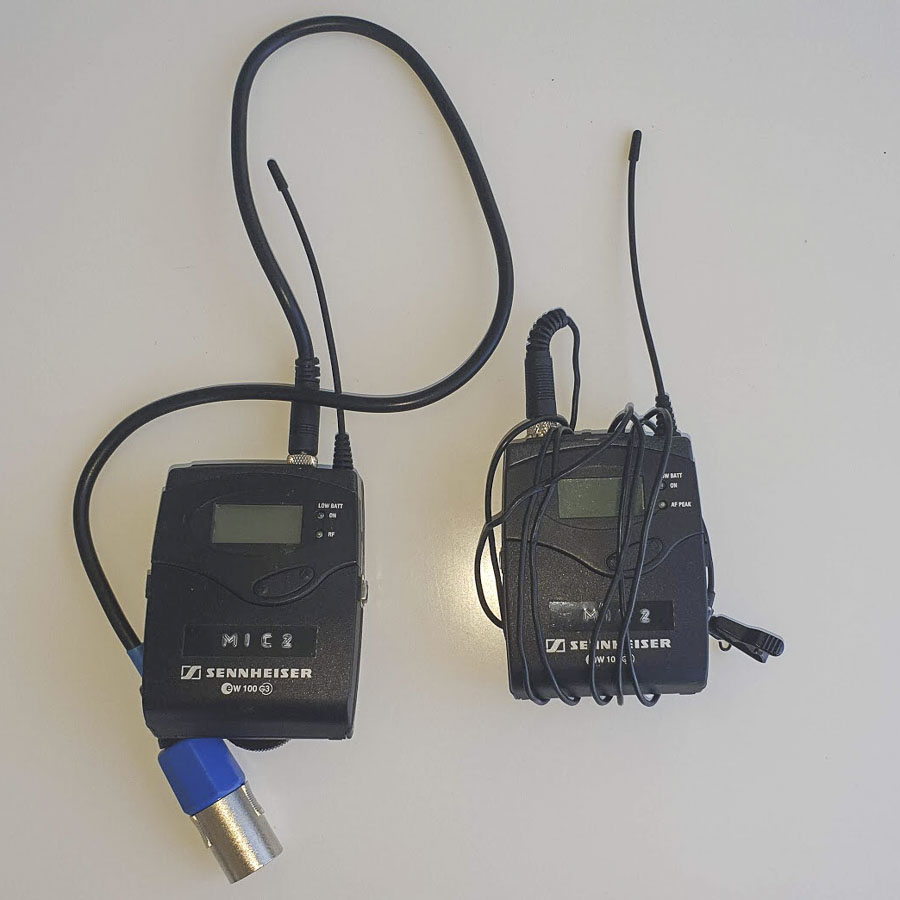
Another way to capture audio is with lavalier microphones (lav mics). You can discreetly clip these small microphones onto a shirt collar or lapel. This allows you to record and optimize the audio for your subjects individually.
See five ways to hide a lav microphone under clothes.
Often, lav mics are used in interview settings or for a seated or semi-stationary conversation. Since your microphone is located directly on your source, you can get consistently well-balanced audio while minimizing background noises.
Many lav mics plug into a wireless transmitter with a receiver you can connect directly to your DSLR camera or an audio recorder. Alternatively, like traditional shotgun microphones, you can record your subject with a separate recorder and sync the audio and video in post-production.
Many lav mics connect to smartphones. Though this doesn’t allow you the most control, it is a cheap alternative to buying an external recorder.
Pro Tip: Remember to tuck the microphone cables and wires away to clean up the scene, and be wary of any noise caused by the subject moving or placing the microphone next to fx a zipper. Also, be wary of fabric that is prone to static electricity.
You can read more about Lavalier microphones in our guide to some of the Best Budget-Friendly Lavalier Microphones With Great Sound Quality.
Recording Audio Off-Camera
For the highest-quality audio, you will need XLR-compatible microphones. These setups are more involved since many prosumer cameras do not have an XLR port.
This often means recording to a dedicated external recorder, using an external audio module or a preamp to give you the most control over your sound quality, and having to sync video and audio in post.
If you don’t run the audio from your external recorder/preamp/audio module into your camera, always remember to record scratch audio from your camera’s internal mic! That way, you can use that crappy audio to sync with the better audio from your recorder!
External audio recorders. Pros and cons.
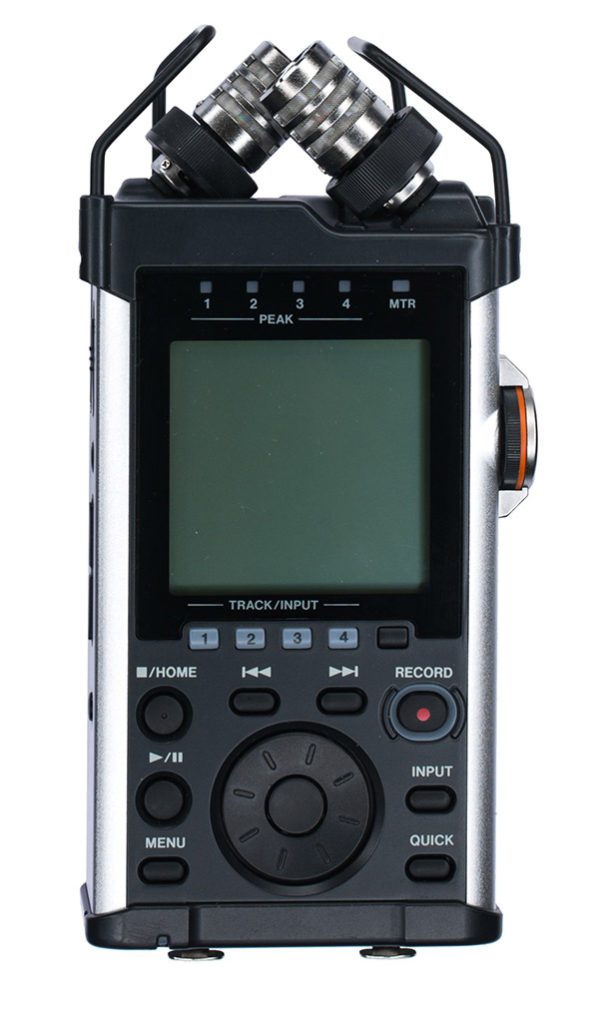
An external audio recorder, like those from Zoom, is a portable device designed for high-quality, on-the-go sound recording for music, interviews, and other audio projects.
A dedicated recorder records the sound instead of your camera and has built-in preamps. This will allow you more freedom with where to place a microphone. For example, you can mount a shotgun microphone and recorder.
With an external audio recorder, you can control sound levels and monitor sound quality during the shoot. You can also manage several audio inputs simultaneously, which is always a good practice in case one of your microphones fails.
This setup is great if you have someone dedicated to capturing audio, but it can be a bit much if you are filming individually.
Using a separate recording device makes syncing audio and video in post-production difficult unless you connect the recorder’s aux output to the input on your camera (meaning more cables and less flexibility in placement).
External XLR Preamp Modules. Pros and cons.
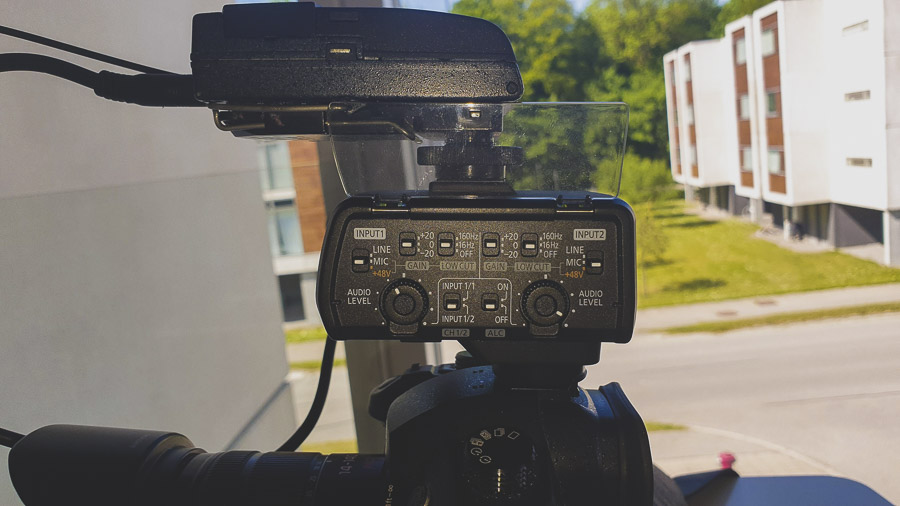
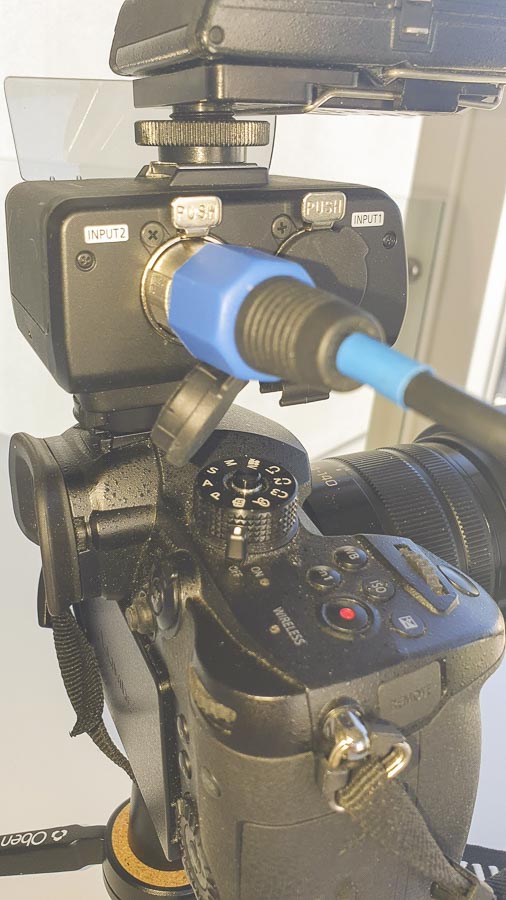
Another option is to use an external XLR module, like the XLR1 for Panasonic cameras, that you attach to your camera hot-shoe. The module gives you more control over your audio than possible in-camera and has better preamps for a cleaner sound.
The nice thing about using a module such as this is that it feeds the audio to your camera, so you don’t have to sync the audio and sound in post-production as you do with an external recording device.
The downside to this module is that it needs to stay on top of your camera. So, you might need some long XLR cables if you place a shotgun microphone on the microphone stand next to your subject.
Pro Tip: If possible, always gather two sources of audio, e.g., a from a lavalier and a shotgun microphone. That way, you’ll have more control over the sound when editing your footage.
Plus, you’ll have a backup sound source if your microphone suddenly stops working or your actor or interviewee suddenly scratches themselves near the lavalier.
External Preamps. Pros and Cons.
A microphone preamp (short for preamplifier) amplifies weak signals from microphones to a level suitable for processing and less noise (better signal-to-noise ratio). In short, it makes your microphone sound better but doesn’t record sound internally!
The primary functions of a microphone preamp include:
- Gain Control: Amplifying the mic-level signal to a more usable level. The amount of gain applied can vary, and it’s adjustable to accommodate different types of microphones and recording situations.
- Phantom Power: Provides power (typically 48V) to condenser microphones (such as shotgun microphones), which require external power for their internal electronics to operate.
- Tone Shaping: Some mic preamps also offer tone-shaping options such as equalization or high-pass filters to modify the sound at the earliest stage of the signal chain.
Next, you’ll need to route the sound from the preamp into your camera or an external recording device.
The nice thing is that you can get small preamps that can easily be mounted to your camera cage, essentially making them like dedicated modules like the one above from Panasonic or those found on camcorders.
XLR Microphones and XLR adapters
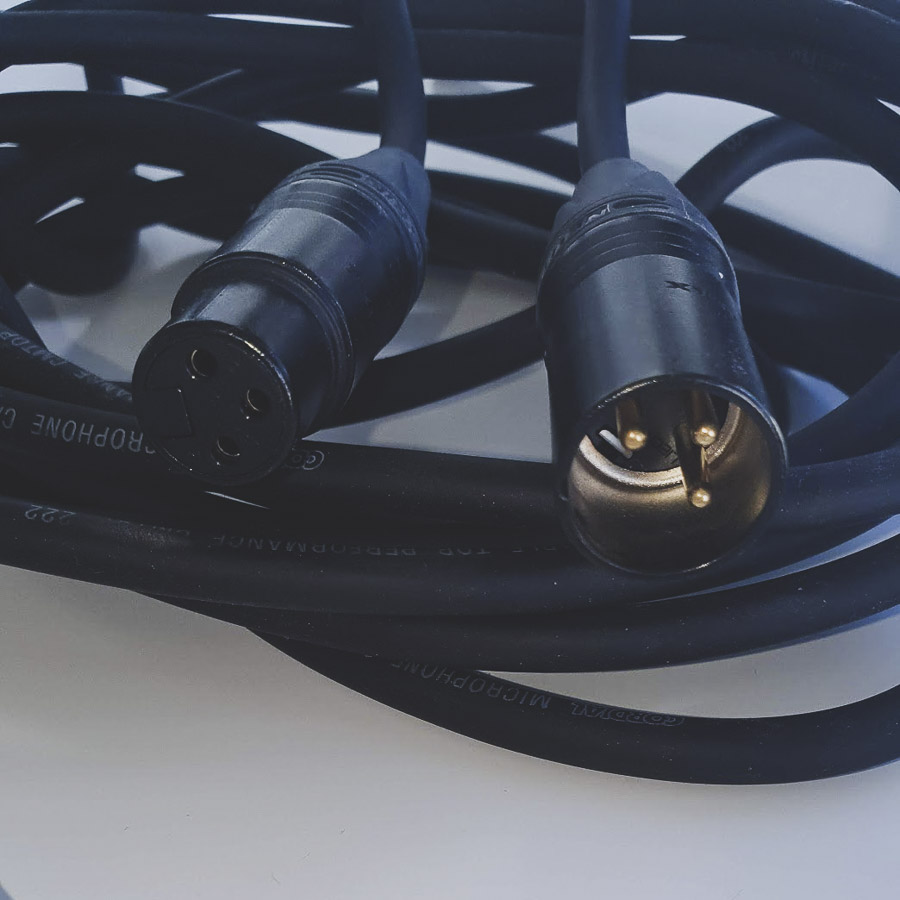
If you’re a crew of one or looking to simplify things, an alternative is to use an XLR adapter so you can still connect a high-end microphone directly to your camera.
You’ll need a female XLR to 3.5mm adapter to connect a professional XLR microphone to your DSLR or smartphone.
This setup lets you get high-quality audio (though still shy of professional grade) already synced with your video. An added advantage of using an XLR adapter is eliminating your camera’s automatic gain control (AGC).
Like autofocus, automatic gain control adjusts your audio level to the situation. For quieter environments, the audio level will increase and decrease in louder situations.
This means you have an unbalanced audio track, which can be difficult to touch up in post-production.
Mini-jack to XLR adapters
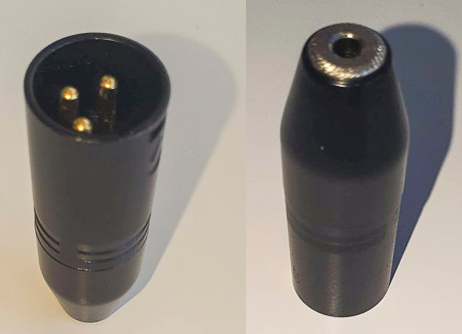
If you, on the other hand, own an on-camera microphone or Lavalier mic with a 3.5mm minijack and a preamp module or external recorder with XLR inputs, you can get a 3.5mm mini-jack-to-XLR adapter to let you use your microphone with your external recorder or XLR module.
The result won’t be as good as an XLR microphone that goes directly into an XLR input, but it’s a neat way to use the better preamps of the external recorder or XLR module instead of the in-built preamps of your camera.
Using XLR adapters gives you the utmost control over your sound without a separate audio recorder.
Conclusion
As a filmmaker, you have to make sure you record audio and video. Luckily, it’s possible to drastically improve the sound quality of your DSLR camera without much difficulty.
Depending on your project, you can upgrade your audio beyond built-in microphones. Mini-jack compatible microphones are convenient and versatile, while high-quality XLR microphones can take you to the next level.
It’s up to you to try things out and find what works best for your vision. Is there a product you rely on for great audio? Let us know in the comment section below!
Up Next: Why You Need Speaker Stands For Mixing Audio In Film & Video


I would recommend the Tascam dr-100 mk iii over the Zoom H5. Built in rechargeable battery, locking XLR connections, and dual recording, like the dr-10L, and it also takes AA’s so if the internal battery dies during a shoot you can still use the recorder.
Hi Nick.
That actually sounds like a great option. I’ll make sure to check it out and maybe update the article with this as an alternative offer or recommend it entirely instead. I need to do some more research first, though.
Thank you for steering me in that direction.
Best, Jan