Shotgun microphones and boom poles are essential to capturing professional-quality audio in filmmaking and videography. When mounted on boom poles, shotgun microphones allow for precise audio recording, especially dialogue, by positioning the microphone close to the subject while remaining out of the camera frame.
This article introduces these essential tools of “the sound guy” in film production and tips on how to use them.
Key Takeaways
- Different shotgun mics suit various filming conditions, from on-camera to long-range exterior shots.
- Boom poles significantly enhance audio quality by allowing you to capture sound closer to your subject and reducing room noise.
- Windscreens (dead cats) are crucial in windy conditions.
- Practice aiming and distance to the subject to capture clear dialogue.
- Team up with a sound person who can monitor levels and help ensure optimal audio capture.
Table of Contents
What Is A Shotgun Microphone?
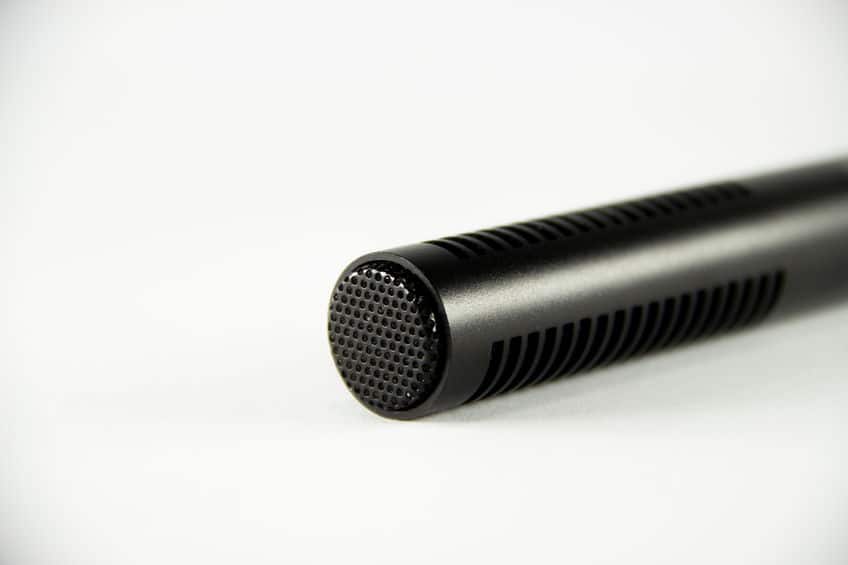
A shotgun microphone is directional, meaning it picks up audio directly in front of it.
Because of their long and cylindrical shape, these microphones isolate audio in front of the microphone while minimizing other sounds from the size and the rear.
The narrow pickup pattern of shotgun microphones makes these microphones especially well-suited for capturing dialogue on set.
Within the category of shotgun microphones, there are still plenty of different things to consider.
Some variants of shotgun microphones include on-camera shotgun microphones, directional condenser shotgun microphones, and long shotgun microphones.
On-Camera Shotgun Microphones
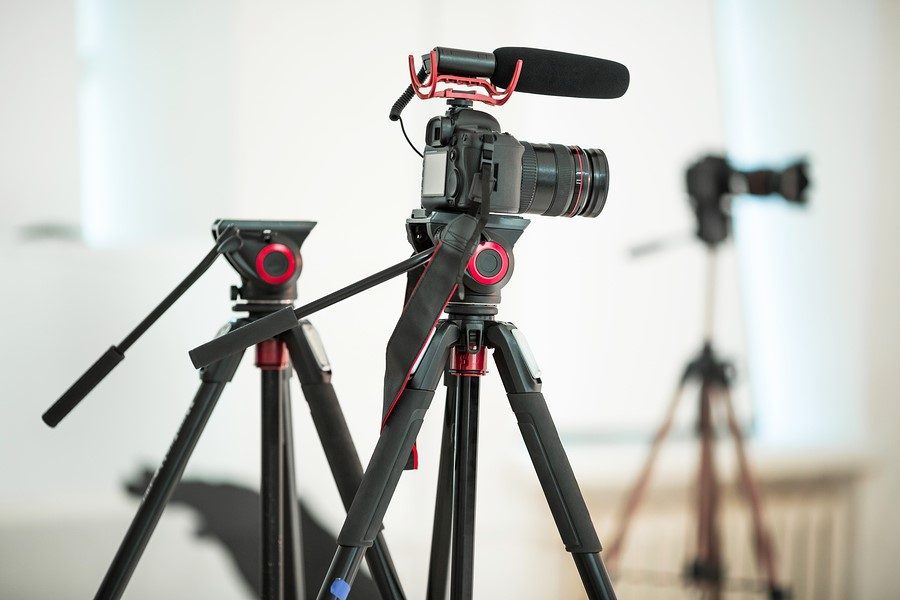
Perhaps the simplest shotgun microphones are on-camera microphones.
These microphones, such as the Rode VideoMic, are mounted on a camera’s hot shoe mount – or the cold shoe mount on your camera cage.
They have a 3.5mm jack that can plug into most cameras and often have settings to adjust the dB level.
For example, the Rode VideoMic has a low-frequency cut-off, designated by a diagonal line, and -10, 0, and +20 dB level settings.
A good on-camera directional microphone can offer very usable audio for many situations; however, the camera limits the distance to your subject.
These shotgun microphones are so short that they do not have a super tight pickup pattern. Therefore, you risk picking up extraneous noise, especially if your subject is far away.
Additionally, a 3.5mm input is less reliable than an XLR cable, and relying on your camera to adjust audio levels is dangerous.
Using a shotgun microphone with an audio recorder, such as the Zoom H4N, is much safer. You can more easily take steps to avoid peaking and place the mic closer to your subject.
Short Shotgun Microphones
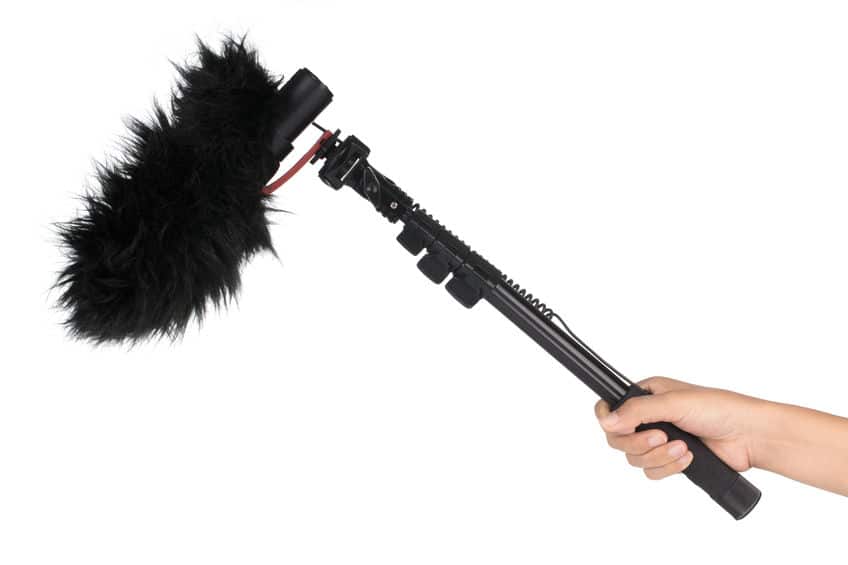
The length of the shotgun microphone can play a big part in determining the directionality of the pickup pattern and the situations you may use your microphone.
Short shotgun mics are extremely common and include those mounted on cameras. These microphones are typically quite durable, and the small size makes them more portable.
Many short shotgun mics without on-camera microphones have XLR inputs and require phantom power from an audio recorder or mixer.
Buying audio adapters that can be mounted on your camera if desired is possible.
The pick-up pattern of short shotgun microphones is still very directional and more precise than lavalier and handheld microphones.
However, they are less directional than longer models, and though they can perform well at four feet away, you ideally want them closer to two feet.
Medium Shotgun Microphones
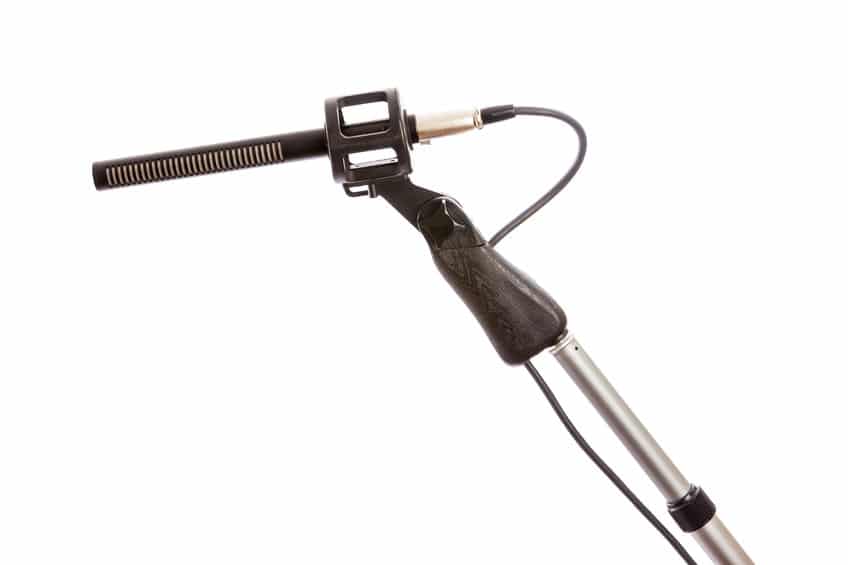
Medium shotgun microphones are often used in TV and film for booming and voice pickup.
These microphones also tend to require XLR input and external power.
The benefit of a longer microphone is a more directional pickup pattern and rejection of off-axis sound. They can be used from six feet away with minimal background noise, though they are best at around three.
A medium shotgun microphone is the safest bet for booming and recording voices.
They are still very directional. However, it remains easy to use and offers some leeway regarding placement.
Long Shotgun Microphones
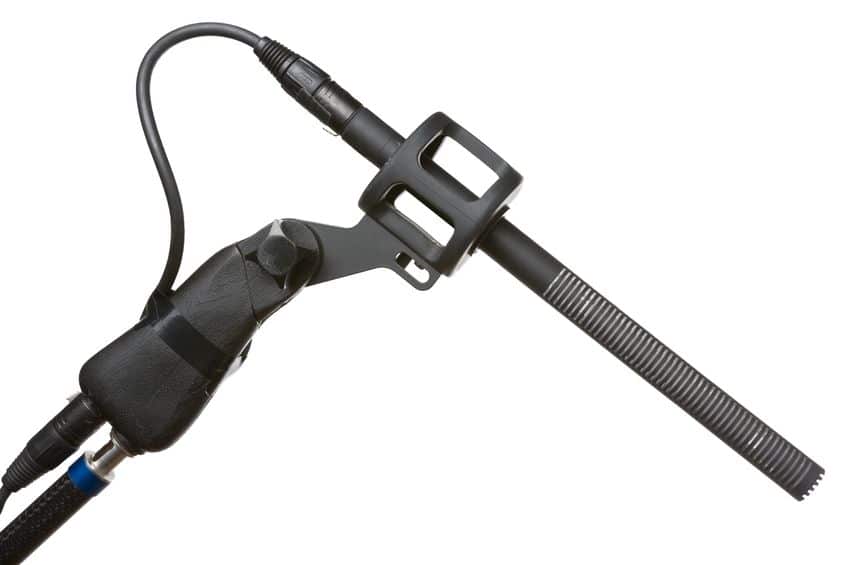
Long shotgun microphones are best suited for exterior shots and have a tight pickup pattern.
Though you always want to keep your microphone as close to the subject as possible, using a long shotgun microphone from distances of around nine feet is possible as long as there isn’t too much noise outside.
Considering the tight pickup pattern, the boom operator must aim the microphone at the subject. If not paid attention to, changes in the microphone angle can be quite noticeable with a drop-off in audio.
With longer interfaces, a fixed mic or skilled boom operator is required. These microphones are super helpful for distant sounds and loud environments, but their sensitivity makes changes in placement noticeable.
Long shotgun microphones have more issues with reverberation indoors due to their tight range and high sensitivity. Reverb is the remainder of the sound in the room after the source has ceased.
In rooms with high amounts of reverb, the on/off-axis sounds are quite similar and omnipresent, causing sensitive shotgun microphones to pick up on it.
Monitoring your audio and being cautious about hard surfaces and echoes is always necessary.
How To Use A Shotgun Microphone
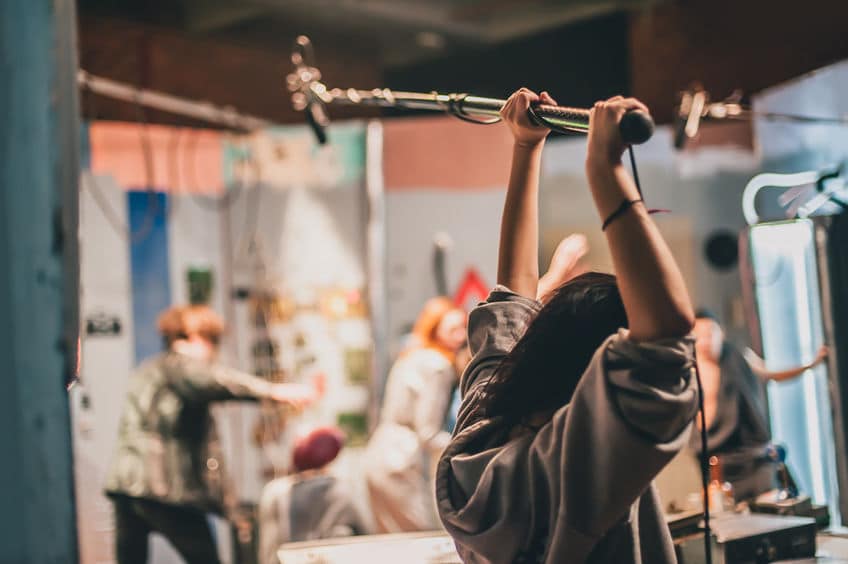
You must consider several things when using a shotgun microphone that isn’t mounted on your camera.
Use an audio recorder.
First, you will need an audio recorder in addition to the microphone and, most likely, an XLR cable.
A recorder such as the Zoom H4N Pro is a relatively inexpensive way to use an external microphone. It lets you monitor levels with headphones and adjust the sensitivity before recording.
After setting up your microphone and recorder, there still are a couple of things to consider.
Consider distance
The first thing to understand is that these microphones do not let you pick up conversations from long distances.
Depending on your microphone, you can get up to nine feet away and still have usable audio. However, that is pushing it and requires a very controlled environment.
Aim down
Instead, the best setup for these microphones is around three feet away from the subject and ideally pointed down.
Aiming the microphone at the subject’s head from above limits the chances you will pick up any background noise.
Because shotgun microphones are directional, they pick up what they’re aimed at, including anything behind them. Booming limits the audio collected to your subject and the ground beneath them.
In certain situations, you may need to position the microphone below or to the side of your subject. If this is done, monitor your audio before shooting to ensure you aren’t picking up any unwanted sound.
Also, avoid aiming the microphone at hard surfaces. As we covered, these microphones are very sensitive and can pick up reverb we may not hear naturally. Always monitor the audio.
Don’t move fast.
A final note is to avoid moving the microphone quickly. Shotgun microphones are sensitive and all too easily pick up handling noises.
These microphones can even get wind interference from sudden movements. Windscreens and shock mounts, discussed in the next section, can help.
Accessories For Your Shotgun Microphone
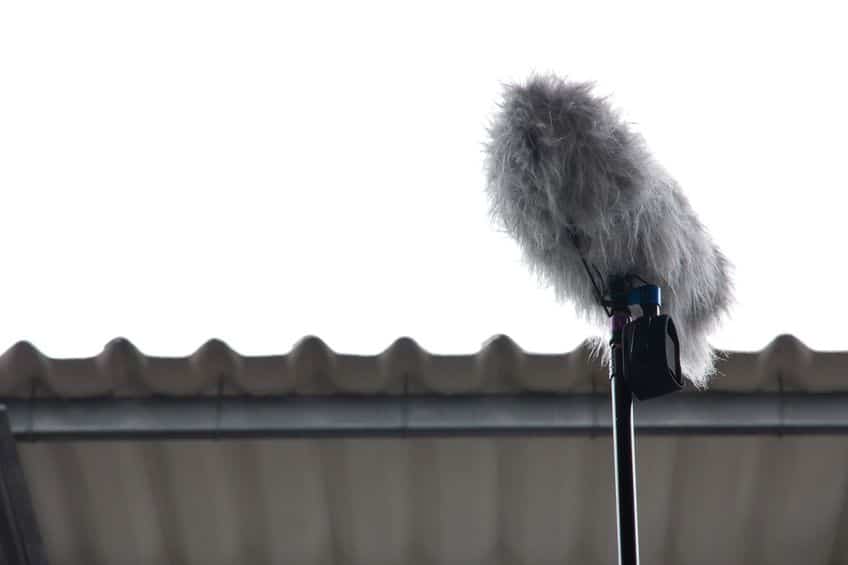
To get the most out of your shotgun microphone, there are some accessories you should strongly consider.
In addition to a field recorder and XLR cable, a windscreen, shock mount, and boom pole will greatly improve the situation.
Windscreens and blimps
Shotgun microphones are sensitive to wind and can even pick up sound from air-conditioning or vents in indoor locations.
To help reduce the problems with wind, you can acquire a windscreen to put over the microphone.
These can either be a foam sleeve or a furry sock that goes over the microphone (also known as a dead cat).
There are also more expensive windscreens called “blimps,” which are hard cases that go around the microphone and can have a dead cat screen over them.
Blimps do well to protect your microphone and often come with a built-in shock mount.
Shock mount
A shock mount is used to help reduce the handling noise that a shotgun microphone may pick up.
These often use rubber fixtures to minimize the shock of sudden movements and allow the microphone to float more freely.
Shock mounts can either be a handle for you to hold or one that you slide into and attach to a boom pole or camera if you’re mounting the microphone.
Making sure you can mount your microphone is extremely helpful, as shotgun microphones are not designed to be handheld.
How To Use A Boom Pole
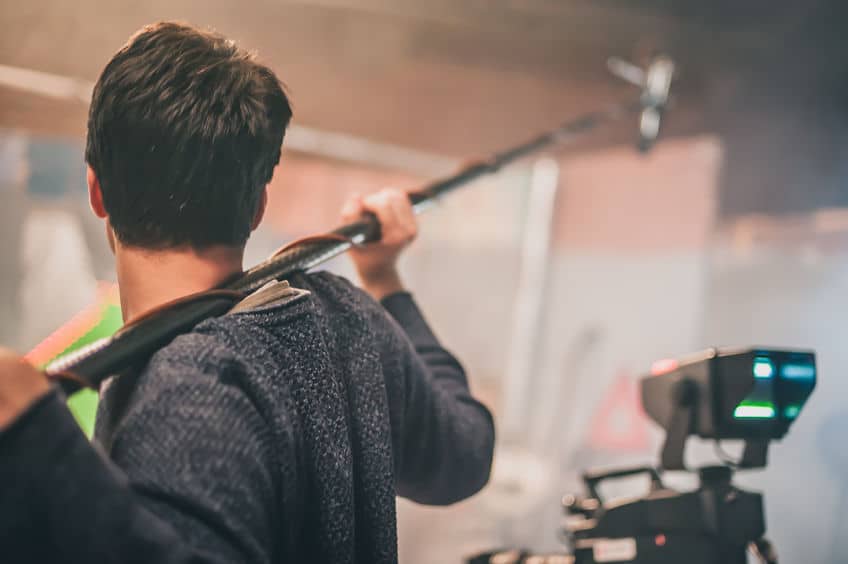
The most popular method of mounting a shotgun microphone is using a boom pole.
Boom poles are extendable poles with a screw or shock mount at the end to affix the microphone.
A boom pole has many benefits, such as letting you position the microphone out of frame but still close to the subject and utilizing a shock mount.
You can also twist the pole during a conversation to capture both subjects’ dialogue. If you do this, it’s a good idea to give the boom pole operator a copy of the script so they can follow along.
Some booms have an XLR cable built in that runs through the pole. However, that is unnecessary. It is just as easy to wrap an XLR cable around the outside of the boom pole.
If you want to buy a boom pole, read our guide Five Best Boom Poles For Your Budget.
Here’s a video from microphone manufacturer Audio-Technica with more tips:
How to Place a Boom Pole
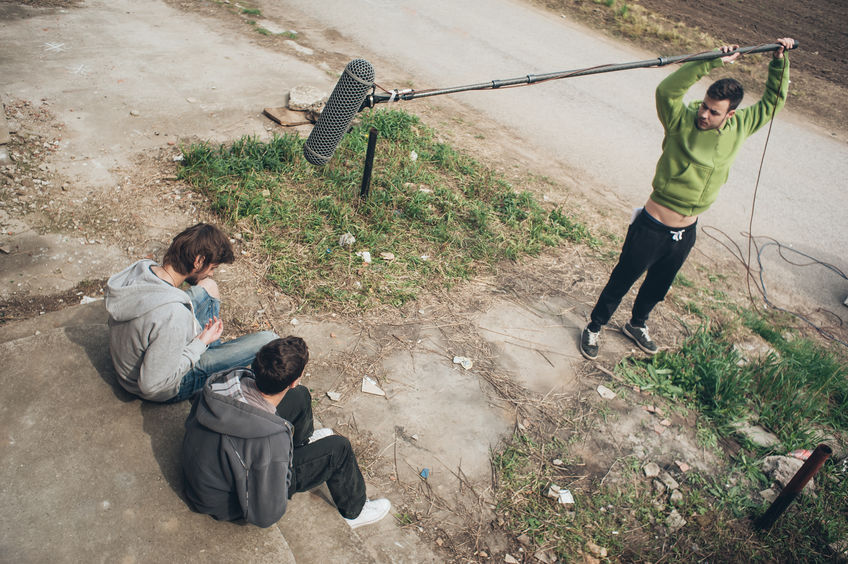
When using a boom, there are some best practices to remember. These tips will help you avoid tiring out and get the cleanest audio.
As we mentioned, you want to keep the microphone as close to the subject as possible, ideally two to three feet away.
Communicate with the camera operator or director to determine the best way.
It is also preferable to have the microphone positioned directly above your subject. This way, you will ensure you only pick up their voice and nothing behind them.
If you’re recording a two-person scene, you can put the microphone between the two and gently twist it between the two to pick up all the dialogue.
When holding the boom pole and microphone, holding the pole with both hands over your head or behind your head and resting on your shoulders is the easiest way to do so without getting too tired.
Having the boom pole run parallel to your shoulders is far easier than holding it out directly in front of you.
Working With A Crew
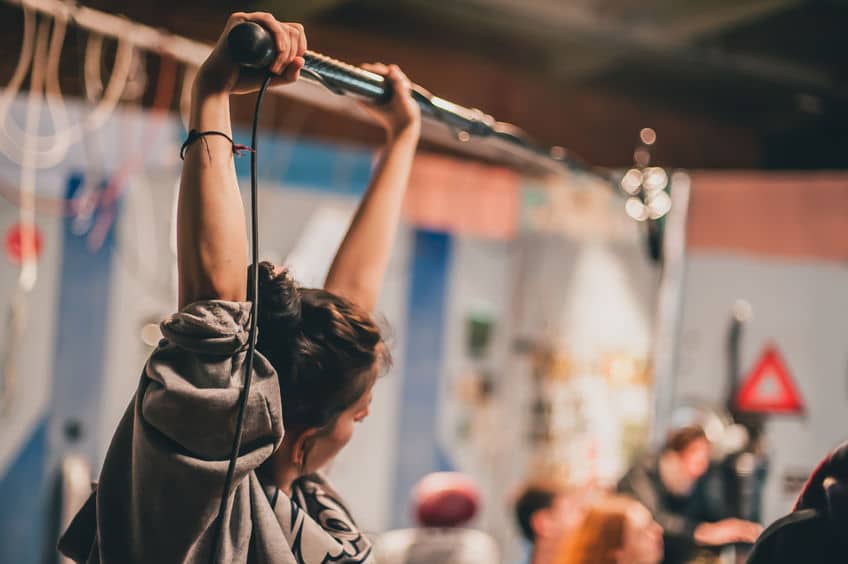
Ideally, if you’re recording audio with a shotgun microphone and boom pole, you’re working with a small crew. If possible, it’s best to have a designated boom operator and sound person.
Monitoring levels as much as possible helps protect you from getting unusable audio.
When monitoring audio, use headphones whenever possible. This will let you hear any extra noise, such as airplanes, that might go unnoticed. Doing this and setting the sensitivity on an audio recorder ensures you get the best audio.
When setting the sensitivity, try to have dialogue around -6 dB for more headroom. If the audio gets above 0 Db, it will be clipped and unusable.
If you can’t use a crew, you may need to be more generous with your levels. Especially in an unscripted setting, your subject may become more animated or suddenly speak louder, so you must be ready for dynamic changes.
If you’re shooting alone or cannot afford a boom operator, mounting your boom pole on a C-stand above your subjects is a potential workaround. Just ensure it is secure and that the stand is sandbagged.
When To Use A Boom Pole And Shotgun Microphone
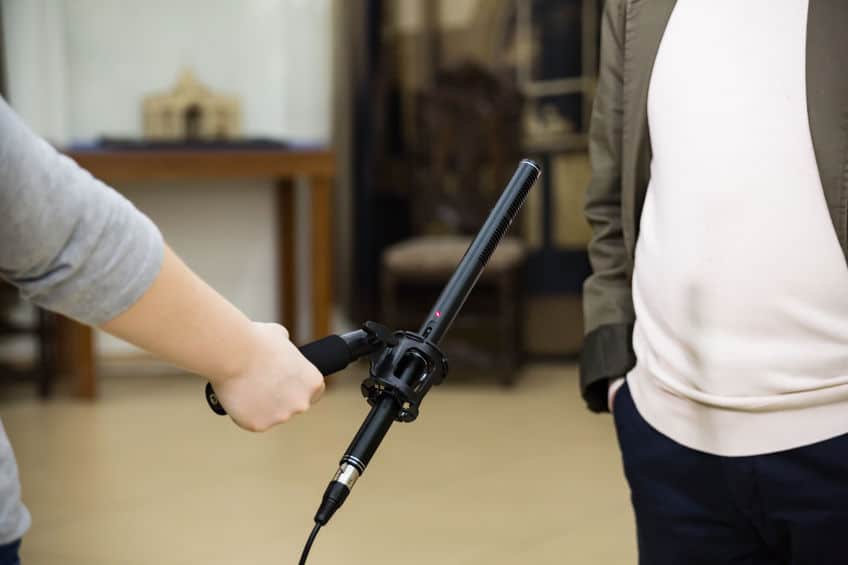
There are certain situations when using a boom pole, and a shotgun microphone is more useful than other audio recording methods.
The technicalities of these microphones make them well-suited for dialogue, yet certain factors may inhibit their usefulness.
Environment
If you’re trying to collect room tone or the sounds of an environment, the hyper-directional nature of these microphones can be more harmful than helpful.
These microphones are limited from the sides, so you may fail to capture your surroundings completely.
These microphones also can often pick up audio the human ear is unaware of, such as wind, cars, and planes. Due to their sensitivity, shotgun microphones are not great for outdoor shooting in high-wind situations.
Instead, lavalier microphones may better serve difficult windy situations. However, a shotgun microphone with a windscreen can be a valuable backup audio source.
This is also the case if you’re trying to have an extreme long shot where it is impossible to have a microphone near your subject or if your subjects are moving very quickly.
Keeping shotgun mics close to and pointed at your subjects is essential. If this can’t be achieved, then Lavalier microphones are a great alternative.
Production
If you’re shooting with a small crew or alone, shotgun microphones are useful only in controlled and static settings.
A camera-mounted or Lavalier microphone is a better option if your subjects move.
Also, be careful of environmental restrictions. It may be intrusive if you are in a setting without space for a boom pole or large audio setup. On-camera microphones and lavaliers are more discreet.
The same goes for an interview with uncomfortable or sensitive subjects.
An entire audio crew may be overwhelming or intimidating. As a filmmaker, it is always helpful to understand the crew’s impact on the environment.
Conclusion
Shotgun microphones are a ubiquitous method of recording audio for a reason. These microphones are extremely useful for picking up dialogue, and their directional nature limits background audio picked up.
With most of my independent productions, I use an on-camera shotgun microphone (the Rode VideoMic) with a Lavalier microphone. I have used larger condenser shotgun mics on bigger productions, such as the Rode NTG2, which gave me a very impressive and rich sound.
If you’re shooting with a small crew, one of the first things I would recommend assigning people to help with is audio. A boom pole operator and sound engineer monitoring levels can save you from discovering that all the audio you captured is unusable or wasn’t even captured.
All said and done, shotgun microphones are diverse, and their applications are just as much so. No matter the filmmaker or their budget, there is a shotgun microphone that will help you get the job done.
So, let us know in the comments if you shoot with a shotgun mic and which one. Also, if you use any tips or tricks that weren’t mentioned above, please share them.
Up Next: Tips to Improve Audio Quality For DSLR/Mirrorless Cameras

