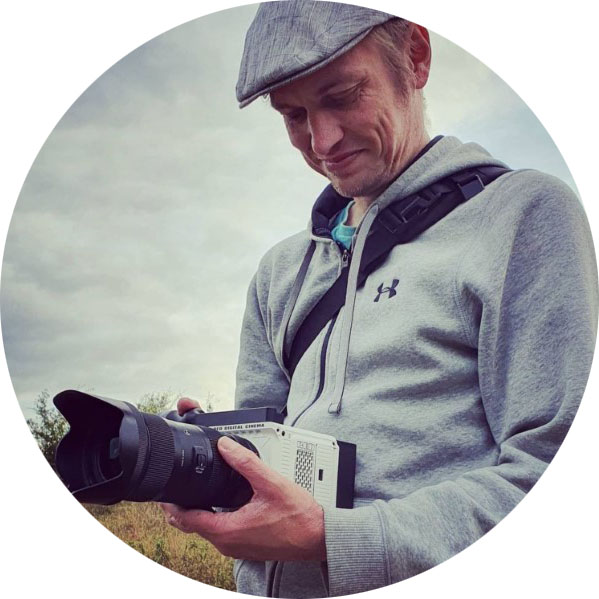
I’ve wanted a small on-camera light for a while, but most are too big and clumsy for my current run-and-gun setup with my Panasonic GH5 camera.
There are lights specifically designed as on-camera lights such as the excellent Dedolight Ledzilla Mini LED Bi-Color On-Camera Light. But, as with the Dedolight, most of these lights are meant for bigger cameras than a GH5.
I want one that is small, lightweight, and rechargeable.
I’ve tried several small LEDs through the years but have never been satisfied. That is until now!
I finally settled on two different lights – both from the company Aputure.
The first light is the dirt-cheap Aputure AL-M9 Amaran LED light which light-weight and not much bigger than a credit card.
Tip: If you’re interested in a tiny light with RGB LEDs for more creative color options, you should check out the article 5 Best Budget On-Camera RGB LED Lights For Video. That article includes the Aputure MC, which is the natural RGB development of the MX and M9 described here.
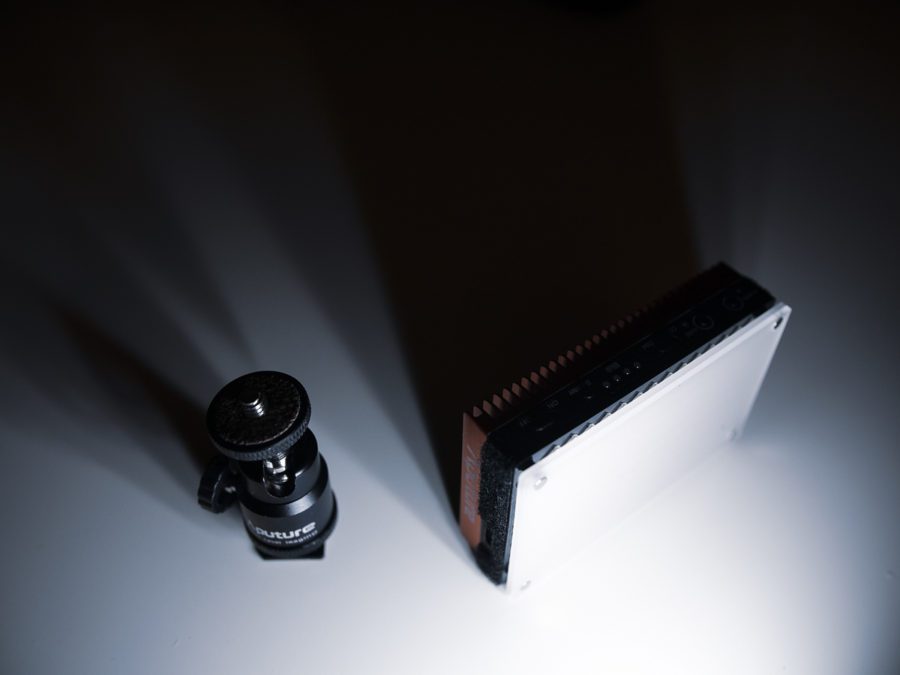
The second light is the newer and more expensive Aputure Amaran AL-MX. It’s also no bigger than a credit card, though it is a bit thicker and heavier than the AL-M9. Though a bit bulkier, the AL-MX is more powerful and packs some awesome features you won’t find on the cheaper AL-M9.
I’ll discuss all of this in more detail below.
But first…
Why should you buy a tiny LED light?
I want to share a cool video from Aputure, which shows you some of the many options you actually have with such a tiny LED light.
Even though my initial thoughts for the tiny LED panels were as on-camera lights, I’ve quickly found them to be extremely versatile in a lot of situations. These (and more) are mentioned in this video from Aputure:
In the video from Ask
Here is a summary of the suggestions made in the video:
Eye light. Place the light above the camera (and slightly to one side if you have a magic arm) to create a bit of sparkle in your subject’s eye.
Car Dashboard Light. Use it to simulate the light coming from the dashboard of a car. Put a bit of red or orange gel over the light. I would turn the brightness down compared to the example in the video for a more subtle effect.
Subtle Key Light. Though they’re not the most powerful lights, both the AL-M9 and the AL-MX are totally useful as subtle key lights e.g. for vlogging or in a run-and-gun setup.
In the video, it is suggested that you throw on a thin white sheet of paper over the light to act as a softbox.
In my experience, this is necessary – especially if your subject will cast shadows on the wall behind you.
Because even though both lights come with frosted filters for diffusion (which neatly snap on with magnets), they are still cheap LED-lights and tend to cast three or more shadows, which can look ugly. The AL-M9 especially is prone to this.
If you add a bit of greaseproof paper or baking paper in front of the light, it helps negate this effect.
The AL-MX is not prone to this and actually casts some nice soft shadows.
In a Space Light. You can put the tiny LED inside a space light to create a nice soft light with massive volume. A space light is the same as a
Accent Light. Tiny LED lights are as awesome as accent lights. Because of their size, you can place them almost everywhere to create a focal point for a specific element in your scene. Whether to highlight a certain feature or add a bit of extra drama in an otherwise dull background, tiny LEDs are godsent.
Cell Phone S
To avoid this, you can place a tiny LED-light on top of a mobile phone to simulate the light otherwise coming from the mobile phone screen.
I’ve found especially the thinner and inexpensive AL-M9 is awesome for this type of motivated lighting. Add a bit of diffusion and dim the light a bit to perfect the illusion.
Refrigerator Light. Place the light inside your refrigerator together with your camera. That way you can simulate the light coming from the fridge and lighten the face of your actor when she opens the door.
You can also unplug the fridge and avoid all the noise from the motor and compressor being picked up by the microphone.
Closet Light. Put a tiny LED inside a closet to light up the clothes. You can even make the character switch on the LED in order to make it seem like there is an in-built light in the closet.
Computer Screen. This one is similar to the simulation of a cell phone screen. Computer screens tend to create flickering and banding when filmed on camera.
To avoid this place a tiny LED-light in-front of the dark computer screen facing your subject to simulate the light stemming from it.
Again I would recommend putting some baking paper in front of the light to get rid of any multiple shadow effects.
The Tarantino Effect. Place a tiny LED-light inside a briefcase, so that it lights up the face of your actor as he/she opens it. This will seem like a magical glow emanates from the briefcase and draw the viewers attention to the fact, that something important is in it e.g. gold or money.
This effect isn’t invented by Tarantino, but it is featured in many of his movies.
GoPro and mobile phone light. Though not mentioned in the video, I’ve found that both lights work wonders when I need some extra light for my GoPro action camera or mobile phone as well—just a tip.
Aputure AMARAN AL-M9 vs AL-MX Tiny LED Lights. A detailed comparison.
Let’s start by looking at all the technical specifications of the two tiny LED lights for comparison. I’ll discuss the most important differences after.
But first, have a look at this table for comparison:
| # | Amaran AL-M9 | Amaran AL-MX |
|---|---|---|
| Color Accuracy CRI/TLCI/CQS | >95 | >95 |
| Illumination | Normal mode >900lux 0.3m >350lux 0.5m >80lux 1.0m | Normal mode >2400lux @ 0.3m >880lux @ 0.5m >200lux @ 1.0m Booster mode >3130lux @ 0.3m >1140lux @ 0.5m >260lux @ 1.0m |
| SMD LED Bulbs (surface mounted) | 9 | 128 |
| Beam Angle | N/A | 120° |
| Color Temperature | 5500K +/- 200K | 2800K-6500K |
| Battery Type | Lithium-polymer battery (3.7V 1800mAh) | Lithium-polymer battery (3.7V 800mAh) |
| Battery Working Time at maximum brightness | 1.75h | 1.0h |
| Power | 5V/1A | 5V/2A 5V/1A 5V/0.5A |
| Port | Standard USB | Type-C port |
| Dimension | 93x59.8x23.5mm | 87x56x11mm |
| Weight | 140g | 280g |
Color Accuracy
Both lamps have a very high color accuracy of >95, measured as both CRI, TLCI, and CQS.
In my experience the lights are useful right out of the box and don’t cast a green tint on your subjects.
Illumination
The AL-MX is approximately 2.5 times more powerful when it comes to maximum brightness compared to the AL-M9.
Furthermore, the AL-MX features a boost mode, which adds an extra 30% to the maximum brightness in intervals of 60 seconds at a time.
The extra makes the AL-MX more versatile in low-lighting conditions and also more useful as a small run and gun keylight. Place it on a lightweight light stand, then use the AL-M9 as a fill or backlight.
LED bulbs
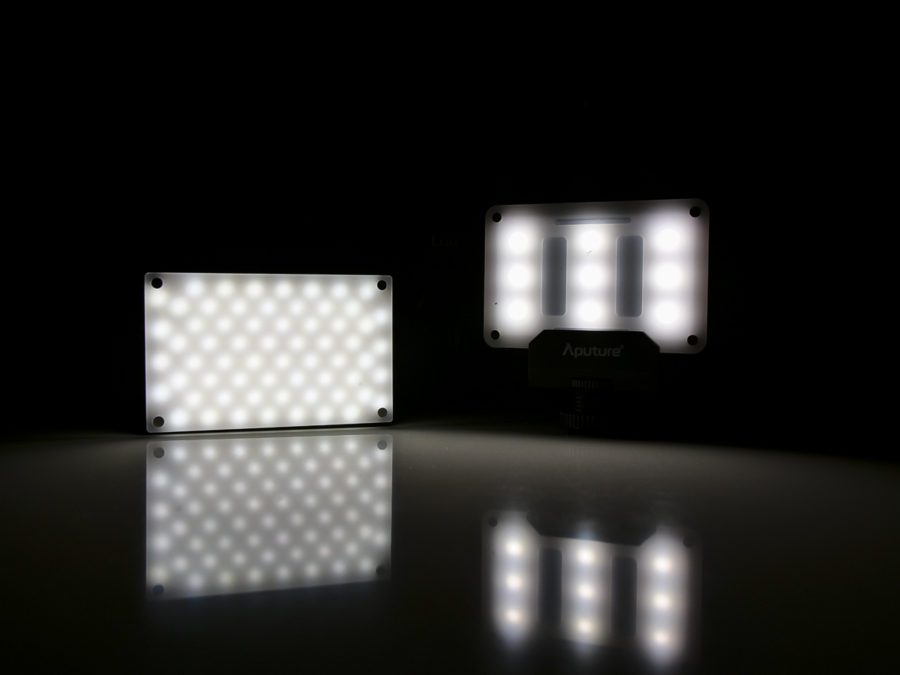
The AL-MX has 128 SMD bulbs compared to only 9 SMD LED bulbs of the AL-M9. This not only makes the AL-MX much brighter but also creates better shadows.
The AL-M9 casts multiple shadows, which looks bad if your subject stands close to a wall.
Beam angle
The AL-MX has a beam angle of 120°. I haven’t been able to find any specifications of the beam angle of the AL-M9, but my guess is that it is about the same.
What both of these lights are missing is an option to control the beam-angle. This could be done with lightweight barn doors like the Dedolight LEDzilla mentioned in the introduction. But at the price points of these two lights, barn doors are probably too much to ask. And it would also add to the weight.
Color temperature
The AL-M9 only has one color temperature, which is 5500K daylight. If you want to change this, you have put some colored gels in front of the LED or get creative with the white balance settings in your camera.
The AL-MX has five different color temperatures to choose from 2800K (tungsten), 4300K (warm white), 5000K, 5500K (daylight), and 6500K (cool white).
As there is no LED-display, you have to memorize the color temperatures. Though the settings are pretty limited, they do cover the basics and is a nice upgrade from the AL-M9.
Battery Power
Both lights have a constant light output which means that the lights don’t dim even when they’re only at 10%.
You get around 1 hour of use time at maximum brightness with the AL-MX. The AL-M9 gives you a little more with 1 hour and 45 minutes at maximum brightness.
Charging time
Both units are charged via USB. The AL-M9 uses a standard micro USB plug, whereas the AL-MX uses a USB-C.
It would have been nice if they could be charged using the same type of cable though, as I think a lot will end up buying both.
The charging time to a full battery is approximately 3 hours. This is one of the big trade-offs of using these kinds of lights compared to other lights, which uses rechargeable batteries.
If you run out of power, you can swap the batteries. Either you need to carry an extra light of the same type or wait a great amount of time to get back to filming.
Weight and dimensions
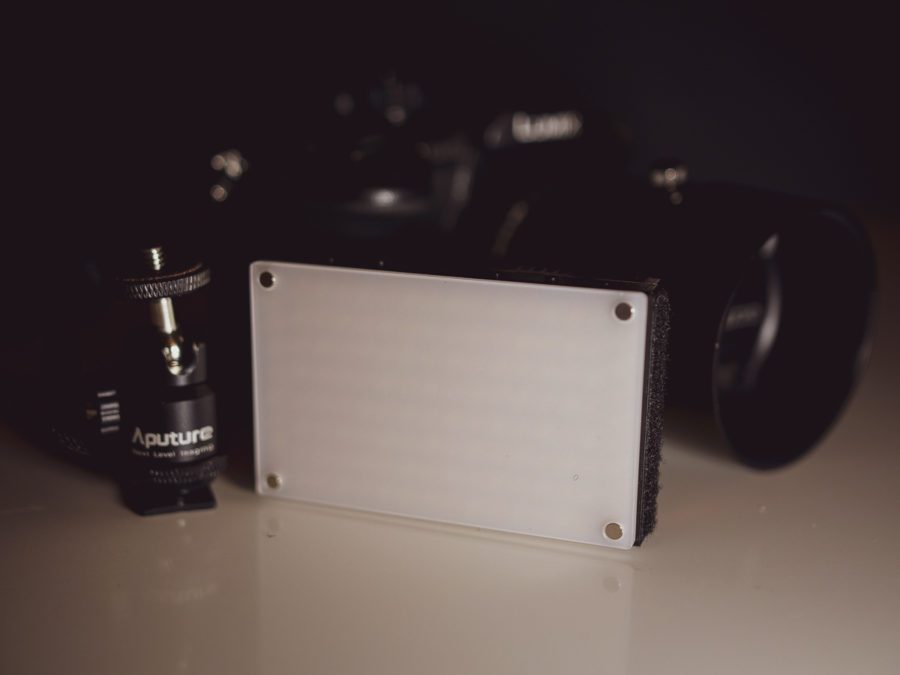
Both of these lights are tiny, not much bigger than a credit card in length and width.
The AL-M9 is the smallest of the two lights. It measures 87x56mm in length and width and is only 11mm thick. And on top of that, it is only 140g. That’s amazing!
The AL-MX is slightly bigger in length and width, namely 93×59.8mm. But it is over twice as thick, namely 23.5mm. And the weight is double that of the AL-M9: 280g.
The added weight is due to the aluminum casing and a heat sink attached to the back of the unit. This makes the AL-MX more durable and sturdy compared to the rather plasticky feel of the AL-M9.
Mounting
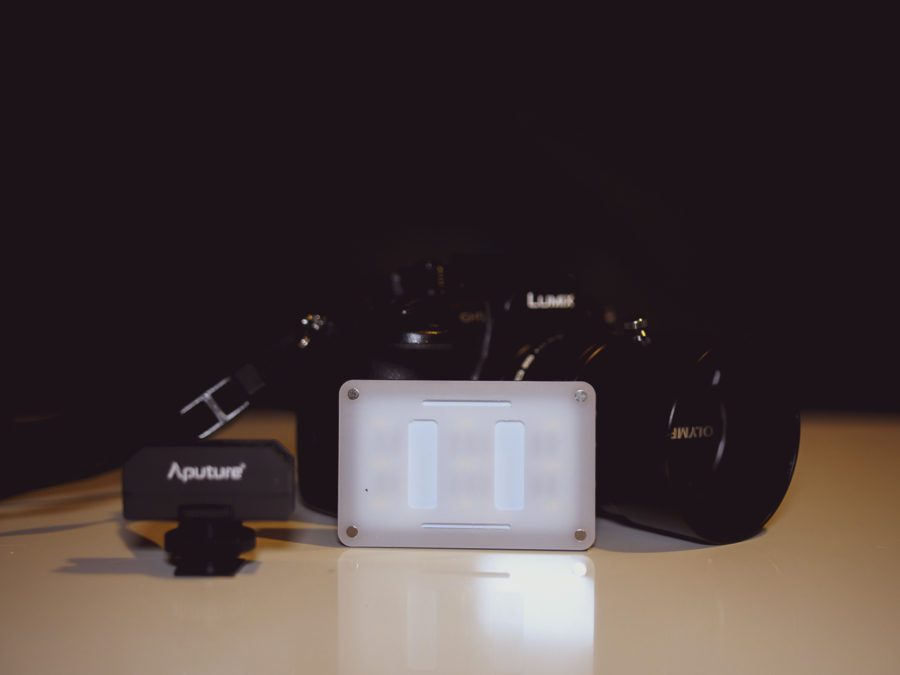
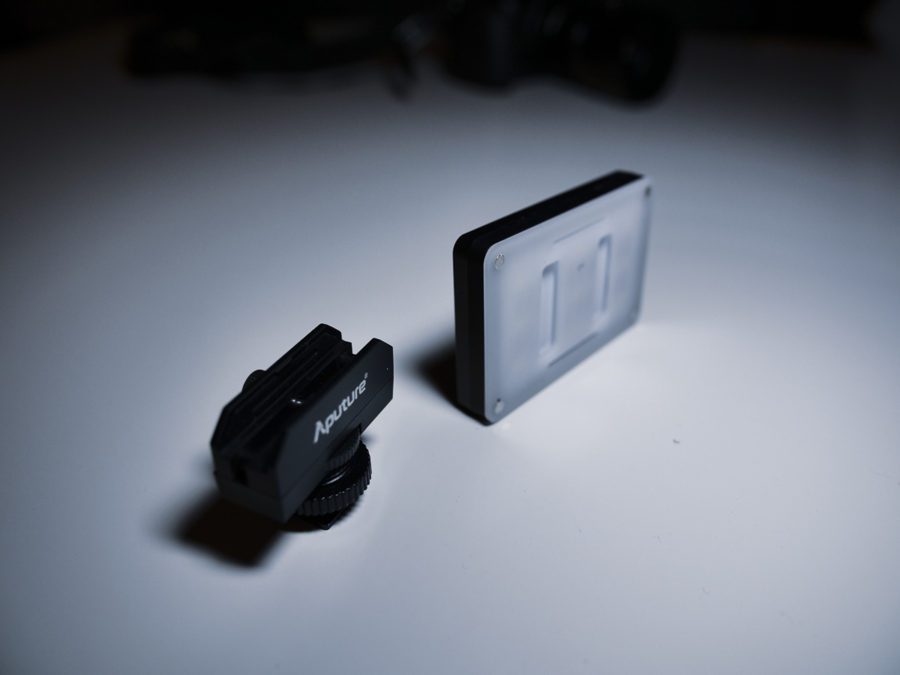
The AL-MX features a 1/4″/20 thread and a universal ball head cold shoe mount for easy mounting the light onto your cameras hot shoe, camera cage, mini tripods and more.
This is a nice upgrade from the AL-M9, where you must use the included bracket.
However, the aluminum heat sink at the back, where the
1/4″/20 thread is placed, does add both extra weight and bulk to the AL-MX compared to the AL-M9.
And I do like, that I can just put a bit of gaffer tape on the wall where ever I want, and slam the AL-M9 up there due to its extremely low weight.
Conclusion
The Aputure Amaran AL-MX is marketed as the successor to the AL-M9. And while Aputure has listened to the consumers and addressed several requests for improvement of the original AL-M9, I don’t think it makes sense – and is not fair – to treat the two lights as equal opponents.
The AL-MX is a whole different beast. It features a lot of extra features, such as variable color balance and more power, but it is also three times the price and adds both more weight and thickness.
The weight and thinness of the AL-M9 combined with a good amount of brightness are one of its best selling points which sets it apart from other tiny LED lights – including the AL-MX.
I recently chose the AL-M9 over the AL-MX to fill in some shadows in a shoot where I needed a lightweight hand-held setup with a lot of movement.
I simply put it in the hot shoe on top of my Panasonic GH5 and used the camera strap around my neck to create stability. This way I could quickly move around and shoot from different angles without getting too many dark shadows, no matter how the subjects moved around.
To sum up, you need to think of these two lights as two different entities with their own merits on their own turf.
That being said, if I had to choose only one, I would go with the AL-MX because it is the more versatile option.
Do you agree with the points of this review? Do you know of any good alternatives to these two lights? Please share in the comments below.

