DISCLOSURE: AS AN AMAZON ASSOCIATE I EARN FROM QUALIFYING PURCHASES. READ THE FULL DISCLOSURE FOR MORE INFO. ALL AFFILIATE LINKS ARE MARKED #ad
How to film at night is a task every video content creator will face at some point.
The challenge is that the camera sensor needs a lot of light to get good images. This is true whether you use an iPhone, a GoPro, a DSLR, a mirrorless camera, or a cinema camera. Cameras need light!
If you don’t have enough light, you’ll end up with unusable footage with a lot of grain.
Sure, if you’re part of a big production, you can bring all the light you need. But for many indie filmmakers, vloggers, documentary and run-and-gun filmmakers, this option doesn’t exist, and we have to rely on what light there’s already available to use.
So here are 10 tips on recording video in a dark room or outside when there isn’t much available light.
1. Use the available light outside to your advantage
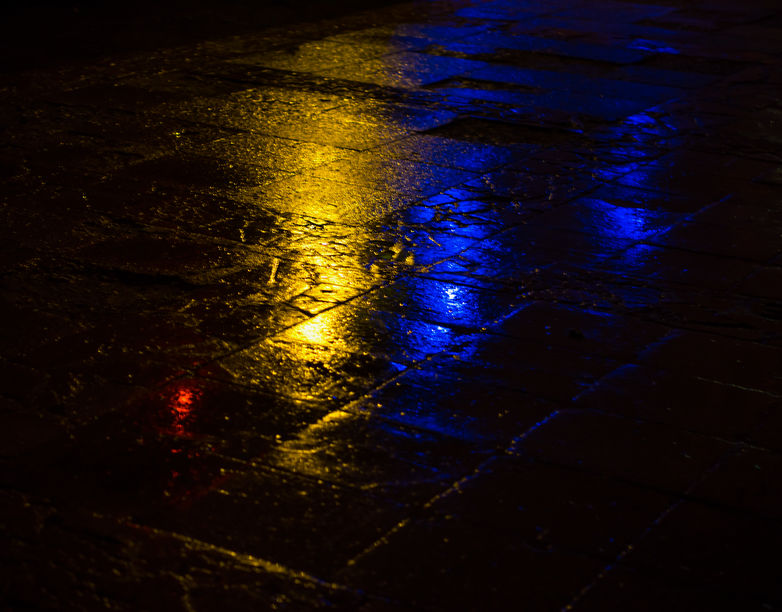
Unless it’s pitch black, usually there is some available light you can use in your scene. It might not be much, but it might be enough. The trick is to spot it and use it to your advantage.
Before you start recording, take a good look at what light is available to you in the scene.
If you’re filming outside, there might be a street lamp available. You can use it as a practical light source. Move your actors so that the light from the streetlamp lits them.
Turn your actors so that they face the light if you want the face to be lit. If it’s your bad guy you’re filming, you can have the light hit the back of his head instead, so his entire face is in the dark to make the scene scarier.
You can apply the same technique if there are store windows or neon signs available. Both can add some interesting colors to your scene.
Has it been raining? Great! There might be some interesting reflections available on cars or windows that you can use to capture some nice b-roll footage.
If you’re filming in a city, take a good look at the asphalt road. Water on asphalt and concrete acts as a reflector that reflects the lights from the surrounding city. Use it.
Here’s a great video from YouTuber Joo.Works, that applies some of these techniques:
Here are some light sources to consider when you’re shooting outside at dark:
- Street lights
- Neon signs
- Shop windows
- Cars or trains passing by
- Bonfires
- Snow
- The Moon
- Water (a lake, puddles, reflections on asphalt, or metal).
2. Use the available light inside to your advantage
The same principles for shooting at night outside apply to film inside in the dark.
The only things that change are the available light sources.
When you record video in a dark room, take a good look at the scene for available light sources that you can use to light your subject.
For example, if there is light shining through a window somewhere, you can place your actor close to it to get enough light to light up their faces. Have them turn to face the windows to capture their expressions.
Pro Tip: use a reflector if possible
If it isn’t possible to move close to a window, you can bounce the light from the window or another light source to fill other room parts, using a simple reflector.
If you don’t want the look to be too contrasty, you can use a simple and cheap reflector to fill in some of the shadows on your subject. It’s a dirt-cheap way to bounce the light and fill in the shadows.
Pro tip: use simple practicals if available
If possible, use available practicals to create a small amount of light.
A single table lamp in the background or an old tungsten bulb dangling in a wire from the ceiling in a basement or old warehouse can be just the light source you need for creating a moody scene.
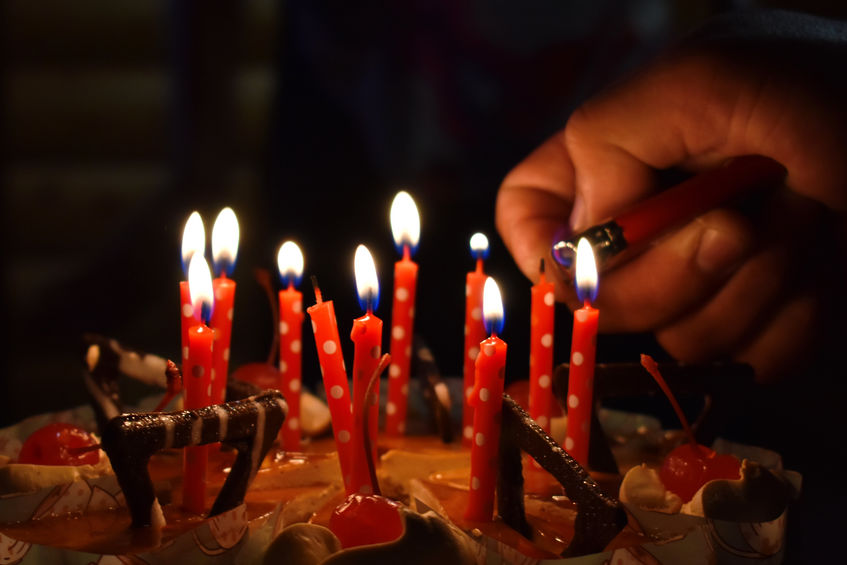
Other sources to consider are candles on a table or a fireplace. If it makes sense in the scene, you can even have your actor look at a mobile phone screen to light up their face.
3. Expose for the night
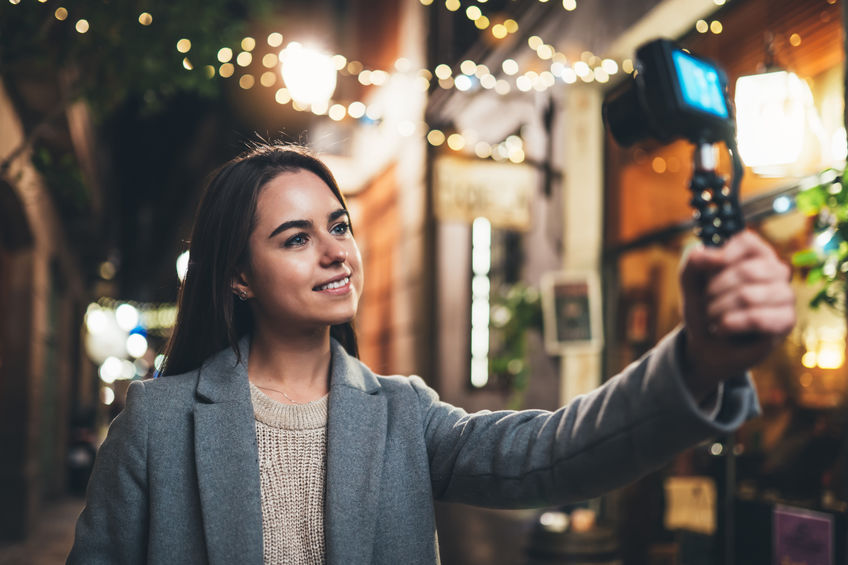
The first thing is to accept that a night scene is a night scene. You can’t expect the same results, as you would during the day. There’s going to be shadows, there’s going to be contrast, and there might even be a bit of grain.
What you want to do is to expose for the available light that hits your subject.
Is the light from a streetlamp hitting your actor on one side of the face? Great! Set your aperture, shutter speed, and ISO so that part of the actor’s face is exposed correctly, and then accept that the other part is in shadows.
It will make for a contrasty, low-key and interesting look.
Here’s a great video by indie filmmaker Tom Antos, which shows it is possible to shoot videos without grain even on a small-sensor camera such as the Panasonic GH5 at night.
4. Choose a fullframe camera
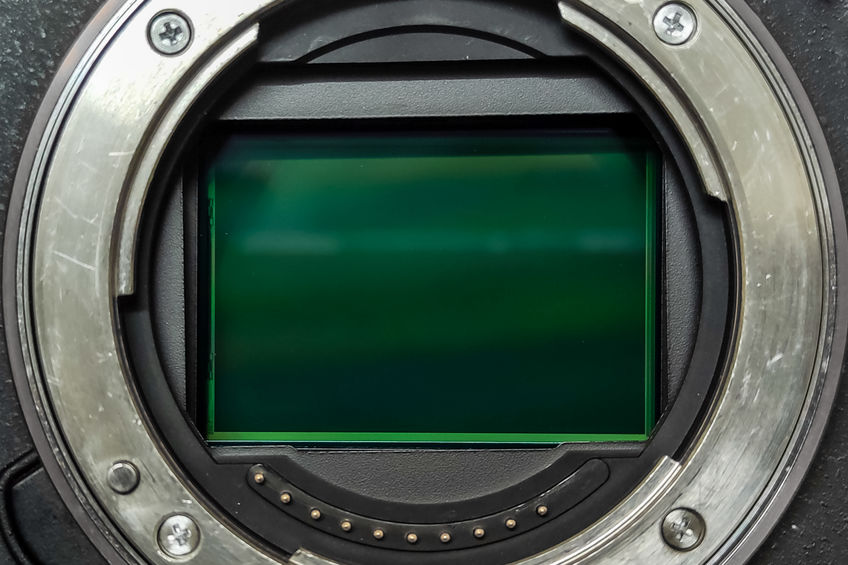
Even though you can get good results with a micro-four-thirds sensor camera like the GH5 or even an iPhone if you follow the principles above, in the end they can’t compare with a camera that has a full-frame sensor.
The reason is simple: a bigger sensor creates images made up of more light compared to APS-C, MFT, and sensors in smartphones, because a full-frame sensor has a bigger area hit by photons.
So if you can, choose a fullframe camera for filming in the dark.
5. Choose a fast lens and shoot wide open
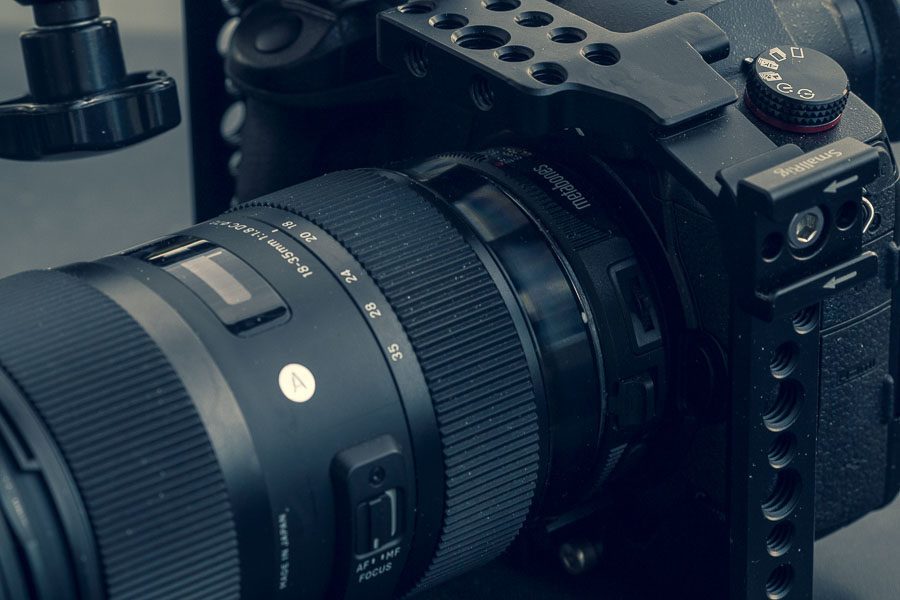
A bigger sensor is important when shooting video at night, but the light also has to travel through the lens first.
If the lens is slow, i.e., has a high f-number or t-stop of 2.8 or above, you should consider changing it to a lens with a larger aperture.
Personally, I would’nt use a lens slower than f/1.4 for shooting in the dark, and I shoot wide open.
If you’re on a micro-four-thirds camera, you can use a focal reducer, aka speed booster, to gain an extra stop of light as well.
A faster lens means a shallower depth-of-field, so you need to account for this in your cinematography as well.
6. Record at 24 frames per second

Record at 24 (or 23.976) frames per second. Don’t record at 30 or above.
To get natural-looking motion blur, the rule of thumb is that you need to set your shutter speed to double that of your framerate.
If you shoot at 24 fps, your shutter speed should be 1/48 (or 1/50) of a second.
If you shoot at 60 fps, your shutter speed would be 1/120 of a second, which means that you’ll let less than half the light through compared to shooting at 1/48. That’s a pretty significant difference!
Don’t even think about shooting slow-motion video at even higher frame rates if you want clean looking footage.
If you are shooting a music video at night or maybe a scene, where someone is drunk, you can easily play with an even slower shutter speed to get long trails of motion blur.
7. Use ISO gain as a last resort, unless…

Boosting the ISO on your camera is the last thing you want to apply when filming at night.
When you up the ISO on a digital camera, you digitally (or artificially) increase an image’s brightness after the light has hit the sensor.
Because ISO is a digital gain of the light hitting the sensor, the more you increase the ISO the more digital noise you’ll introduce. That’s why you only want to boost the ISO as a last resort.
However….
Dual Native ISO cameras for shooting in the dark
Often the manual for your camera recommends a base ISO setting – or two if the camera has a dual ISO circuit – where you’ll get the cleanest image in terms of noise.
The base ISO is probably too dark, so you should increase the ISO with one or maybe two stops. So if your base ISO is 800, you’ll probably be safe with a base ISO of 1600 or 3200 as well.
If your camera has a dual native ISO like the Panasonic S5 (which has a Dual Native ISOs of 640 and 4000 when shooting in V-Log), you can set it to the highest base ISO of 4000 or even one stop above for clean image.
Another low-light beast of a camera is the Sony a7S III, which is capable of producing a very clean image at high ISOs. While it doesn’t officially has a dual base ISO, it produces a cleaner image when you go from ISO 12800 to 16000 in S-log.
I don’t know what exactly is going on, but it doesn’t change the fact, that Sony a7S III is one of the best – if not the best – camera for filming at night.
8. Shoot at dusk or dawn
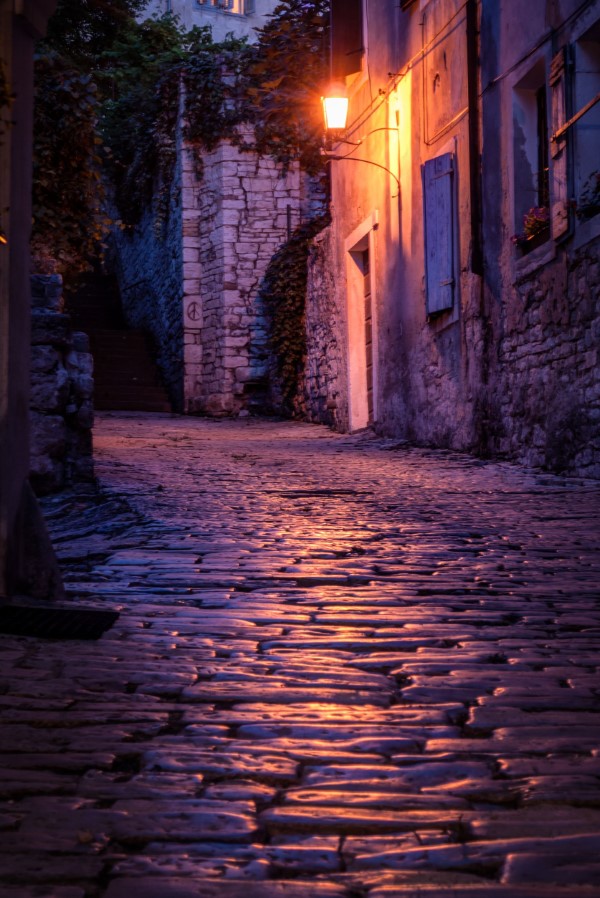
If you want a night scene, and you don’t want to create a day-to-night scene in post-production, you can make shoot at dusk or dawn to take advantage of the last or first light of the day.
Plan so you can film your scene during or just after the blue hour. The sun will still provide you with a bit of light, but you’ll still get that night feeling.
If you’re shooting in a city, chances are the street lights, shop windows, and interior lights in people’s homes will also have been switched on.
You can easily lower the brightness even more in your video editing program if you want to make the scene even darker.
9. Don’t shoot in a LOG-profile
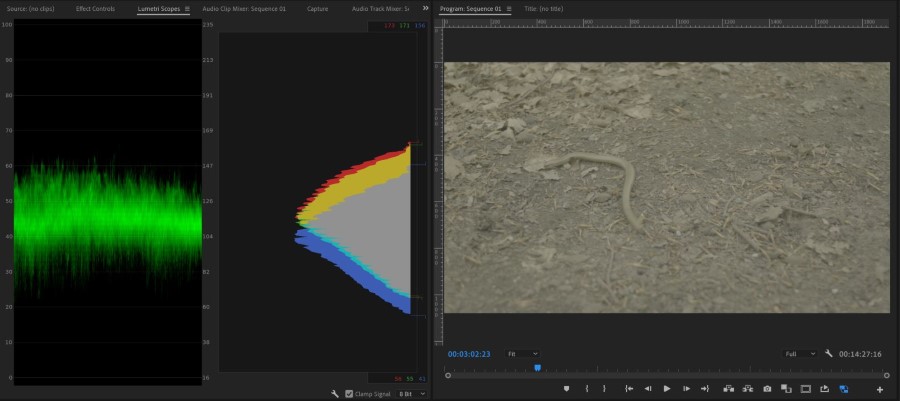
Flat picture profiles like S-Log (Sony), V-Log (Panasonic), and C-Log (Canon) are designed to give you more dynamic range.
So naturally, you’d think that LOG would be the way to go for shooting in the dark. But that isn’t the case.
The reason is that LOG-profiles are created so that less recording data is allocated to each stop of dynamic range compared to a regular rec709 gamma curve, which has around a 6-stop range.
Since a dark scene often has a limited dynamic range compared to a daytime scene, you are essentially wasting a lot of data at each stop. This will result in more compression noise in your image.
If you need a bit more stops, you can use hyper gamma profiles such as the CineLike-D or Cinelike-V on the Panasonic GH5.
10. Fix it in post
Yes, I said it. The four banned words in film and video production.
But if you need to make a dark video recording clear and free from grain and noise, you might have to resort to using some post-production tricks.
Here are two of my favorite tricks.
Use a noise-reduction plug-in
A great way to clean up your video from grain is to use a noise reduction plug-in. Most video editing programs have one built in that does a decent job.
But the best one is probably Neat Video, which is a third-party plug-in you’ll have to purchase separately.
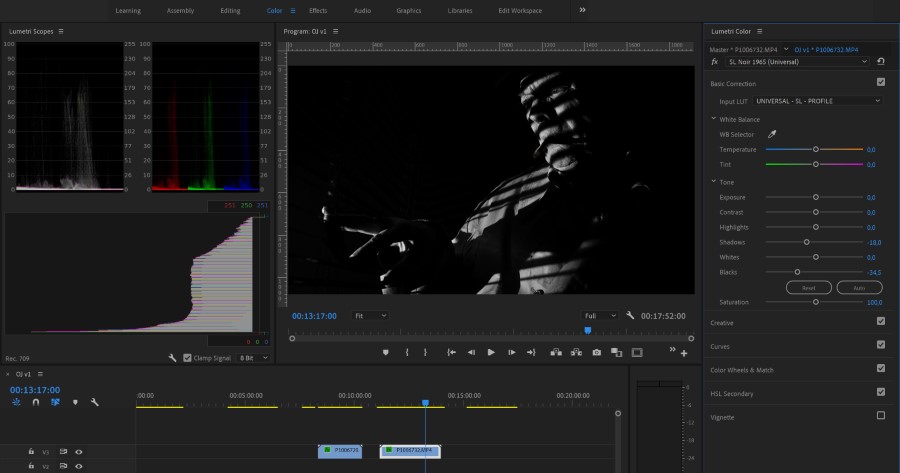
Crush the blacks
When you ‘crush the blacks’ you take the dark parts (dark shadows of black to dark grey) of your video or image and make them even darker, so that they clip.
By doing so, you’re essentially removing any remaining light in those areas, which means that you’re also reducing the noise in those areas.
Your image will end up looking more contrasty in the process unless you also reduce the highlights and whites in the process, but this isn’t necessarily a bad thing.
Conclusion
There are lots of things you can do when you want to shoot video in the dark of night.
Unless it’s pitch black, in which case you’d need night vision goggles to see anything, there is usually some available light you can use to your advantage. You just need to know how to make the best of it.
I hope these ten tips and tricks can help you the next time you find yourself having to shoot a video in low-light conditions.
If you got any questions or any tips to share, let me know in the comments below.


