Published: February 9, 2020 | Last Updated: September 16, 2024
If you’re an indie filmmaker or have ever considered shooting your short film in the action or horror genres, you might have asked yourself, “How do I make fake blood?”
The answer, as it turns out, is in many different ways. To help you decide which recipe is best, I made and tested four fake blood recipes for Halloween and movie sets.
I’ve also included a splatter test with GIFs for each recipe so you can see how each type of fake blood splatters.
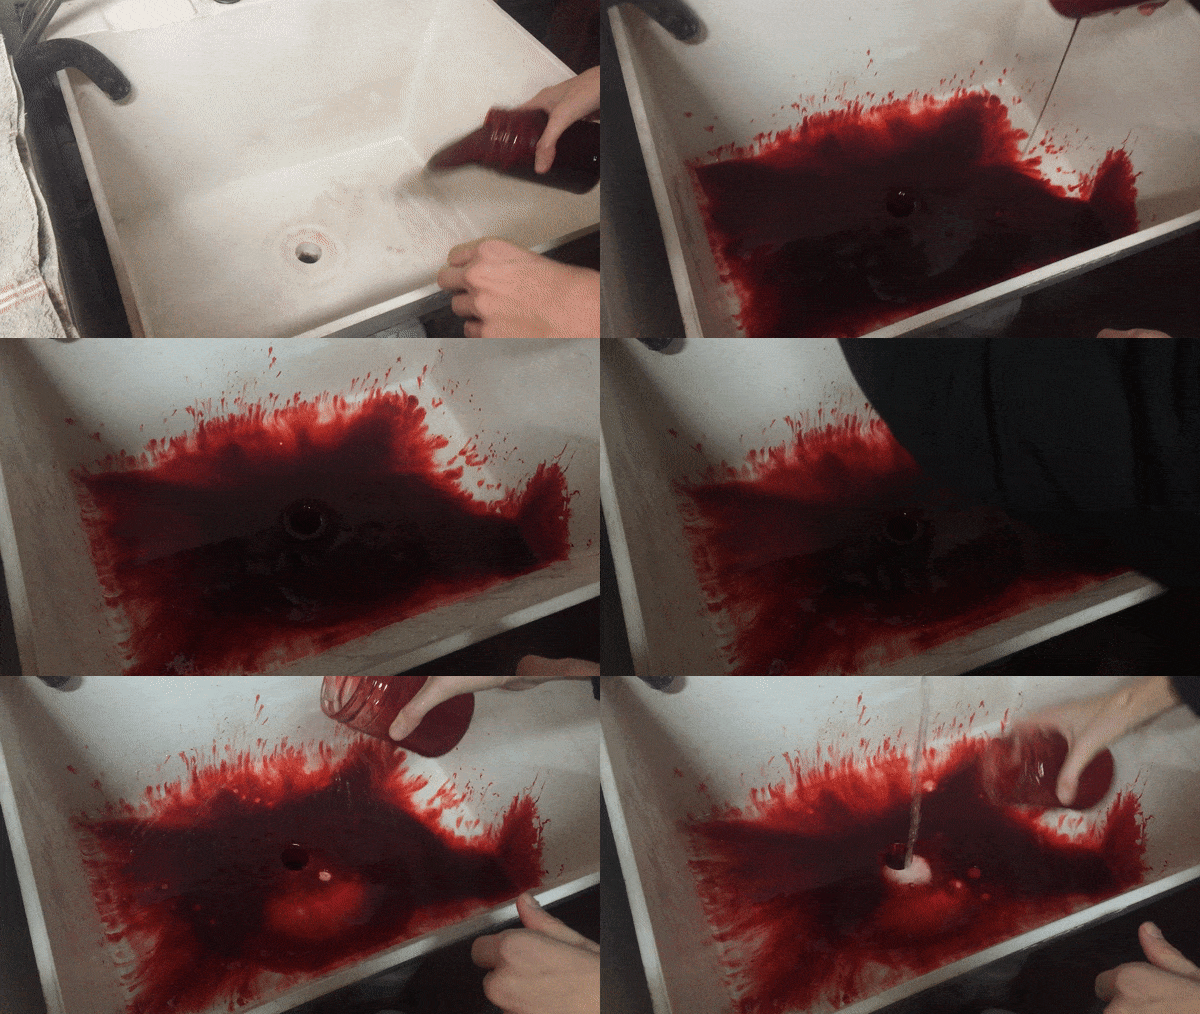
All the homemade recipes are non-toxic by design. Some of them are even edible!
The four recipes we’ve used to create fake blood are…
- Fake Blood from the Evil Dead Recipe. The recipe Bruce Campbell says was used on the set of the Evil Dead films.
- Fake Blood Using Stuff Your Pantry. Using corn syrup, cocoa powder, and a little chocolate syrup.
- Fake Blood Using Powdered Sugar. Using powdered sugar instead of corn syrup, plus a few other ingredients.
- Fake Blood Using Flour. Using flour instead of corn syrup and boiling it on the stove.
Now, that was just a brief overview. Let’s dive into the four recipes for creating fake blood listed above, along with how the results fared in the splatter test when we created them ourselves!
One note: One of the most famous recipes for fake blood for the movies includes a toxic chemical known as Kodak Photo-Flo. Since we are talking about recipes you can make at home and on the indie scale, we won’t be talking about that recipe today, but you can look it up on your own, as it’s fairly similar to some of the recipes we review today.
Recipe 1: Fake Blood From The Evil Dead
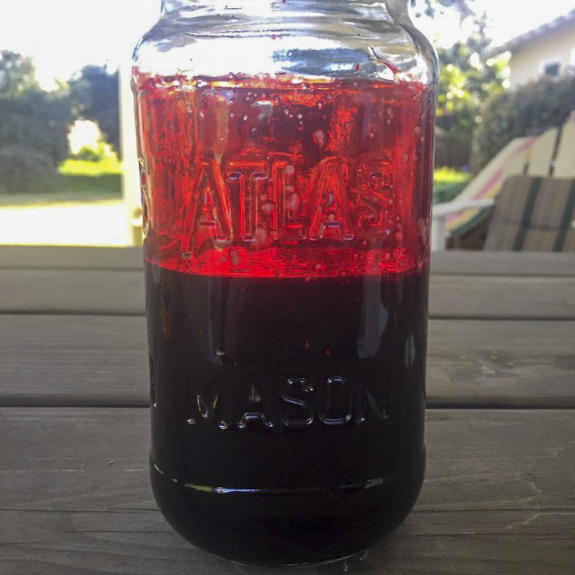
Prep time: 10 minutes | Tools for mixing: large mixing bowl, medium-sized bowl, spoon, and cleaning supplies
The first recipe on our list is from Bruce Campbell’s memoir on the making of The Evil Dead.
The Ingredients

Here’s everything you need to re-create buckets of blood, Evil Dead style:
- 6 pints clear Karo syrup
- 3 pints red food coloring
- 1 pint non-dairy creamer
- 1 drop blue food coloring
I’ve made this for a short film before, but I don’t remember using any non-dairy creamer. Instead, we used chocolate syrup as a thickening agent to make it extra dark and gooey. It is possible we used creamer and chocolate syrup.
This time around, since I wasn’t going to be using pints and pints of blood, I decided to create a scaled-down version, so this is what I ended up using ingredients-wise:
- 1 cup clear Karo syrup
- 1/2 cup red food coloring
- 1/6 cup non-dairy creamer
- 1 drop blue food coloring
Where to Get The Right Amount of Red Food Coloring
One problem I found when procuring the ingredients for this recipe was that red food coloring is hard to find in bulk. This recipe requires a lot of red food coloring, and it is relatively rare to find it on its own directly on the shelf of your local grocery store.
The average red food dye container at a typical grocery store holds around 1 Fluid ounce, definitely not enough for our scaled-down recipe.
If you want a store with the right amount (at least a full cup’s worth), try Smart and Final. Smart and Final is a bulk retailer and, therefore, sells large quantities of things like this that other grocery stores don’t have.
Otherwise, you’ll need to find a bulk supplier online, either through Amazon or another e-commerce source that sells in bulk, like the Web Restaurant Store.
Non-Dairy Creamer vs Chocolate Syrup
Since I didn’t remember using the non-dairy creamer last time, I was a little confused about what type would be best for this task. I ended up going with a powdered creamer instead of a liquid one, which had an interesting effect – we’ll get into it below.
Also, since some of the other recipes on this list use chocolate syrup, I recommend having some on hand for this recipe as well, you don’t need it, but you might want to have it to experiment with consistency.
Tools for Mixing
Lastly, you will want to have a large mixing bowl, medium-sized bowl, spoon, and cleaning supplies on hand to put it all together.
As you can see in the photo above, I made the fake blood in a mason jar this time around instead of a mixing bowl, which I could do because I made a much smaller batch. If you’re sticking to the original ratios of ingredients, however, I would recommend using a large mixing bowl.
Putting it together
Now, here’s how to put it all together:
1. pour the appropriate ratio of Karo corn syrup into your mixing base, either the large mixing bowl or, in my case, the mason jar.
2. pour the appropriate ratio of creamer into your medium-sized bowl. In my case, I mixed it in the measuring cup itself. Since I used a powdered, non-dairy creamer, it is a glue-like paste. I’m not sure what this step looks like if you use a liquid creamer, as I’m skeptical it would paste in the same way. Feel free to try both options to see which creates the better consistency.
3. mix the creamer paste with the corn syrup in a large bowl. The resulting concoction should be much more opaque and less translucent. You could also use chocolate syrup instead of creamer to thicken the consistency and make the syrup less transparent.
4. it’s time to stir in the red food coloring! Depending on the ratios above, use either three pints or half a cup. Now, it should look a lot more like blood.
5. add a drop of blue food coloring. This will offset the red and make it look darker and more like real blood. However, make sure you add just one drop. The blue dye is much more powerful than you think!
Tip: If you use powdered creamer, as I did, you will get tiny chunks of creamer paste. This creates an interesting look – almost like little chunks of skin or brain matter, which is extra gross and can add a layer of horror and realism to your gory scene. Here’s what it looks like up close:

You don’t get this effect if you use chocolate syrup or liquid creamer (I don’t think), so be mindful of that. You might want little chunks of brain splatter, or you might not, so be mindful of that when choosing your ingredients for this recipe.
Recipe 2: Fake Edible Blood From Your Pantry (with Corn Syrup and Chocolate Syrup)
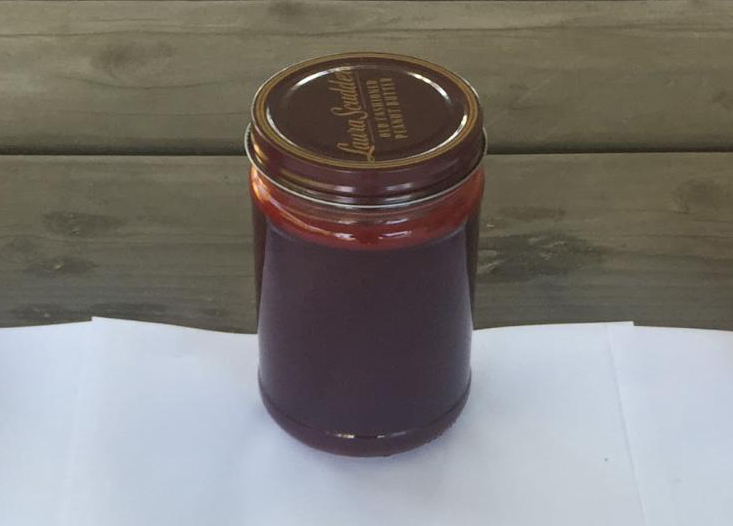
Prep time: 12 minutes | Tools for mixing: Blender
The next recipe on my list was a variation of the one above but with a few more elements. Let’s say, for example, you wanted to try creating a type of fake blood without any creamer in it or using chocolate syrup as a base. This recipe is for you!
This is also the most delicious option on the list, so if you are looking for a recipe that an actor will have to use in or around their mouth, this is the way to go.
Ingredients

- 1/2 cup of red fruit punch
- 1 cup of corn syrup
- 2 tablespoons of red food coloring
- 1 tablespoon of chocolate syrup
- 2 tablespoons of cornstarch
- 1 tablespoon of cocoa powder/chocolate powder
OPTIONAL:
- 1 drop of blue food coloring.
This is definitely a smaller blood batch than The Evil Dead‘s original recipe. If you wanted to create a comparable batch to the one listed above, you could scale this ratio up accordingly, but since I didn’t create that much, I’ll stick with the abovementioned ratios.
Fruit Punch? Really?
I ended up using fruit punch in this recipe, though I’m still not entirely sure why. I bought a cheap packet of Kool-Aid and measured it out, so I only made about a half cup as needed for the recipe.
However, since a full packet of Kool-aid can make up to two quarts of red fruit punch if you were scaling this recipe up, you could always make the full batch and use it as much as needed.
No Chocolate Syrup? No problem!
Ironically, this time around, I didn’t have any premade store-bought chocolate syrup on me, so I looked up how to make it myself for this recipe. If you find yourself in a similar situation, you can do the same, so I’ll include a step-by-step guide in the recipe for those interested.
Tools for Mixing
Keep in mind that this recipe requires a blender. While you could attempt to mix it on your own, I don’t think it would blend as well, so try to get your hands on a blender for this one if you can. Just make sure you wash it out after ASAP! You could also use a food processor if you don’t have a blender.
Mixing the Blood
Here’s how to put this one all together:
1. First, measure out the ingredients in the appropriate ratios as listed above. You will add them all into the blender in pretty much any order, but I started with the corn syrup as the base (like I did for the Evil Dead recipe) and added everything else onto that.

2. (Optional!). If you need to, you can actually create your own chocolate syrup like I did. You only need one tablespoon of chocolate syrup, but the recipe I followed required 1 cup granulated sugar, 1 cup water, and ¾ cups Hershey’s unsweetened cocoa powder. Mix them all together in a saucepan and simmer it, then let it cool down before scooping out a teaspoon to add to the blender.

3. Next, put the lid on and run the blender until your bloody brew is nice and smooth. The recommendation is to run it for about 30 seconds, and then go in about 15 second pulses as needed to make sure that all the cocoa powder and cornstarch have de-clumped.
4. Now, check the color. You should have a pretty good consistency and a pretty good color – and your blender should look bloody disgusting! Test it out on a paper towel to check the color, like this:

You can add more chocolate syrup or red coloring as needed. If it looks too light, add more syrup. If it looks too dark, add more red!
5. (Optional) When I made this one, I decided to experiment and add the drop of blue dye like the first recipe. This ended up making the blood look extra good, so I would recommend it even though it is optional.
The Result…
Including the two optional steps above, here’s how mine turned out:

The color turned out nice and dark, which I really liked, and as you’ll see in the splatter test, the consistency was pretty good too. Not bad for using a bunch of stuff you probably already have in your pantry!
Recipe 3: Fake Blood Using Powdered Sugar (Instead of Corn Syrup)

Prep time: 8 minutes | Tools for mixing: Blender
Sort of a continuation of the recipe above minus corn syrup, this recipe incorporates the use of powdered sugar instead of corn syrup.
This recipe is much simpler than the latter and useful for creating movie magic with very little. However, it’s worth noting that you will need a lot of powdered sugar.
The recipe requires over three and a half cups of powdered sugar, so we scaled down the amount required to make it for our test batch. Keep in mind that if you’re trying to make buckets of blood, you might want to purchase a new bag just for this recipe, especially.
Ingredients

- 1 3/4 cups of powdered sugar
- 1 tablespoons of red food coloring
- 1/2 tablespoon of cocoa powder
- 1/2 cup of water
A much simpler recipe than the above, this recipe is useful for creating movie magic with very little – though, it’s worth noting that you are going to need a lot of powdered sugar.
The original recipe called for over 3 and a half cups worth, so we ended up scaling down the amount of powdered sugar required to make the recipe for our test batch, but keep in mind, if you’re trying to make buckets of blood, you might want to go out and purchase a new bag just for this recipe – especially
Tools for Mixing
For this recipe, you will also need a blender, like the one above.
Creating the Blood
Here’s how to put it all together:
1. measure out your powdered sugar and water accordingly, and pour them into the blender you will use as your mixing base. Don’t add the cocoa powder just yet.
2. run the blender until the powdered sugar completely dissolves inside the water. The recommended time is about 30 seconds, but just keep it running until all the clumpy parts of the mix are broken down.
3. add the cocoa powder and red food coloring to your mix. You can add the red food coloring first, and then the cocoa powder or you can add them both at the same time.
4. run the blender again with the new ingredients until you get the desired consistency and color. The idea here is to thicken and darken the blood with the cocoa powder, so feel free to add more cocoa (or red food coloring) as needed for your ideal color mix.
The Result…
Here’s how my batch of Recipe 3 Blood turned out:

Since I didn’t want to go all-in on the powdered sugar and use up the entire supply, I ended up producing a much smaller batch of fake blood than the other two recipes. Keep that in mind if you are following the ratio of the ingredients listed above.
If you want to make more than about a half a cup’s worth of blood, scale up the ratio of water and powdered sugar to a level consistent with the amount of blood you need for your film.
Also, I didn’t end up adding the drop of blue food coloring on this batch, and when it came time to test it out, I could definitely tell the difference.
This batch looked a lot lighter to me – so keep that in mind if you’re going straight off the recipe and not improvising. You may need to either add more cocoa powder or a drop of blue.
Recipe 4: Fake Blood Using (Almost) Only Flour
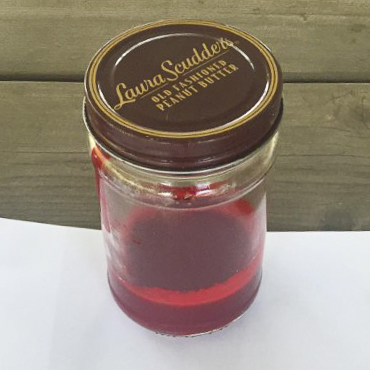
Prep time: 35 minutes | Tools for mixing: a small to a medium-sized saucepan
Last but not least), I tried a straightforward recipe that didn’t require lots of ingredients. Using only flour and red food coloring, you can still create a fake blood substitute, though I believe this type of blood is only good for certain uses, which I’ll get into below.
Though this is the simplest recipe ingredients-wise, it also takes the most amount of time. How does that work? Science, of course!
Ingredients

- 1 tablespoon of flour
- 1 cup of water
- 2 tablespoons of red food coloring
Yup, that’s really it! If you want to make a larger batch, you will definitely need to scale this ratio up, because this recipe ended up making the smallest amount of blood out of all four recipes.
Tools for Mixing
For this recipe, there’s no blender required, but you will need a small to medium sized saucepan to cook the concoction in on the stovetop.
Making the Bloody Goo
Here’s how to put it all together:
1. First, combine the flour and water into the saucepan and begin whisking it together. The idea is to make the consistency as smooth as possible and de-clump any and all lumpy parts of the flour.
2. Once you’ve got the mix as smooth as possible, go ahead and turn on the heat. Get the mix to the boiling point, and after it begins to bubble, change the dial to medium-low and simmer it.

3. This is where it gets tedious – you’re going to leave the mix to simmer for about 30 minutes, after which you will need to let the resulting concoction cool down before you add in your fake blood.
4. Once the nicely thickened mixture is cool, go ahead and stir in the two tablespoons of red food coloring, stirring it until it is completely mixed in.
5. (Optional) Depending on how the color is for you, add more red food coloring to lighten it or something to darken it, like a drop of blue food coloring or even some cocoa powder.
The Result…
Here’s how my mixture turned out:

Obviously, this recipe made the smallest amount of blood – so keep that in mind before you start making your own supply. If you’re going to make your own batch, and need a lot, plan to scale up the ratio – but keep in mind it might take more time to cook because of it.
Also, this recipe creates the thickest batch of blood. Because it’s essentially a paste-like consistency, it is the least malleable – at least according to the recipe as is.
You’ll see in the splatter test how it turns out – it’s chunky and the least natural as far as splatter is concerned.
Because of this, I would recommend using this recipe for close-up or stationary blood gags – maybe like an open wound or oozing gash where you want the blood to stay in one place on a prosthetic for multiple takes.
The Splatter Test. How Do They Compare?

Once I had all four “vials” of blood ready, it was time to put them to the ultimate test: HOW WELL DO THEY SPLATTER?
Recipe 1 – Corn Syrup
Ok, so it turns out that you need a certain gory touch in order to create cool splatter. Let’s have a look at how the first recipe faired.
Splatter Test 1:
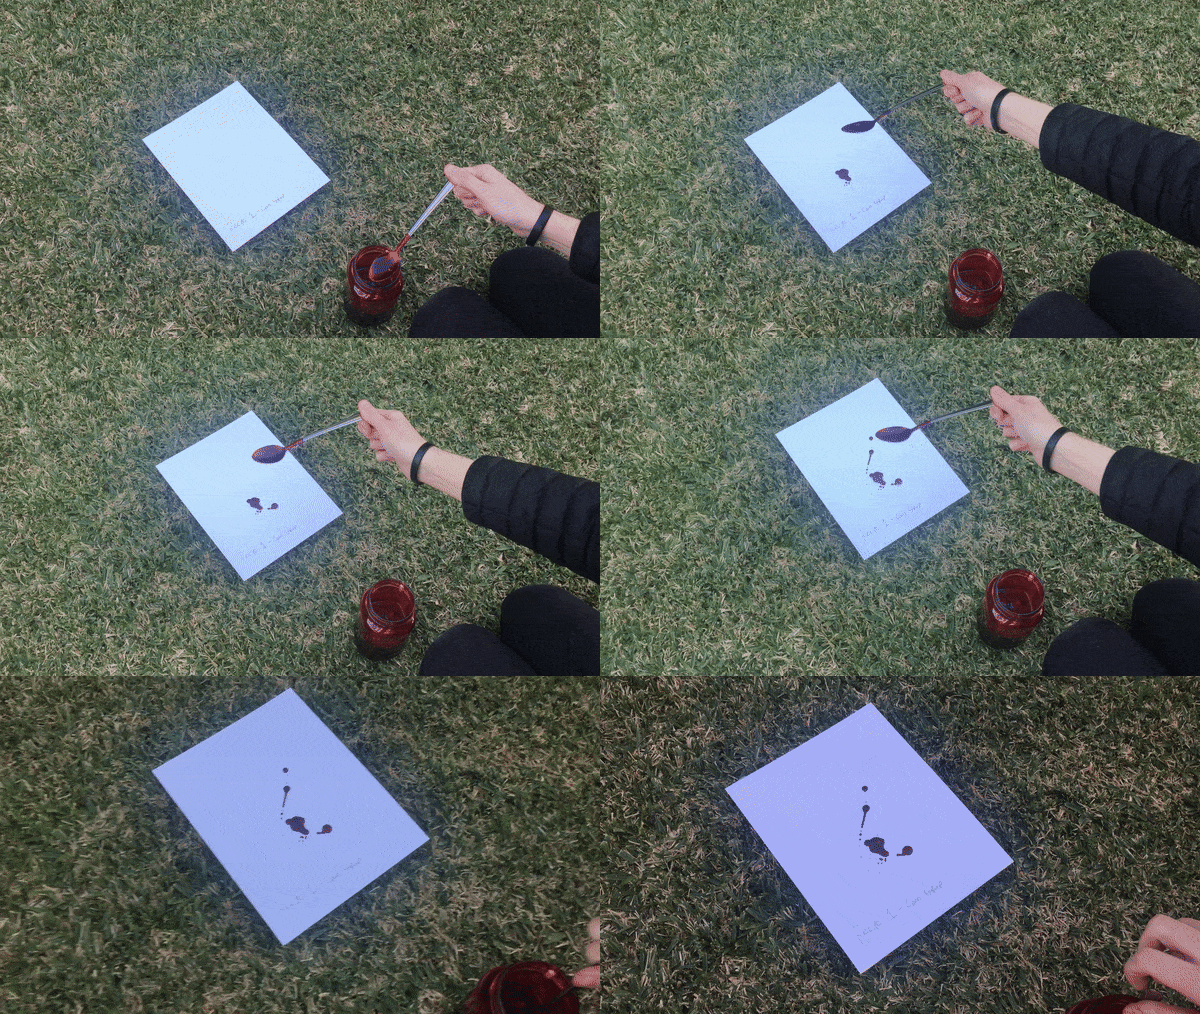
Definitely the weakest “test” because I wasn’t sure how far to fling it. However, keeping with my earlier hypothesis, the color and consistency of the Evil Dead blood held up – chunks and all.
We tried it again, naturally:
Splatter Test 2:

Not only does it look really good close-up, if you look at the first blob, but you can also see the icky “brain matter” I was talking about! How good does that look??
As you can tell by the repeated spoon-swings, this recipe is definitely sticky, so keep that in mind when you go to use this blood in action.
Recipe 1 Final Result:

Recipe 2 – Corn Syrup and Chocolate Syrup
So how did Recipe 2 stack up to recipe 1? Pretty good actually!
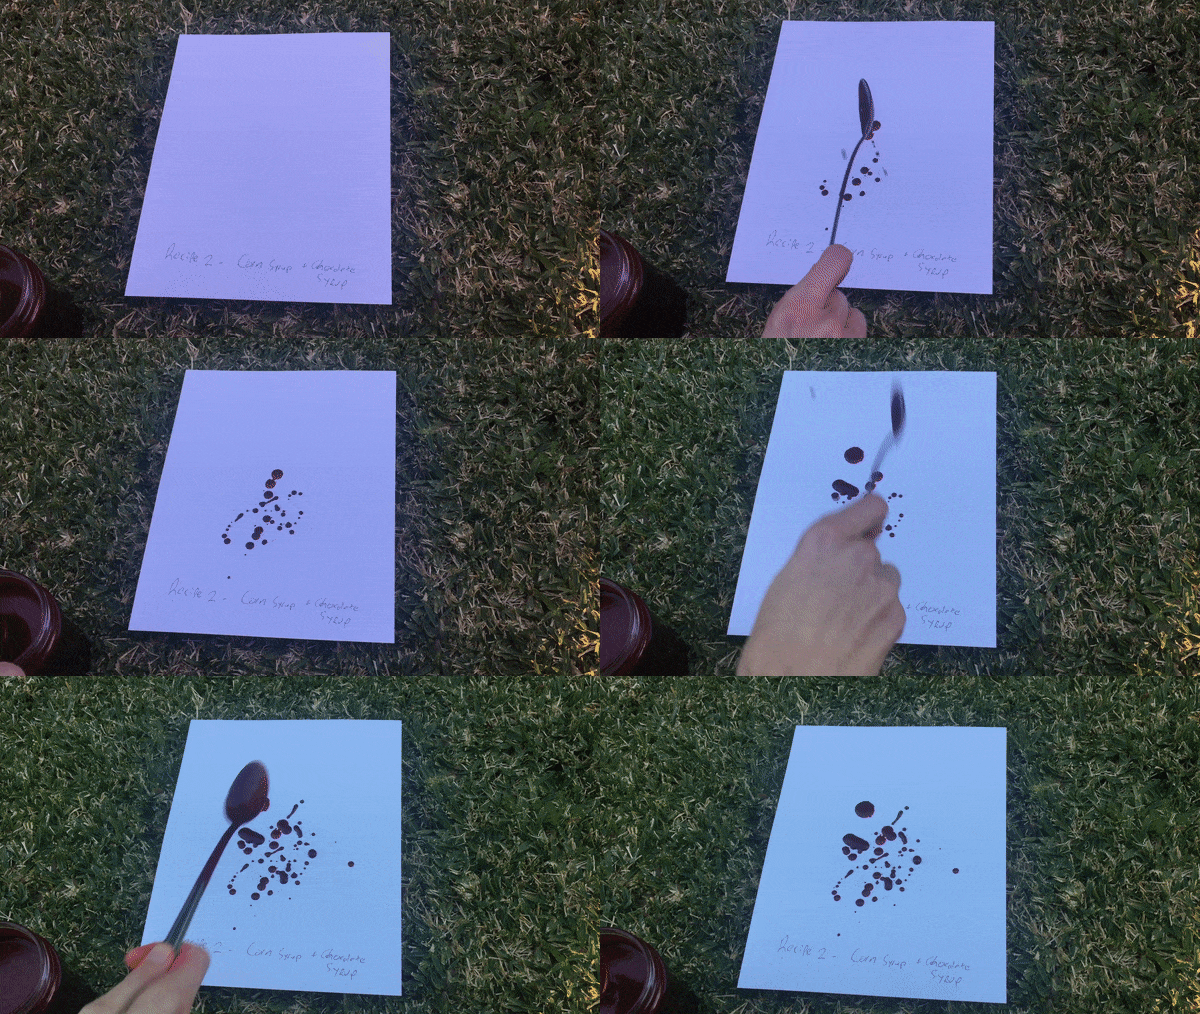
As you can tell from the above GIF, Recipe 2’s consistency is definitely a little more liquidy than recipe 1.
It had a great, drippy quality to it, but if you want the consistency to be a little thicker, you could improvise with the recipe to use the cocoa powder or cornstarch to thicken it up.
Or maybe take out the fruit punch completely – I’m still not entirely sure why this recipe needs it.
That said, the color of this recipe is one of the strongest, and that’s because I ended up adding the drop of blue food color to this recipe as well.
I definitely recommend adding some blue food color to all of these recipes, as it makes the blood look a lot darker and more realistic (in my opinion).
Recipe 2 – Final Result:

Recipe 3 – Powdered Sugar
So now it was time for the splatter test of the fake blood with the powdered sugar. Let’s see how it looked:
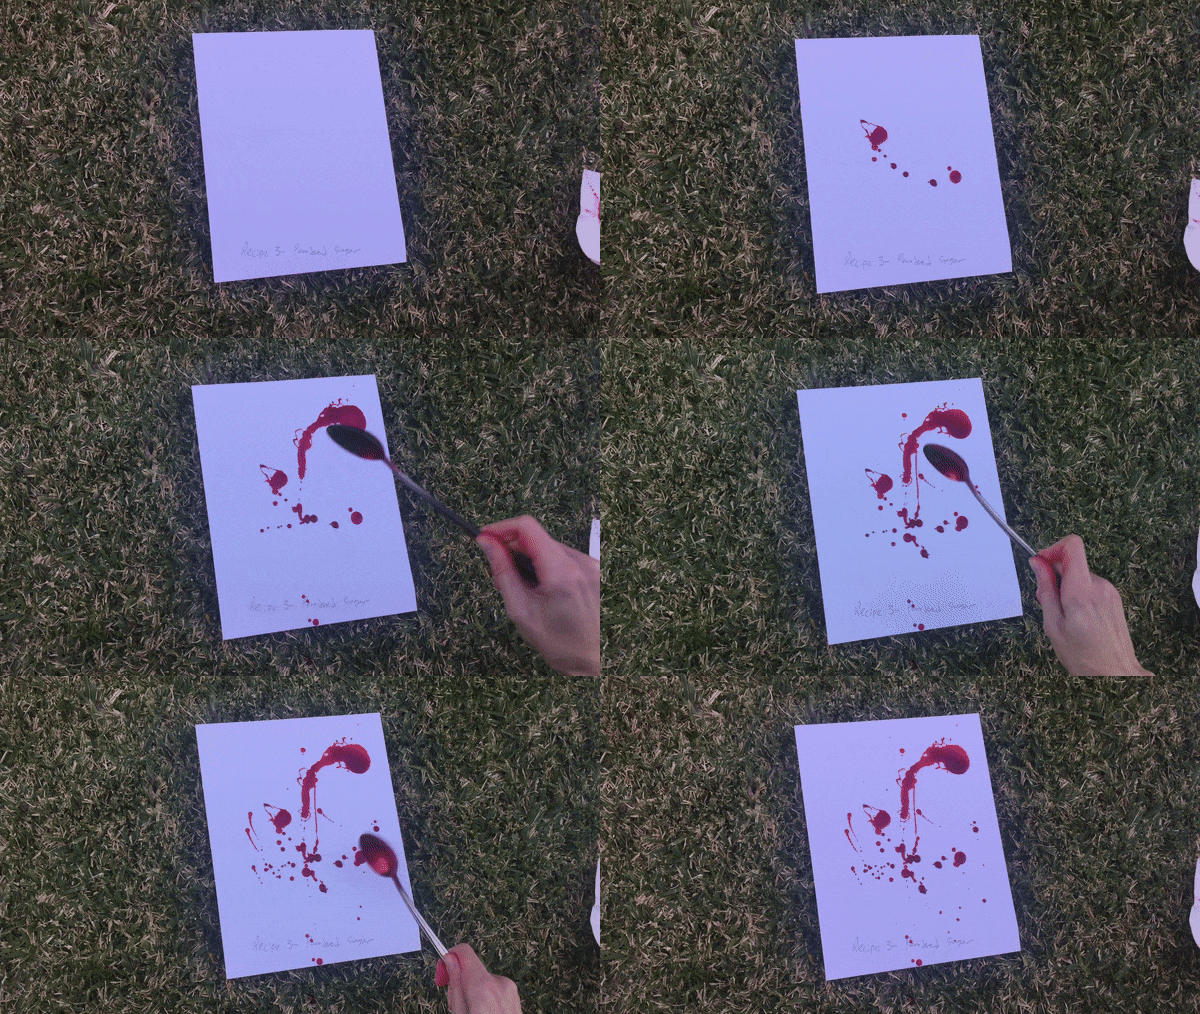
The first thing you’ll notice right away on this test is how much brighter this recipe’s blood is.
I’m pretty certain that’s due to the fact that I did not add the drop of blue dye to this recipe, and it seems like it shows.
That said, this one has a really nice splatter pattern, especially on that second spin.
The consistency is a bit more watery I think, but that creates an interesting effect, so I would experiment with the level of thickness depending on your blood-splattering needs.
Recipe 3 – Final Result:

Recipe 4 – Flour
While the first three recipes had marginal differences between them, the fourth recipe was definitely the most different – by a landslide:
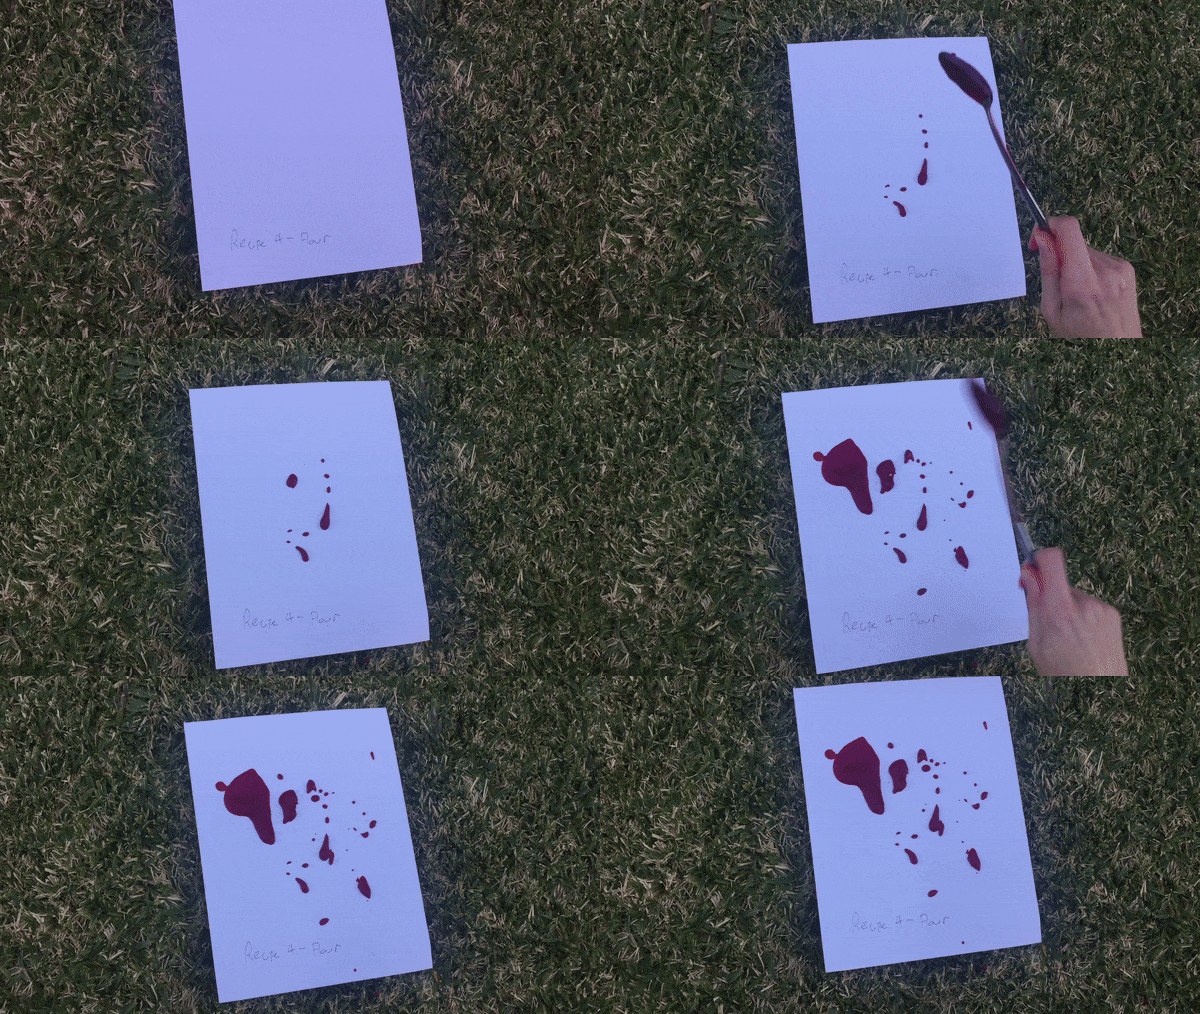
For starters, it’s definitely the thickest concoction of the four. You can see it even after the first drops hit the paper. It’s so goopy – and then when the big clump hits, it looks more like a gelatin paste than anything resembling real blood behavior.
Also, the color is very red. Because the recipe only calls for red food coloring, it also comes out the fakest looking. This can definitely be improved upon by adding something like chocolate syrup or a drop of blue food coloring, but you’ll have to do some experimenting.
That said, I do see a value in having a stickier, gooier blood recipe. As I mentioned earlier, this could be useful for applying to a prosthetic for a gaping wound or oozing sore.
Because it’s so thick, it can stay consistent for multiple takes, making it useful for continuity or in a close-up. However, this wouldn’t be my first choice for a big blood gag where you’re going to be spraying or showering someone or something with blood – at least not without making adjustments to the recipe to water it down some accordingly.
Recipe 4 – Final Result:

Summing Up

Here’s how I would rank the four recipes based on my experimentations:
- Recipe 2 (Pantry Raider): Good color, good consistency, all around very strong – and tasty!
- Recipe 1 (Evil Dead): Good color, not as thick, and depending on how you make it, includes chunks of brain!
- Recipe 3 (Powdered Sugar): Brighter color, but could make it darker, also slightly more watery, but nicest blood spray.
- Recipe 4 (Flour Only): Too thick, good for placing on a prosthetic on a cut or gash seeing as it doesn’t move!

And there you have it: four different ways to make four different types of fake blood effects for your indie short films, next Halloween costume, or low-budget horror features using everyday household items. And the cool thing is, that you probably already have most of the ingredients in your pantry right now.
Read Next: Where to find inexpensive props for your film.

