Rotating your videos in Premiere is an extremely simple task. You can rotate your content on a horizontal or vertical axis, which basically means flipping the video upside down or creating a mirror effect.
You may want to rotate or flip a video in order to correct a visual error, create a fun effect, or a number of other different creative uses.
There are two primary ways to rotate or flip a video in Premiere: using built-in presets or the rotation function in the Effects Controls window. This article will explain how to use both of these methods.
Built-in Presets
Premiere has two built-in presets for flipping a video. Unfortunately, there are no presets for rotating a video.
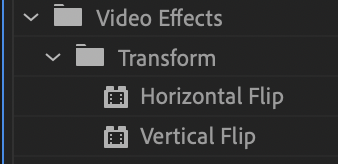
You can find the two presets in the Project Panel > Effects tab. From there, locate the Video Effects > Transform tab. You will then find the Horizontal Flip and Vertical Flip effects.

These effects will perform the exact function listed. Below is a still of a bird without either effect applied to the video.

Here is what the video will look like with the Horizontal Flip effect added.

As you can see, the Horizontal Flip effect flipped the image on the Horizontal Axis. It creates a mirror-like effect to the image.
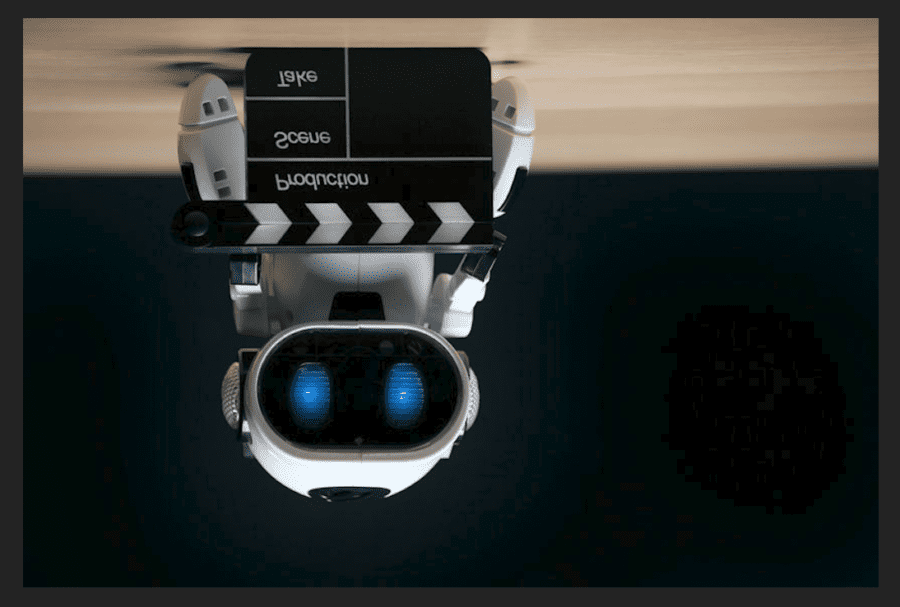
Here is what the video will look like with the Vertical Flip effect added.

The Vertical Flip effect essentially flips the image upside down. You could argue that this is technically a 180-degree rotation, but you cannot control the rotation of the image with this effect.
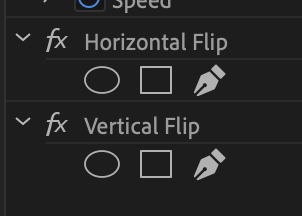
Note that this function cannot be used with keyframes. However, you can use masking under the Opacity tab in the Effects Control window as shown below.

Rotation Function
Premiere does not have any built-in presets for rotating a video. Instead, there’s a dedicated Rotation function inside of the Effects Control window in the Source Panel when the clip is selected.
To rotate the image, simply just click and drag the blue 0.0 left or right to change the rotation properties.

You can also click the 0.0 and type in a degree number. For instance, if I want to rotate the video upside down I can type 180 degrees.

You can set keyframes if you wish to rotate the image between two points. Simply turn on the keyframe function by hitting the Clock icon on the Rotation tab, and then set your keyframes. I set a keyframe at 0 and 180 degrees as a demonstration.

You can also rotate the image multiple times between keyframes. You can do this by typing a number (for the number of rotations, an ‘X’ to signal Premiere to complete the desired number of rotations, and then the degree number. Check out the photo below to see how this information should be entered.

Conclusion
That’s it. It’s that simple. Learning these functions may seem overly easy, but they’re important to know when it comes to manipulating video.

