Synchronizing audio to video can be a tedious task. Luckily, Premiere makes it easy by having tools that will automatically do this under the right conditions.
This article will show you a few different methods for syncing audio to video in Premiere Pro without plug-ins. You can sync clips manually or automatically. Both have good uses for different reasons. Let’s learn about both methods.
Syncing Function in Premiere
Let’s look at the different options Premiere provides for syncing clips. It’s important to learn this first because each method will use one of these functions.
You can sync clips in Premiere by either using the Merge Clips or Synchronize functions.
Merge clips
To access the Merge Clips function, simply select an audio and video clip you want to sync, right-click, and select Merge Clips.
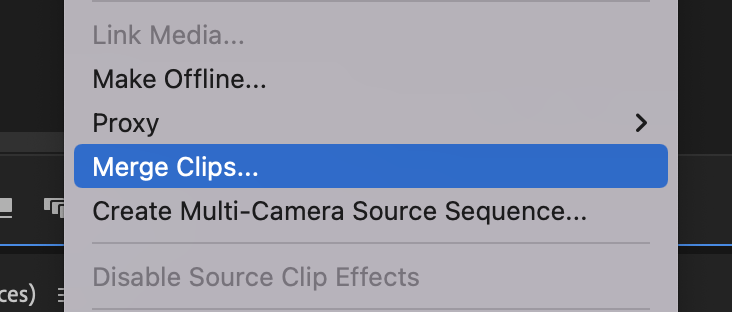
A popup window will appear and give you a few different options to sync the clips.
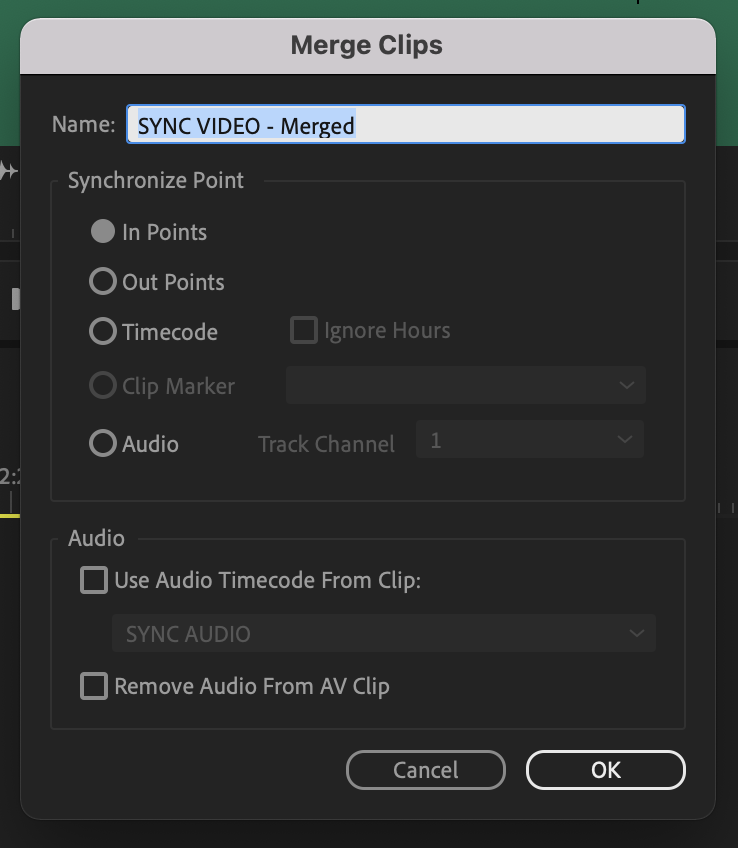
- Name – You can name your clip
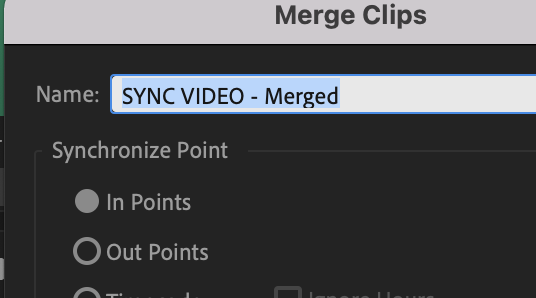
- In Points – Sync the clips with set in points on the audio and video clips
- Out Points – Same as the In Points function, but with out points
- Timecode – Syncing using the timecode if audio and video was recorded with a timecode generator
- Clip Marker – Syncing using clip markers (note, you must mark prior to using)
- Audio – Sync the audio between the two clips
There is also one other tab labeled “Audio.” This will allow you to set or remove any audio clips you do or do not want to use. For example, you can remove the camera audio if you only want the externally recorded audio used on your clip.
Synchronize
The Synchronize function essentially works the same way as Merge Clips but requires a different setup.
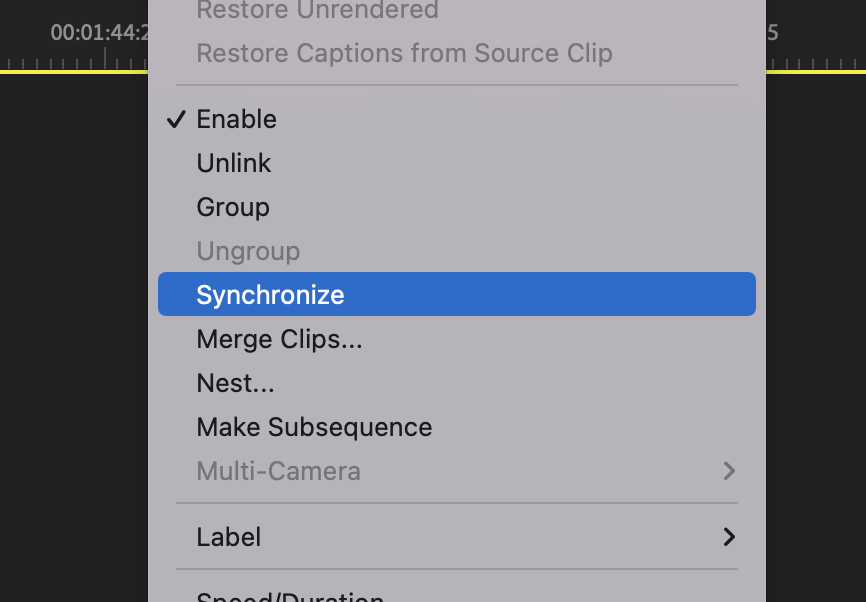
This requires you to have both of your clips on a timeline. With both clips selected on the timeline, right-click and select Synchronize (note that you can also use the Merge Clips function using this method as well).
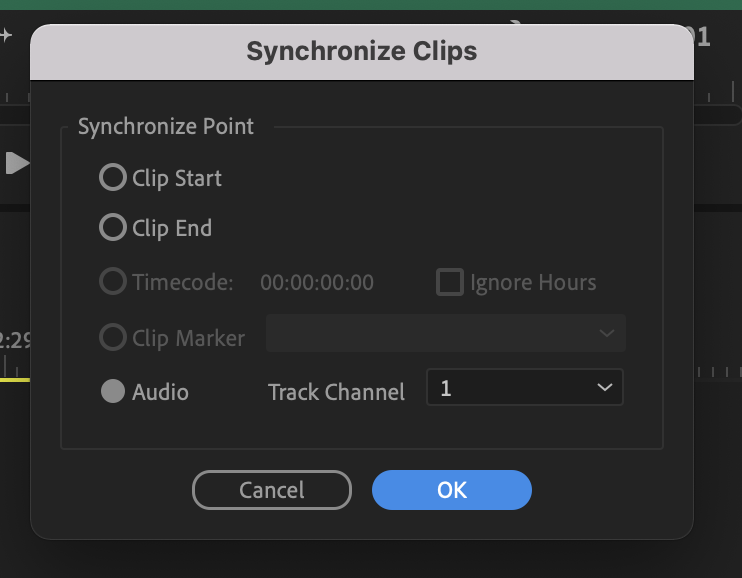
A popup window will appear and have many of the same options as Merge Clips. The only difference is that you cannot Name the clip or remove the undesired audio once the clips are synced.
Let’s get into the different methods for syncing a clip in Premiere now that you understand how syncing works.
Manual Syncing
Syncing manually is the most tedious of the two methods, but there are some reasons why you need to learn how to use it.
Manual sync method 1
You will use the Merge Clips function for this method.
First, choose one of the options for how you’d like to sync your clips (in points, out points, timecode, clip markers, or audio).
I personally prefer to set In Points for this method because typically it’s easier to find a good sync point at the beginning of a clip.
Hopefully, the production team used a clapboard to help you find a sync point, but we can find another if not.
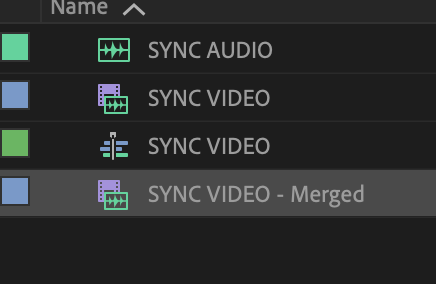
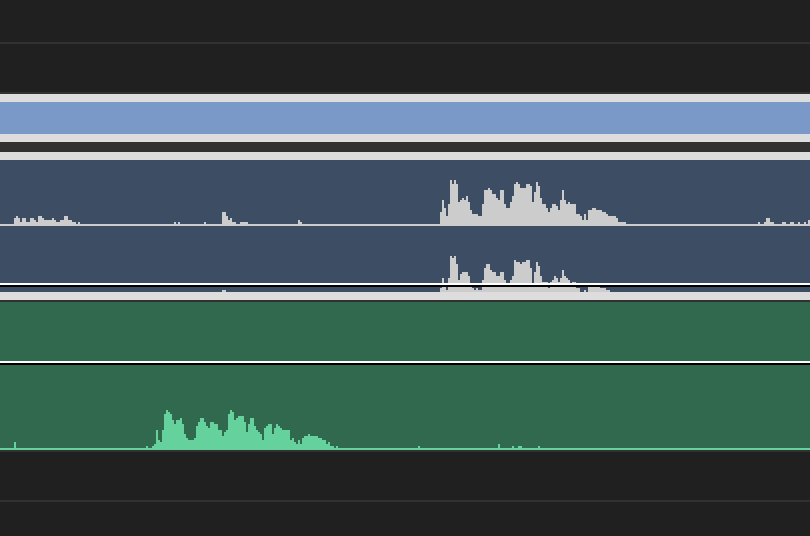
Locate two identical points on the waveform of the video and audio clip and set an In Point using keyboard shortcut “i” on the Source Monitor. Below are two images as an example.
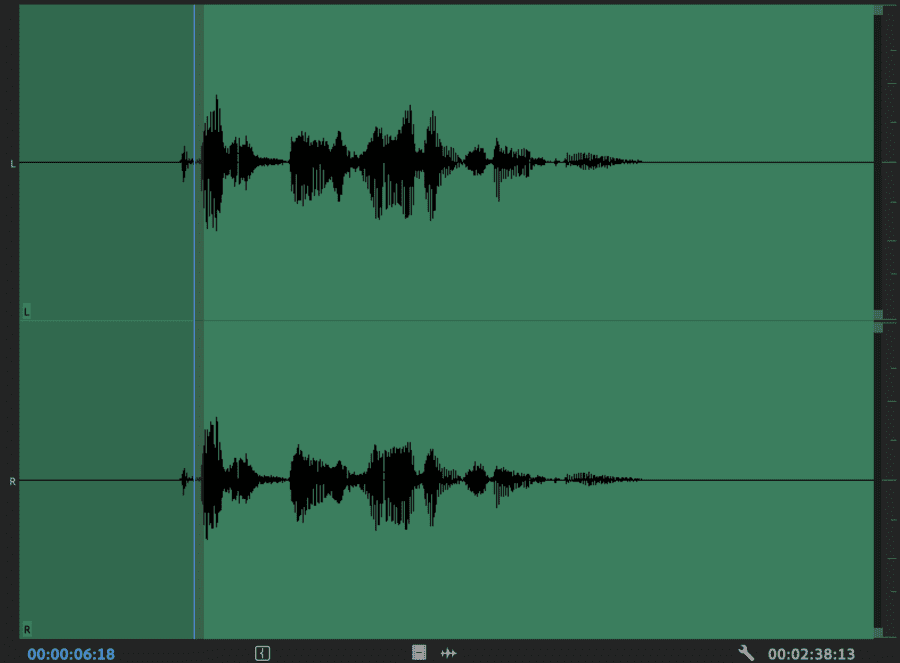
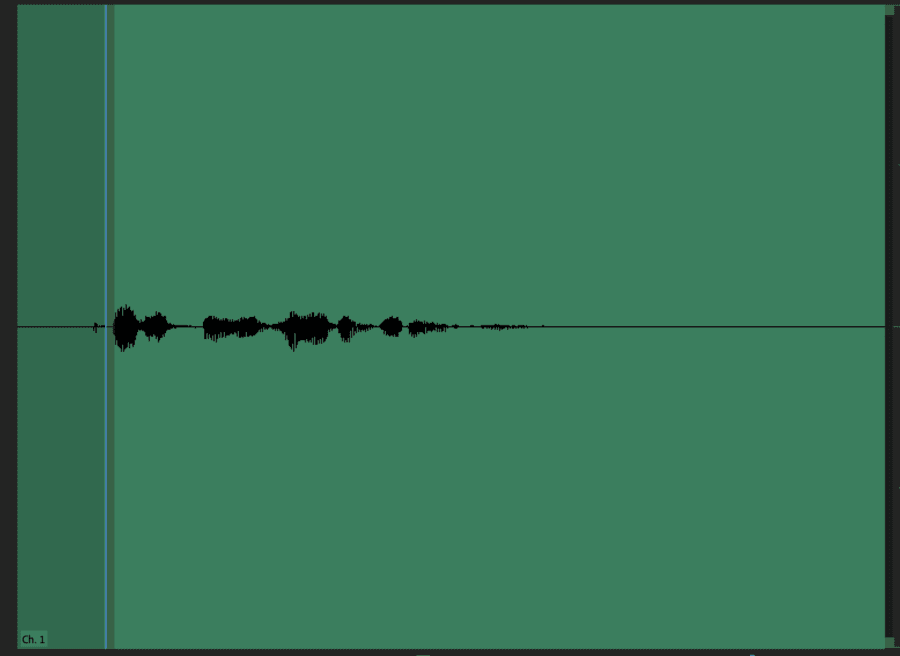
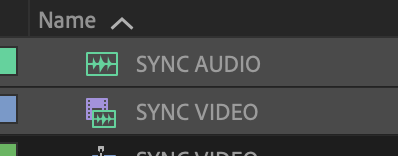
Second, with both clips selected on the timeline or Project Panel, right-click and select Merge Clips.
Third, select the method you used to match up your clips. In this example, I will select the In Points since I set in points on both of my clips.
Fourth, a new clip will appear in the Project Panel. This will be your video and audio clip synced together. Playback the clip to make sure the new audio matches with the video.
Manual sync method 2
First, add both of your clips onto a timeline.
Second, find a similar point in the waveform of both clips, such as how we did in the previous method.
Third, line the clips together until the audio from both matches.
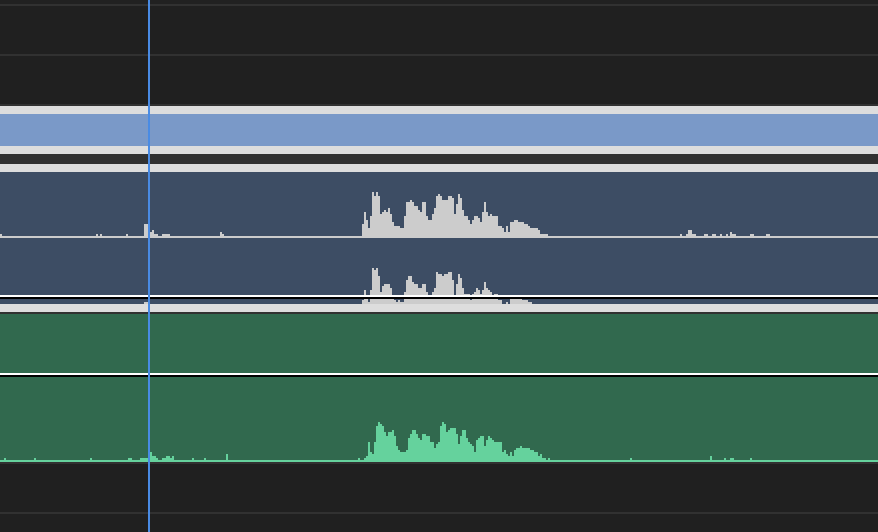
Fourth, remove or turn down the gain on the audio portion of the video clip.
Note, this article assumes that your video clip will have an in-camera audio clip attached to it for reference. Manual sync method 1 will still work if the production team used a clapboard.
However, you will have to use method 2 if they did not. This will be much more difficult to do. You will need to use some trial and error to find where the clip matches.
One way to find a sync point with no reference audio is to find where a speaker first begins to talk. Mark both clips and check to make sure both match.
This usually will work pretty well even if you have to adjust it a few frames. You can also listen for noises that would be easy to match with what is happening in the video.
It is also useful to know how to change the audio units in case of latency between the in-camera audio and the externally recorded audio.
Most of the time your audio will match, but here’s how to quickly change the units in case you need to make some fine-tuned adjustments. In that case, you might need to change the timeline to audio units and adjust your audio in milliseconds (ms).
How to change the timeline from frames per seconds to audio time units in Premiere Pro
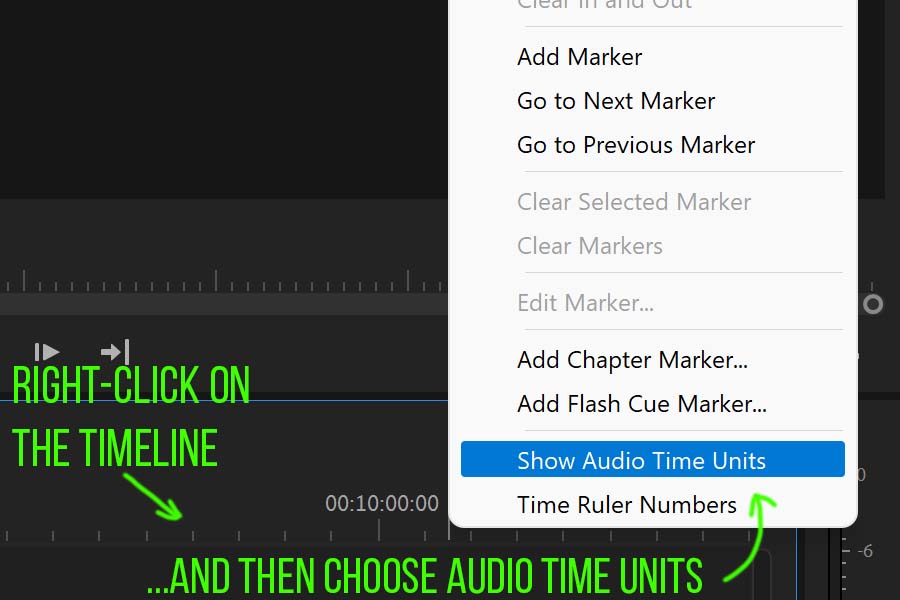
To change the timeline from frames per second to audio time units in ms, first right-click the timeline panel, and select Show Audio Time Units.
This will change the timeline units from frames to a sample-based scale. Doing this will allow you to make adjustments that are less than one frame on your timeline.
Automatic Syncing
Premiere has a great function that will automatically sync your clips so long as the video file has attached audio. This will essentially work the same way with both the Merge Clips and Synchronize functions mentioned previously.
Merge Clips method
First, select the clips you want to sync in the Project Panel.

Second, right-click and select Merge Clips.

Third, select Audio on the list of options and hit Okay.
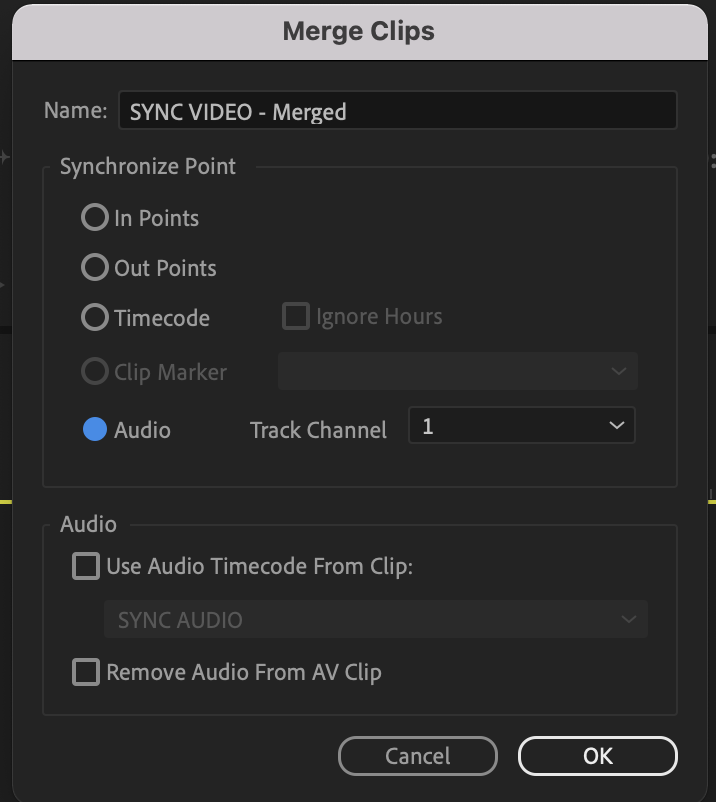
Fourth, double-check the new merged clip created from this method.
Synchronize method
First, select the clips you want to sync on the timeline.
Second, right-click and select Synchronize.

Third, select Audio and hit Okay.
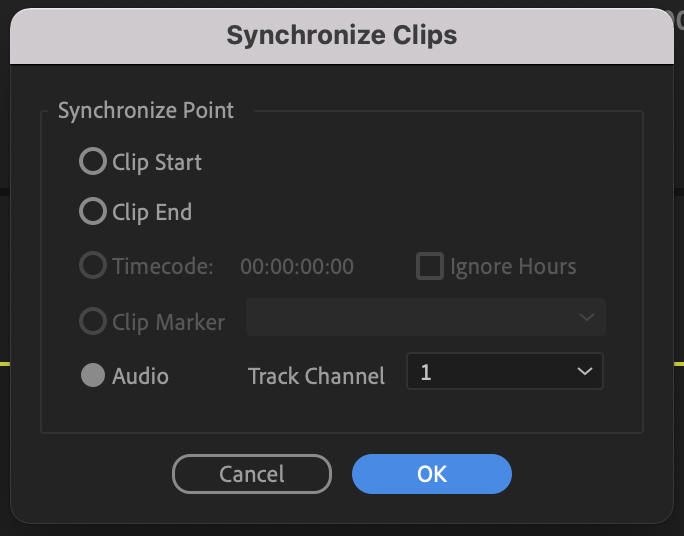
Fourth, double-check to make sure the audio matches the video and remove any unwanted audio.
It’s that simple, so why would you ever manually sync clips together? Let’s learn about some best practices.
Best Practices
There are multiple ways to sync clips in Premiere because all of the methods may not work with your clips. For example, I mentioned earlier how to sync clips when no audio was recorded in-camera.
You won’t be able to automatically sync the clips if no audio was recorded in-camera unless a timecode generator was used.
The Synchronize method isn’t always perfect either. It’s a great tool when syncing clips for interviews or single-take clips.
However, sometimes Premiere will have trouble syncing the clips if the in-camera audio and external audio don’t match perfectly. In that case, you would have to use one of the manual methods.
It’s best to learn all of the methods just in case one doesn’t work. I certainly recommend attempting to use the automatic method first, but there may be points when you need to fall back to the manual method.
Sync Plug-ins
This article’s focus is on how to sync clips without plug-ins inside of Premiere, but we still wanted to list a recommended plug-in.
Maxon has a great plug-in called PluralEyes that is a very useful tool, especially when it comes to multi-camera edits. However, it should be noted this plug-in is part of Maxon’s Red Giant Complete subscription plan and cannot be purchased on its own.

Conclusion
Learning how to sync audio to video is a vital part of the editing process. Learning all of the different methods is important as not all productions are done properly. Having this skill will make your editing process much easier as well as make your talents more marketable to potential clients.


If you are a professional video editor I beg you, please do not use “merge clips.” The loss of metadata creates a nightmare during the turnover process for post sound and color. Unless you are working completely alone it should be avoided at all costs