These days it’s easy to get your hands on a camera that can capture quality video. Even our phones can get great results, so there is rarely a moment where we can’t hit record.
However, if you’re new to shooting video it’s easy to get overwhelmed. Even if you have experience shooting still photography, getting good videos can be a whole new set of challenges.
Don’t worry though, there is plenty of information and advice readily available. In this article we’ll take a look at several fundamentals to understanding your camera and how to start getting good footage.
So read on and get ready to test out some new tricks!
1. ISO

First off let’s look at ISO. ISO controls your camera’s sensitivity to light exposure. The higher your ISO is, the brighter the image will appear, while a lower ISO will darken your image.
In high light environments you will have a low ISO, while if you are shooting in a darker setting you’ll have to have a higher ISO.
It is important to realize that as you raise your ISO you introduce more noise and grain to the image reducing its quality.
Whenever you are shooting video you should try to keep your ISO as low as possible while still getting good exposure, to ensure the best quality image.
2. Shutter Speed And Frame Rate

In video cameras, your shutter stays open as you film, so in this case, shutter speed describes how long the sensor exposes for.
Your frame rate controls how many frames per second (FPS) your camera will capture.
To avoid jittery or choppy video the general rule of thumb is to have a shutter speed double your frame rate.
For example if you are shooting 30 FPS then you will want a shutter speed of 1/60, and 24 FPS will have the best results with a shutter speed of 1/50.
Different combinations of shutter speeds and frame rates can give your video different flavours.
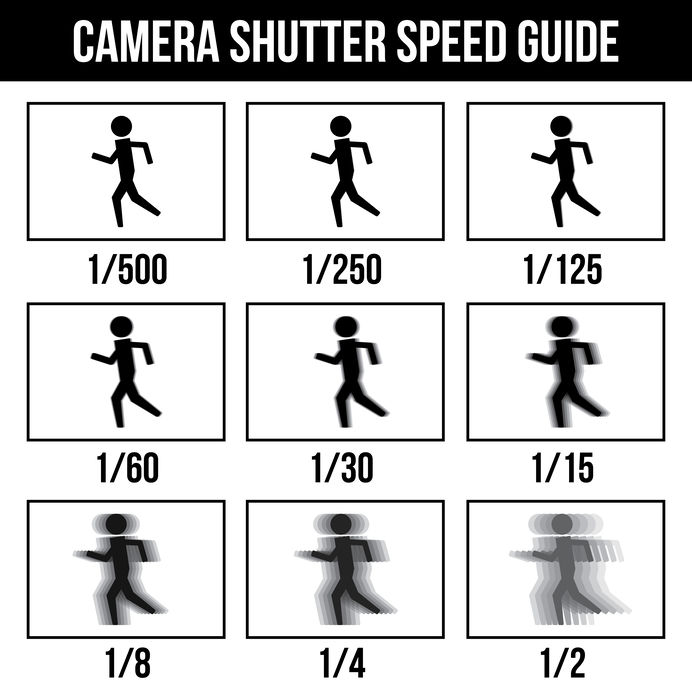
24 FPS with a shutter speed of 1/50 gives you a more artsy and cinematic feel. The lower shutter speed produces a natural blur that blends the frames seamlessly together.
At 30 FPS your video will look more like broadcast TV while shooting at 60 FPS means you can play the video back in slow motion at half the speed without jitters.
One thing to note is that shutter speed is another way to control the brightness or darkness of your image.
The longer the sensor exposes for the more light it receives. That means a lower shutter speed, i.e. 1/50 means you will have a brighter image.
When trying to compose a shot, oftentimes it’s best to prioritize aperture and ISO before shutter speed to optimize your exposure.
Just as long as your shutter speed is in the ballpark of double the frame rate you should be all right.
But remember, it’s an art and in the end you are the one who has to decide what you think works best.
3. Aperture

Your aperture is the primary mode to adjust the depth of field or sharpness of your video. A smaller aperture (also described as a bigger f-number – like f16) gives you a much deeper depth of field.
This means that objects at a larger range of distances to your camera will appear in focus.
A larger aperture and smaller f-number like f1.8 gives you a shallower depth of field. You have greater control over what will appear in focus, while blurring the backgrounds.
When you’re filming it can be useful to remember that a greater depth of field means your subject can remain in focus while their distance to the camera changes.
With a shallower depth of field, that sweet spot is much smaller and you’ll have to be ready with the manual focus. This can be difficult to pull off, especially with a bare-bones rig lacking any assistance such as a follow focus.
You can learn more about how ISO, Shutter Speed, Aperture, and Frame Rate are connected (the exposure triangle) in our article How to Choose the Right Camera Settings for Video Production.
4. White Balance
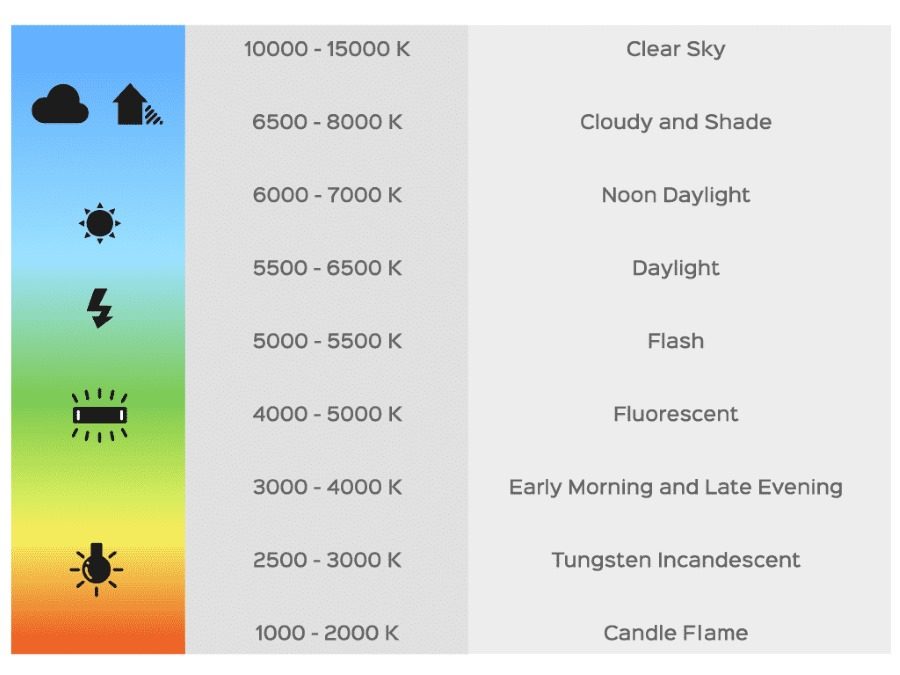
In keeping with lighting, it’s important to realize that all different light sources have different temperatures.
The temperature of the sun is different than the temperature of a fluorescent light bulb is different than the temperature of a halogen bulb. All these light sources will affect the image in different ways.
White balance is a tool that tells your camera the temperature of the light of the tableau. Many cameras have preset balances depending on your light source.
If you’re shooting outdoors during the day look for the sun icon, inside under fluorescent light might have a flourescent bulb icon, and another for halogen light bulbs.
You can also customize your settings if there are multiple light sources present. Try to find the setting that makes the colours in your frame look the most natural.
Often times, using a slate (or even just a white piece of paper) before shooting can help correctly set your white balance.
4. Stabilization
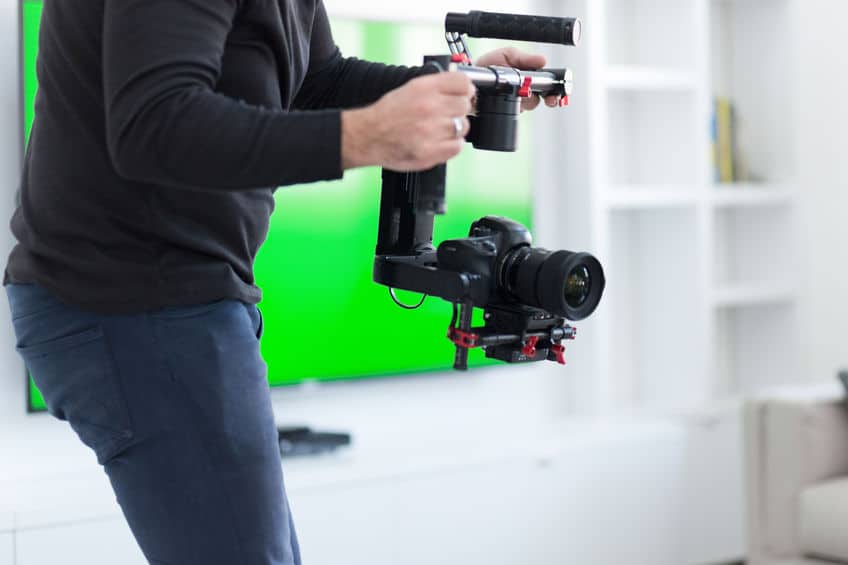
If you are shooting while simply holding your camera in your hands and with no form of stabilization your footage could definitely end up looking shaky and unprofessional.
Some cameras and lenses come with in-built stabilization, but even though the technology has advanced a lot in recent years, they can still only do so much.
Fortunately, there are a lot of tools at pretty affordable prices to help you get the steady shot you want.
Shoulder rigs, tripods, and sliders are all good options depending on what you are filming and what kind of shot you envision.
Often when shooting video a tripod is your best friend. Tripods are great for fixed filming and allow you to make slow and controlled panning or tilting shots.
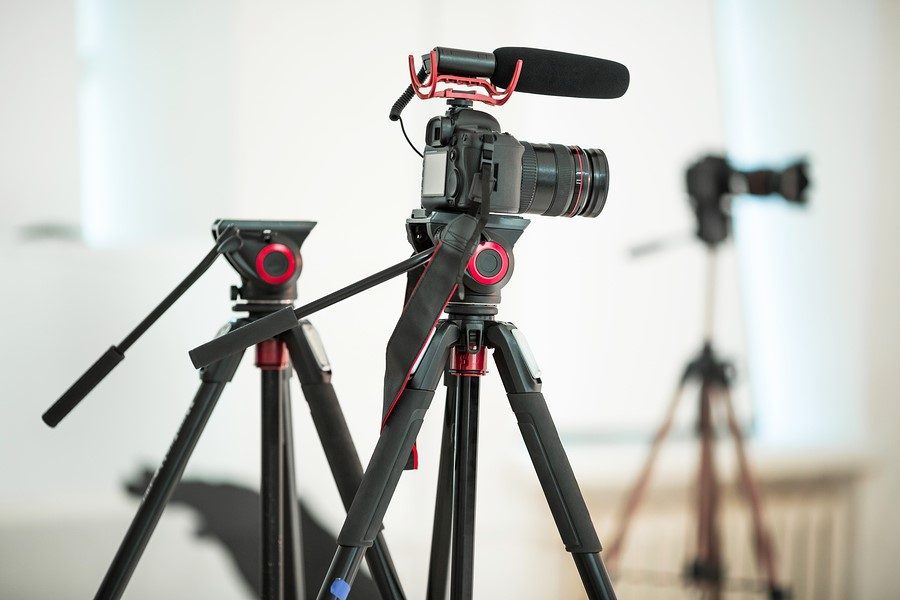
Typically it’s best to avoid panning too quickly as it can make your video look unnatural and uncomfortable to watch.
You can learn more about tripods in our guide Six Things You Need to Know Before Buying a Tripod for Video.
If you need help buying a tripod, I would recommend you read our guide 10 Best DSLR Video Tripods for beginners, travel, and pros.
Shoulder rigs are another comfortable way to shoot steady video for a longer period of time. This simple tool can definitely improve the steadiness of your video while affording you some mobility.
Sliders are rails that you can mount your camera for a smooth controlled tracking shot.
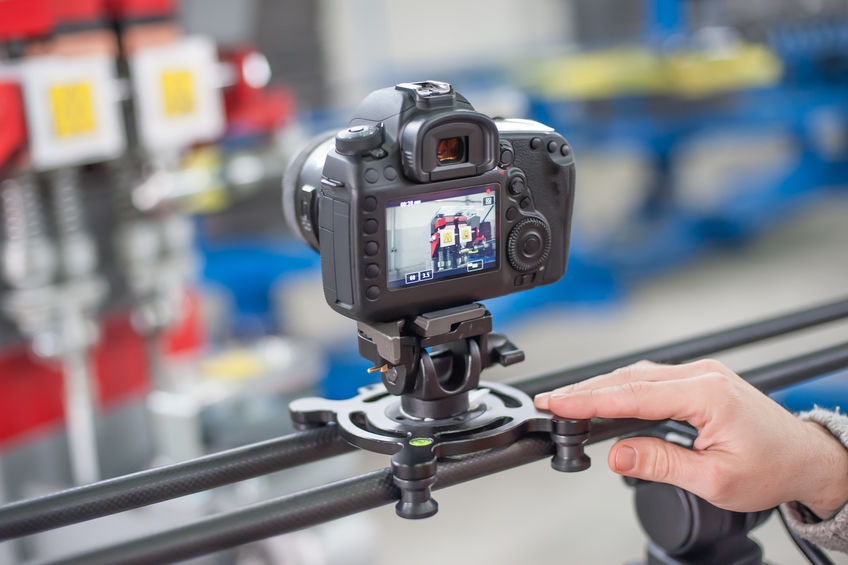
These can be great for controlled zooms, or for following the action through a scene.
They can take time to set up, so if you know you will be moving around a bunch during the shoot it might be a good idea to look into acquiring a monopod or a gorilla pod.
You can learn more about sliders in our guide Best Professional Camera Sliders For Any Budget.
If you’re looking for a handheld stabilizer tool you can use a gimbal or a glide cam.
You can read more about gimbals in our guide Best Gimbal Stabilizers For DSLR And Mirrorless Cameras.
You can read more about glidecams in our guide 5 Best Glidecams For Mirrorless and DSLR Cameras.
5. Audio
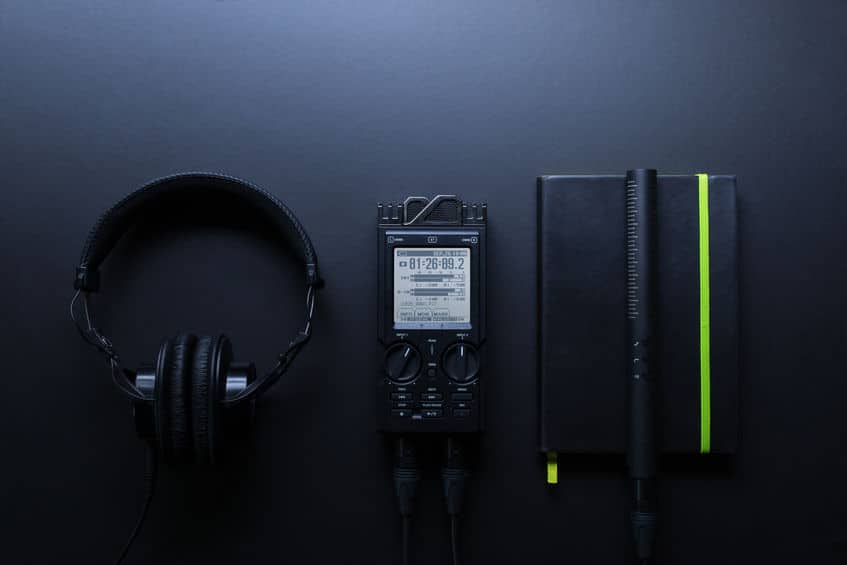
Even if you have gorgeous footage, you’re not going to impress anyone if your audio sucks.
Chances are even straight out of the box your camera can shoot great video, but your audio just isn’t up to snuff.
Most cameras’ built in microphones are pretty poor quality and only really works well when positioned very close to your subject in dead silence.
You should invest in better microphones such as shotgun mics you can mount directly on your camera or Lavalier microphones that you can attach to your subject.
You can read more about some good inexpensive on-camera microphones in our guide Top 8 Best Budget On-Camera Shotgun Microphones.
These products will give you much better sounding audio, although even dedicated audio sources will work best when placed as close to the source as possible.
You can read more about good affordable lavalier microphones in our guide Best 7 Budget Lavalier Microphones With Great Sound Quality.
Also, take note of your surroundings when shooting. Think of what background noises might be picked up, and consider the placement of your subject.
If you have plugin microphones, check the display on your camera to be sure you have a balanced audio setting.
6. Manual Focus
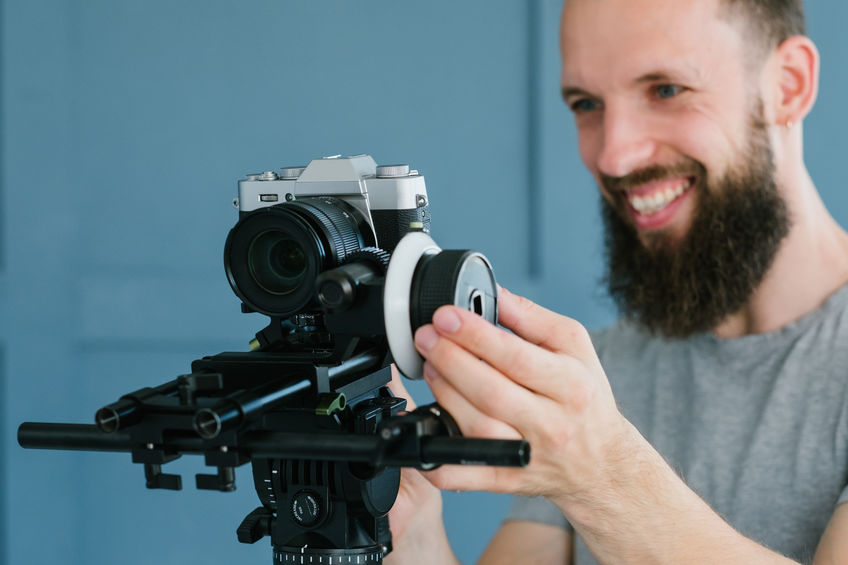
Autofocus is a powerful tool but can become limiting and even ruin an otherwise good shot. With continuous autofocus your camera might keep adjusting, hunting for the focus point.
Sometimes your microphone will pick up the sounds of the autofocus as it continues to adjust.
In order to expand the realm of creative possibilities, it is definitely worth your time to get comfortable using manual focus.
Often using your hand to adjust focus can result in uneven focus pulls, especially if you are not well-practiced. Having a more complete rig with a follow focus can help smooth this out.
If a follow focus is too expensive, it is much easier to pull focus smoothly if your camera is stabilized. Having a tripod or monopod to anchor your camera will be a great help with manual focus.
8. Lighting
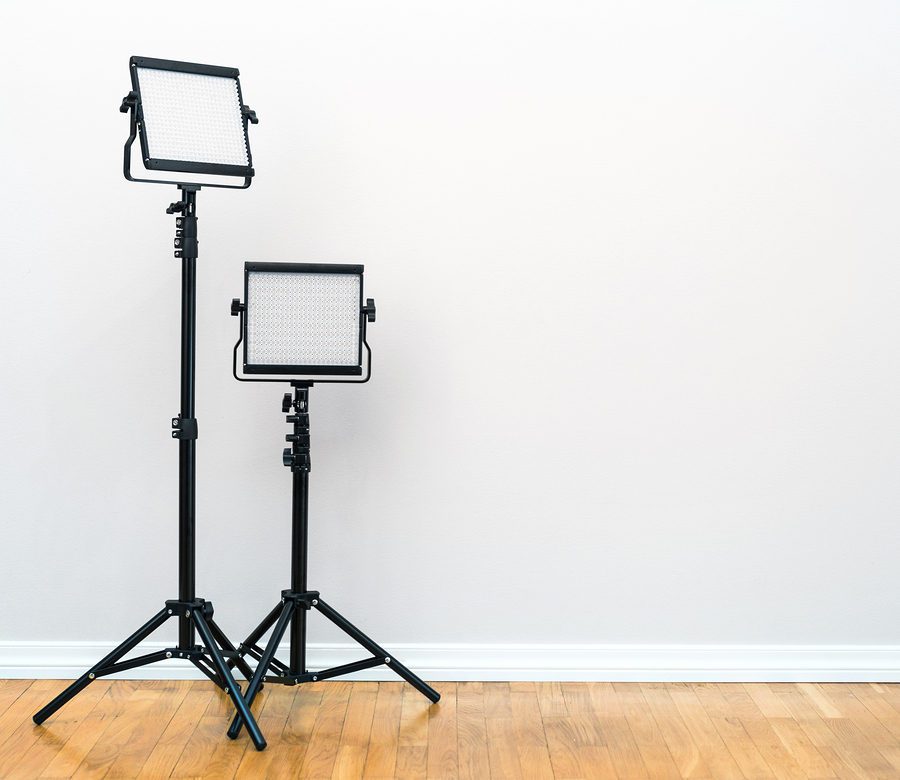
Depending on the setting you are shooting in, light can be a big consideration.
If you are shooting in broad daylight, you will get a lot of high temperature light and managing the amount of light your camera picks up can be difficult.
Meanwhile in a dark room with no windows your camera will be receiving far fewer photons, and you will have to adjust your settings in order to get a bright enough image.
Aperture is one way to control the amount of light entering the camera. A large aperture (small f-number) lets more light into the camera giving you a brighter image. Conversely smaller apertures (and larger f-numbers) give you darker images.
Often you want to keep the largest aperture possible to keep the focus on your subject while still achieving your aesthetic goals. However aperture isn’t your only tool. ISO, shutter speed and filters are other ways to affect the brightness of your image.
In high light situations a neutral density (ND) filter can help to limit the light coming through the lens. A variable ND filter can help you adjust the lighting without changing other camera settings.
9. Framing And Composition
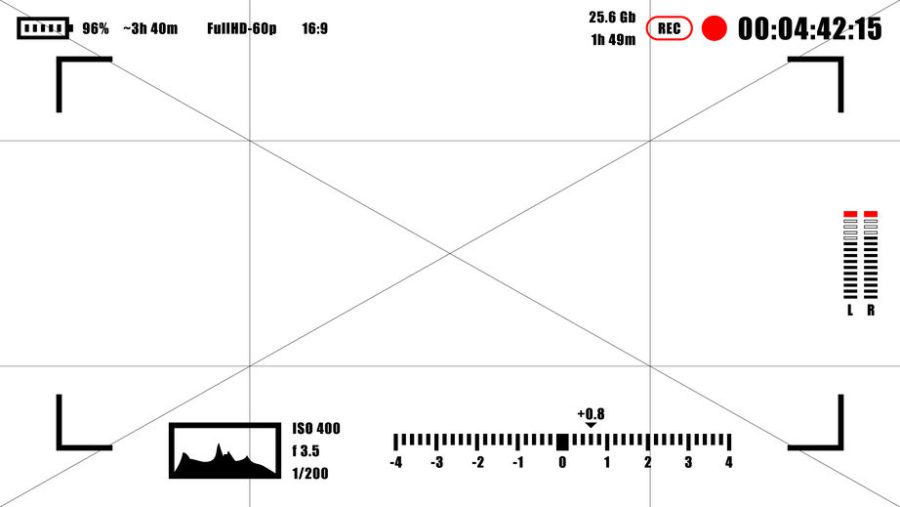
Another big thing to focus on is framing and composition. Though what we find visually pleasing is very subjective, there are a couple things to pay attention to.
The rule of thirds divides your frame into thirds vertically and horizontally. Placing your subject on one of the points of intersection allows a balanced image and will give you appropriate headroom.
On that note, also consider if you are cutting off anything important. Framing someone but cutting off their ankles can be quite jarring, as can not including part of their head for example.
Similarly, composite images can be problematic. Framing your image in a way that allows the subject to stand out from the background rather than blend in with it is very important.
In framing a person, make sure they have head room and lead room. If the subject is looking to the right of the screen, you’ll typically want to frame them on the left and vice versa. This way they are not talking to the edge of the screen.
Another rule to consider is establishing a foreground, midground, and background. This will help create a depth of field and create a sense of space.

With a shallow depth of field, having the background and foreground blurred with the subject in the middle is an easy way to direct focus.
Finally, symmetry is another visually pleasing way to frame a shot. Interesting patterns and balanced frames can be very unique and lead to an artistic looking shot.
If you’re unable to achieve a large depth of field, this is a good way to still be intentional and visually compelling (just look at Wes Anderson!).
10. Planning The Shoot
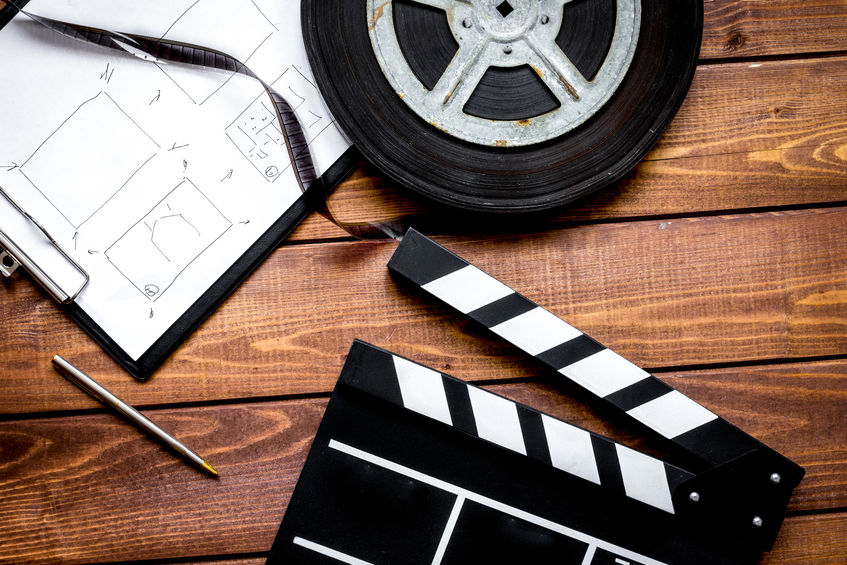
One of the key pieces that sets really great video apart is planning, conceptualizing and storyboarding.
With video you are telling a story. You have to establish setting, character, tone and keep things interesting.
Even dedicating just a little time to thinking through the shots you want and how you will piece them together can make a big difference.
During a shoot you should film in sequences. Try to give yourself about 10 seconds minimum per shot so you have some wiggle room when it comes to editing.
Even if you are going to stitch a bunch of small clips together you need to make sure you have room to crop on either side of the footage you want.
Always think about how you will make things interesting. In filming a subject, consider at least three of four different shots at varying distances.
Think about filming from different angles. A good rule of thumb is your camera should move at least 30 degrees for different shots of the same subject to avoid jump cuts.
You can learn more about the 30-degree rule and the 180-degree rule in our article Understanding the 180-Degree Rule In Media.
Think about how you want to show the action. Will your camera follow the subject or will you keep a stationary frame and let the action happen within that?
Here are a few general tips and an exercise to get you started if you don’t know where to start. In the end, though, it is up to you to establish your own aesthetic sensibilities.
Do a practice shoot and aim for half of the footage being tight close ups of your subject. Split the rest of the storyboard between medium distance close ups, and wide angle establishing shots.
Also, film some B-Roll (additional footage not directly related to the main shot). It’s a good idea to keep B-roll that stays focused on a single subject. Then in editing, you can always cut back to the B-roll if you need be.
Finally, always study up! When you are watching TV shows or movies think about what the camera is doing and how that contributes to the scene.
Keep note of things you like and want to try for yourself. Get inspired to try new things or master a new technique and always keep practicing!
Conclusion
There is so much to learn and discover in shooting video, and over time you will begin to cultivate your own aesthetic sense.
Hopefully these tips will be a great resource for you as you are getting started, but the journey never ends.
It will definitely take some time to figure out your equipment and how to use it to its best potential.
Additionally, equipment, tastes, and the stories we tell are always changing.
In the end, the most important thing is to remember that there is no teacher like experience. So get out there and start filming!

